23.0 Editing Icons for Drivers and Applications
The Icon editor enables you to create customized icons for your drivers and applications. You can enrich predefined templates or images with labels, choose background images and colors, and overlay images. Within minutes, you can create a custom branded icon for your implementation, including your company’s logo or name.
-
In the Modeler, select a driver, then click .
The object properties dialog box displays the default icon.
-
Click > .
-
To enter text for your icon, select , then click .
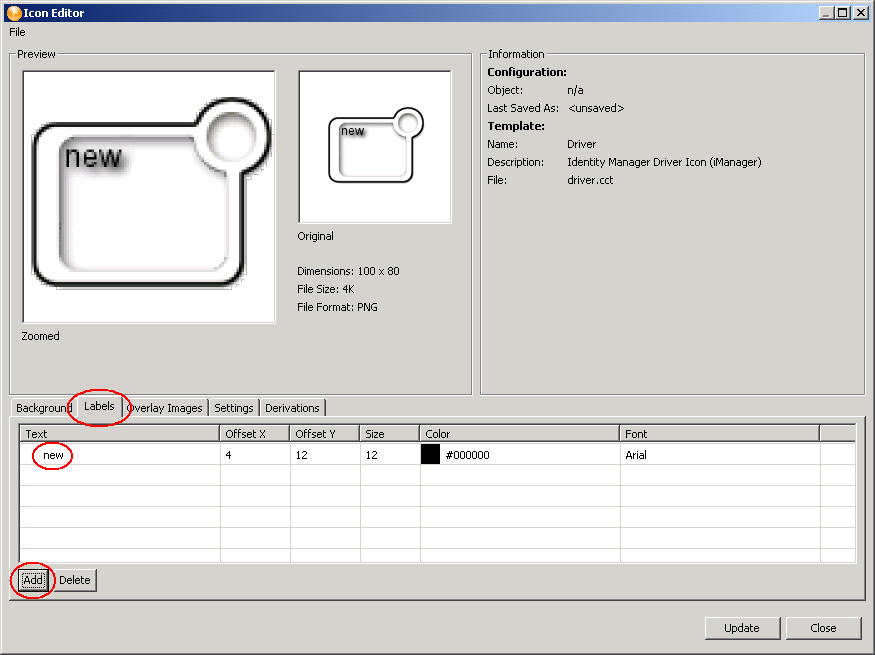
To edit the label, click in the column, type a new label, then click .
You can edit the label, control its placement through the Offset X and Offset Y options, and edit font size, font type, and color.
-
To add an overlay image to your icon, select , then click .
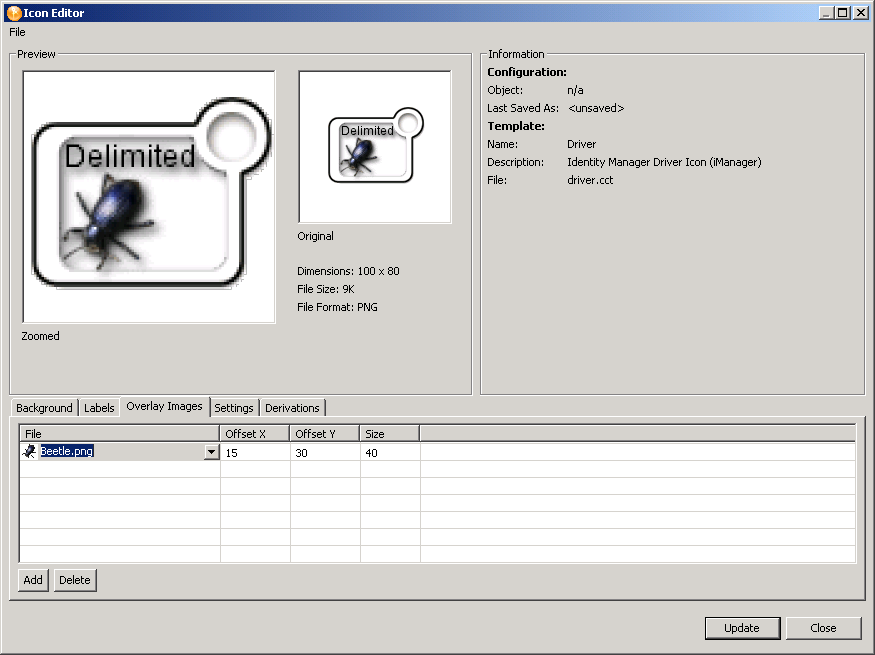
To select an image, click the cell in the column, select a filename from the drop-down list, then click . To place the image farther below the text, increase the value in the column.
-
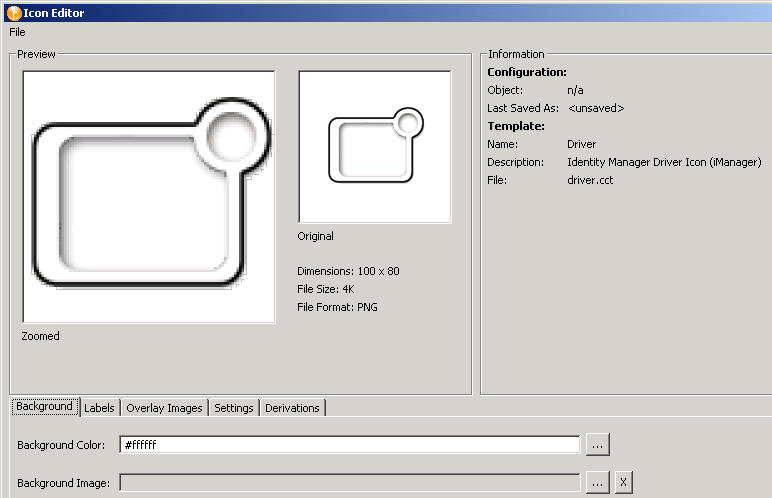
To add a background color or image to your icon, select .
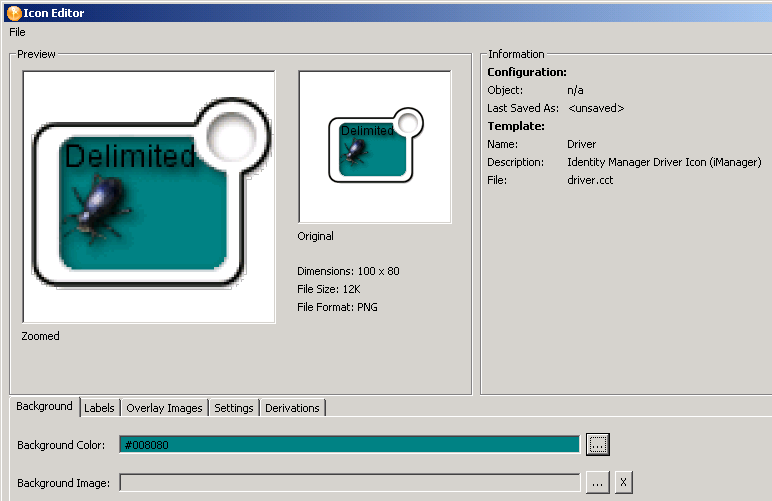
To change the background color, click the Browse button next to the r field, select a color form the palette, then click . You can also click the Browse button next to the field, select a filename from one of the folders (for example, gradients), then click .
To change the background image, click the Browse button next to the Background Image field, select an image from the folder, then click .
-
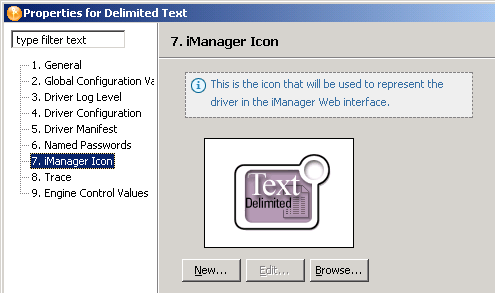
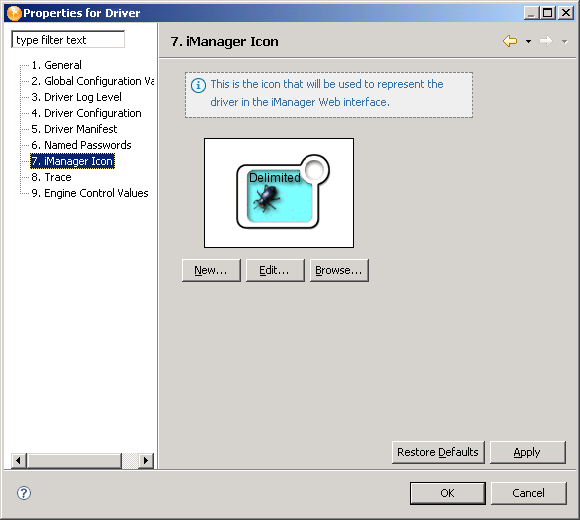
To create a similar icon for iManager, select , then select or .
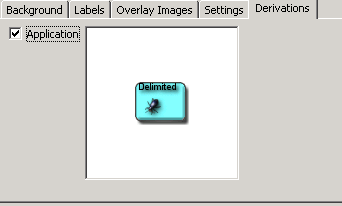
This transfers the icon to the driver’s or application’s iManager properties. (See the iManager icon on the driver properties page.)
-
When you are finished editing the icon, click .