19.9 Exporting a Project
Designer’s export feature allows you to export Projects and Driver Configuration files to a local, removable, or network directory.
-
Click .
-
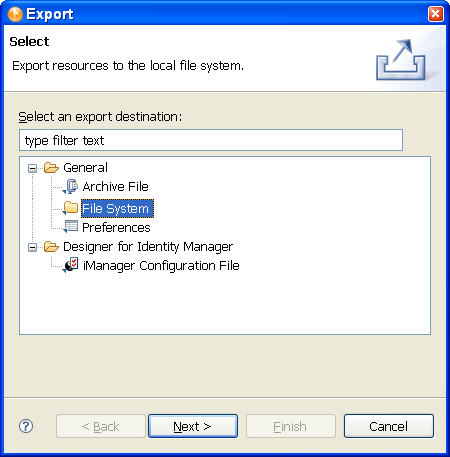
From the Export window, you can export an existing Identity Manager Project to the File System or to an Archive File. Select , then click .
-
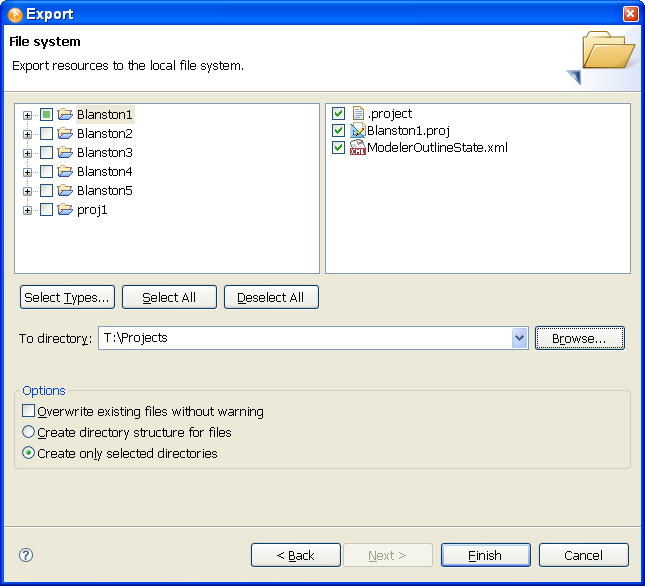
In the Export File System window, select the projects you want to export.
-
Click to select all projects in Designer’s \workspace directory (for Windows, the default location is C:\Documents and Settings\user’s_login_name\workspace). or
click to clear the selections. You can then select the projects you want to export.
IMPORTANT:You must select all items relating to a project if a subsequent import of that project is to work.
The button is a feature of Eclipse (the platform that Designer is running on) and is not a Designer feature.
You can also browse to the directory location where you want to select the resources.
-
After you designate the directory to which to export the projects, click , then click .
-
In the Save Resources window, select the projects you want to save, then click .
You can also export projects to an archive file:
-
Click .
-
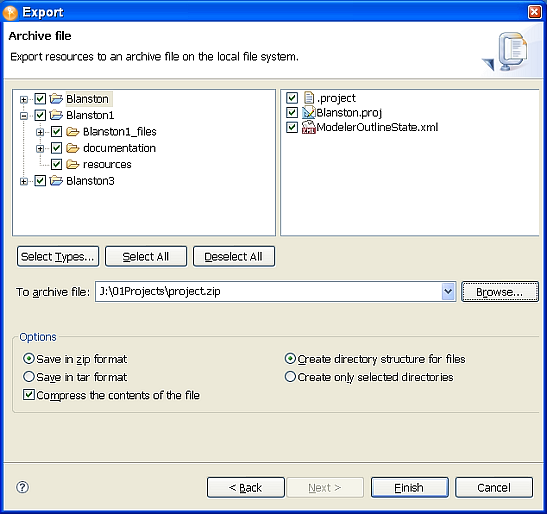
Select the option in the Export window, then click .
-
Select the projects you want to archive.
-
Designate where you want the archive file saved.
-
Select the archive format (zip or tar).
-
Select whether you want to compress the contents of the file and whether to keep the directory structure for files (recommended), then click .