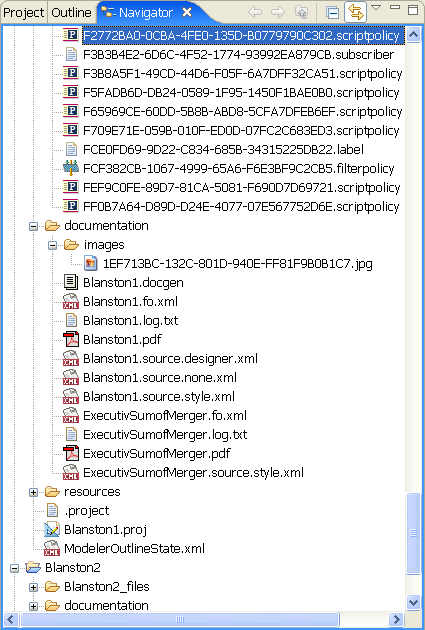
8.6 The Navigator View
The Navigator view enables you to manage and view the file resources that are in your workspace. You can see your projects and files as they actually exist in the file system. You can add files and folders, and append them to your projects or workspace. These extra items won’t change or affect the behavior of your Identity solution. However, they enable you to conveniently append other pieces of information that you want to associate with your projects and workspace.
The Navigator view enables you to do the following:
Table 8-7 Navigator View Icons
|

|
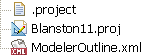
The name of the created project. This is the name of the project stored in the selected workspace directory. Double-clicking the Project name expands and collapses the entries under the project.
Right-clicking a project name allows you to do the following:
-
Under
:
-
See just this project’s workspace (the Go Into option).
-
Open in a new window.
-
Copy, paste, delete, move, and rename the project.
-
Import and export the project.
-
Refresh the project.
-
Close the project or close unrelated projects.
-
Through the
option, format the document.
-
View the project’s Properties window.
|
|
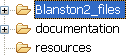
Folder and Subfolders
|
The
files folder contains the files of the created project. Beneath the
files directory are the documentation and resources folders and any other folders you have created in this project.
Right-clicking any of the project folder names allows you to do the following:
-
Under
:
-
See only this project’s workspace (the
option).
-
Open the directories in a new window.
-
Copy, paste, delete, move, and rename the folder.
-
Import and export the project.
-
Refresh the directory.
-
Through the
option, format the document.
-
View the project’s Properties window.
|
|
All File Types
|
Because the project folders can contain many different files, you can see different icons displayed, depending on the file extension. Right-clicking any of these files allows you to:
-
Under
:
-
Open the file in a Designer-chosen editor.
-
Open the file with the following choices:
-
Text editor
-
System editor
-
In-place editor
-
Default editor
-
XML files can choose an XML editor
-
Proj files can choose the Modeler
-
Filter files can choose the Filter editor
-
Policy files can choose the Policy Builder editor
-
Copy, paste, delete, move, and rename the files.
-
Import and export the files.
-
Refresh the file or directory.
-
Through the
option, format the document.
-
View the file’s Properties window.
|
In the Navigator view, you can move any document into your project and edit it with a selected editor. For example, you can add a Word* or PowerPoint* document, then double-click the document. The native application loads inside Designer, as any other editor would, where you can view and edit the document. (This feature only works on Windows.)
You can create linked resources at any depth within projects. This allows you to put resources from different places in the file system anywhere you like in the project structure, including below other linked resources. The same resource can be linked to the same project.
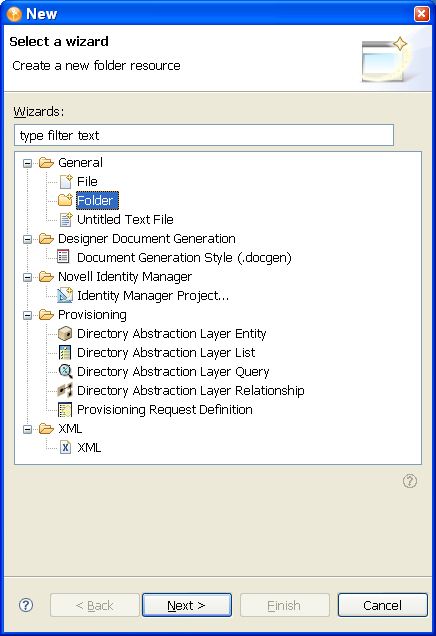
To create a linked resource:
-
Select
>
>
.
-
In the Navigator view, right-click a project, then select
>
.
-
Expand the
folder.
-
Select
, then click
.
-
Click
, then select
.
-
Browse to and select a folder, click
, then click
.
Designer creates a link to that folder directly under the project. You can then easily access the folder.
You can use the same procedure to link to a file.