2.7 Reporting Test Results
All certification test kits use a common report window to record information about the product being tested. The Product & Report Information window enables you to do the following:
- Edit or view product and report information.
- Import information in the product library files.
- Print a sample test report (sample bulletin).
- Verify report data and test results.
- Create a Novell report for certification.
- Explain exceptions and testing errors.
- Clear all report data and test results.
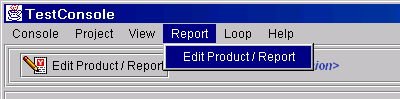
To access the Product & Report Information window, click from the main menu, or click on the toolbar.
Figure 2-6 Selecting Edit Product/Report from the Report menu.
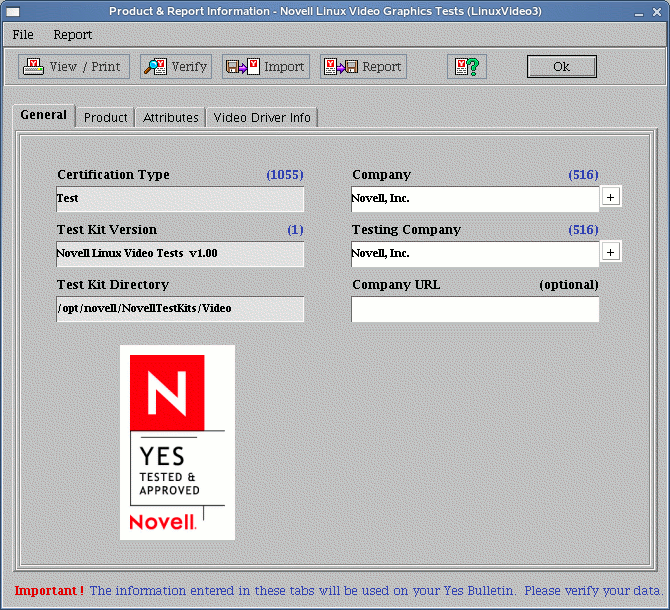
2.7.1 Entering Product Information
You enter information about your company and the product you are testing in the tabs of the Product & Report Information window. The tabs that appear in the window are different for each Novell certification test kit since each kit requires different kinds of information.
The data that you enter in the tabs of the Product & Report Information window is displayed on your product's bulletin. Therefore, it is important that the information be clear, concise, accurate, and suitable for publication.
Figure 2-7 Shows the Report window.
2.7.2 Exporting Product Information
If you have a lot of test certification projects and get tired of repeatedly typing in the duplicate Company, Product, and Attribute information for each of those projects, you can create an importable file that would fill all this information in for you. You then could go back and edit any of that imported information that is different from project to project.
This import file can be created simply by saving a special .tsf file. Enter all of the product information in all of the tabs in the Product Information window. Then do a “Project SaveAs” and give the .tsf file a special name. Then place it in the directory that you would like the file to be kept (it doesn't have to be the status directory). Be sure to either close or rename the current project that you used to create this file before you continue to do your testing. See the Importing Product Information section below on how to do the actual import of your saved information.
2.7.3 Importing Product Information
You can retrieve product information. This feature streamlines data entry, enabling you to use information you have previously entered to test another product. You will, however, need to make adjustments to the data for your new product.
We recommend that you only use this feature when creating a new test project, before you have entered any data in the Product & Report Information window or run any tests, because importing product information automatically overwrites any existing data and may clear existing test results.
To import product information, do the following:
-
Click from the Main menu in the tab.
When you import product information, TestConsole displays a dialog to notify you that current data and test results may be cleared.

-
Click if you want to continue.
-
Select the product file (listed with a .tsf extension) and click .

The product file data populates the tabs in the window.
-
Make the necessary modifications to the data for the new product you are testing.
2.7.4 Verifying Report Data
The Verify feature ensures that all report information has been entered and that all tests have a valid result. It enables you to validate your test project before generating a report.
To verify your test report, click from the menu. You can also click on the window toolbar.
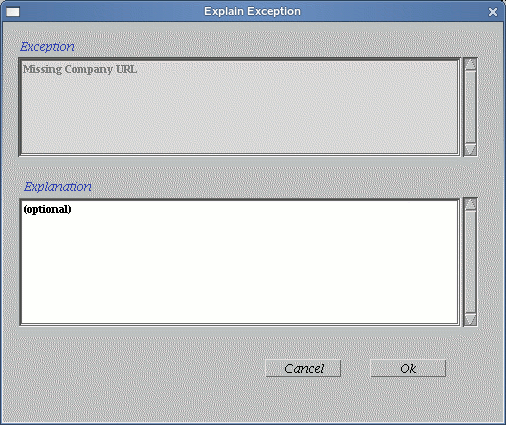
Figure 2-8 The Exception Information window

Validation results are grouped into the following three categories:
The buttons on the window perform the following functions:
Explaining Exceptions
There may be times when you are unable to correct an error, or a required portion of the test may not be applicable to the product you are testing. TestConsole requires that you include an explanation for these instances before you can generate a test report. A Novell Developer Support engineer evaluates each exception and its accompanying explanation and determines if a certification bulletin can be issued.
Select one or more errors to explain, then click the Edit Explanation button. This brings up the Explain Exception window for you to explain the selected errors.
HINT:If one explanation can be used for multiple exceptions, select the exceptions (hold down the <Shift> or <Control> keys while selecting), enter your explanation, then click the button.
Figure 2-9 Shows the Exception Information window.
When all of your exceptions or failures have been corrected or explained, you can generate your test report.
2.7.5 Generating a Novell Report
After you have completed your testing and entered all required information in the Product & Report Information window, you can generate your test report.
A test report consists of your test results, information about the product and company, and all other files necessary for certification.
To generate a report, do the following:
-
Click from the main menu, or click on the toolbar.
-
Enter a filename for the results file.
-
Click .
TestConsole creates a .zip file of all necessary files and save them in the Results directory of the test kit you are using (for example, c:\novelltestkits\storage\results)
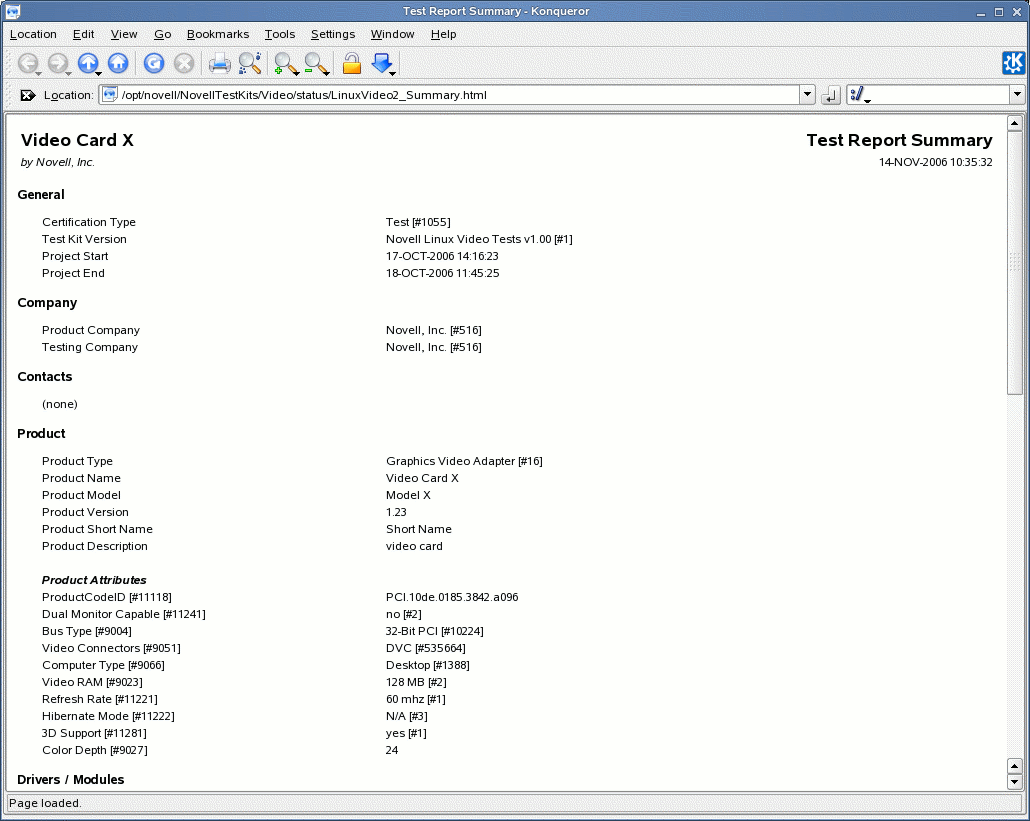
2.7.6 Viewing or Printing a Summary
You can view or print a summary of your YES submission. We recommend that you print the summary and review it thoroughly to ensure that the information is correct and suitable for publication in the bulletin. If you need to make changes, you can do so, and then regenerate the report file.
NOTE:Requires a browser on the TestConsole station.
To print your summary report,
Click from the Product & Report Information window, or click on the toolbar.
Figure 2-10 Shows the Summary Report.
2.7.7 Clearing a Report
The Clear Report action is used to clear all report information and test results in the project. You should only perform this action if you want to clear all the user-entered information in the Report window.
To clear a report, do the following:
-
Click from the window.
The following warning window is displayed to verify this is what you intended to do.
-
Click .