14.3 Taking a Snapshot of the Databases
In the Repair tool, you can manually take a snapshot at any time. You might want to take a snapshot after you have completed several configuration additions or changes to the pair, policy, schedule, or cloud account databases. This ensures that those changes are immediately saved to a snapshot. Otherwise, the snapshot is not taken until the next scheduled time.
-
Log in to the DynamicFS server as a user with Administrator privileges.
-
Stop the Service as described in Section 6.4.3, Stopping the Dynamic File Service.
-
On the server, start the Repair tool by right-clicking the icon in the notification area and selecting from the menu.
-
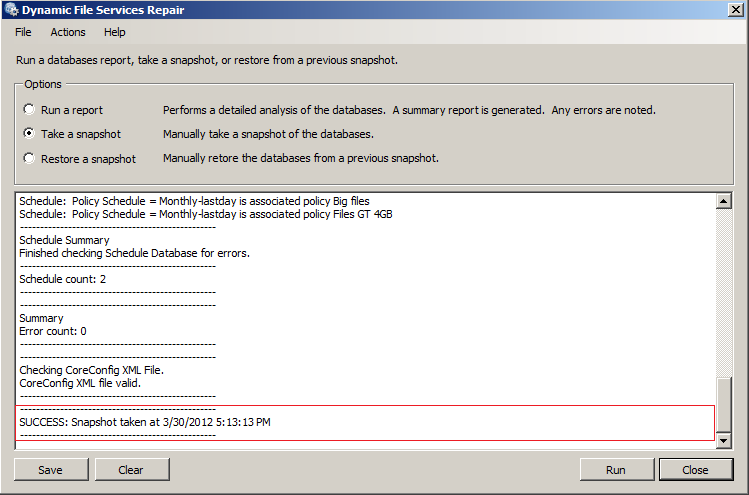
Select , then click .
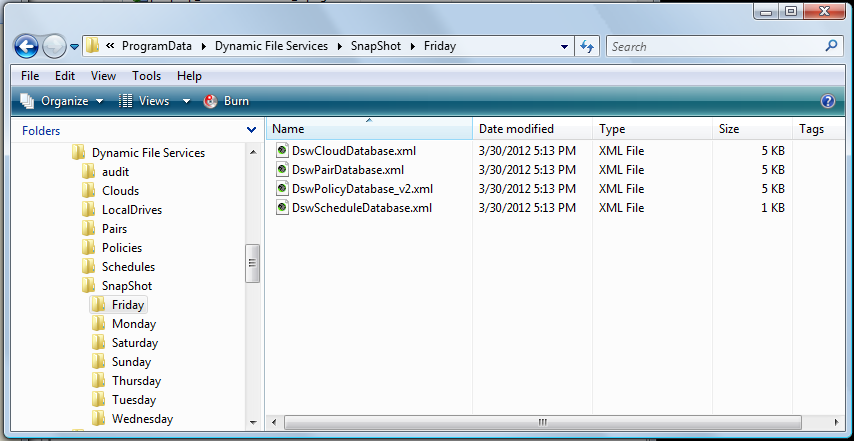
A confirmation is printed to the data window. The snapshot data is saved by default to C:\ProgramData\Dynamic File Services\SnapShot\<day_of_the_week>.
-
(Optional) In a file browser, navigate to the Snapshot\<day_of_the_week> folder, and visually verify that the snapshot files have been saved.
-
When you are done, click to close the Repair tool.
You cannot restart the Service while the Repair tool dialog box is open.
-
Right-click the icon, select , then click to run Service as Administrator.