Before you install the Novell exteNd Messaging Platform, please make sure that you have the MP.jar or MP.exe file and (optionally) a valid license that you received when you purchased this product.
The Novell exteNd Messaging Platform 5.1 is currently supported on Solaris 2.5.1 and up (Sparc), Redhat Linux, Windows XP and Windows 2000/2003.
On Unix systems, you will need a JRE to launch the installation program. The Novell exteNd Messaging Platform installs JRE 1.4.2 on you system and configures it to use the Novell exteNd Messaging Platform's ORB.
The following steps are required to install the Novell exteNd Messaging Platform.
The Novell exteNd Messaging Platform has been packaged for installation using InstallAnywhereTM. Start the installation as follows:
on Windows: launch MP.exe
on Unix: run 'java -cp MP.jar install'
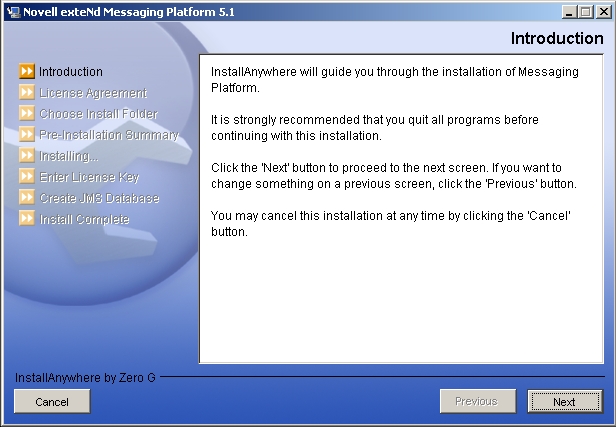
The following window will be displayed. Clink on "Next".
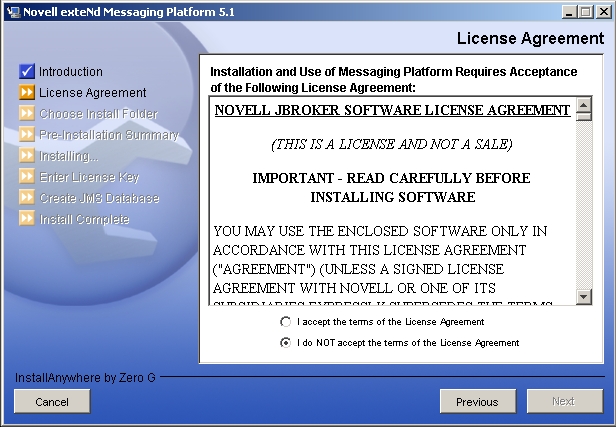
The next step is to read and accept all the terms of the Novell exteNd Messaging Platform binary code evaluation License Agreement. Once you have read and accepted the license agreement, select the "I accept the terms of the License Agreement" button at the bottom of the screen and click "Next".
The installation will now prompt you for a destination directory. You can either accept the already selected destination or enter a new one.

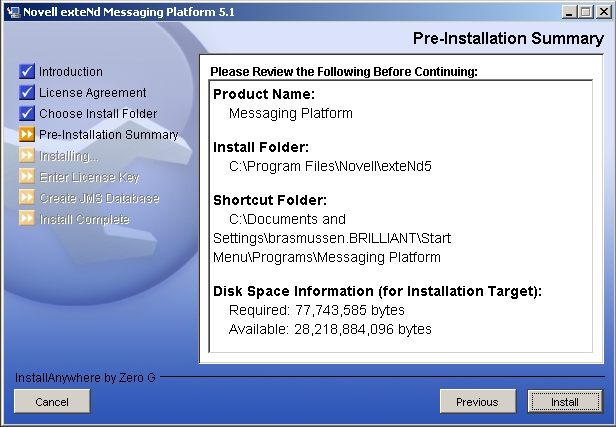
Review the installation options. Once satisfied, client "Next".
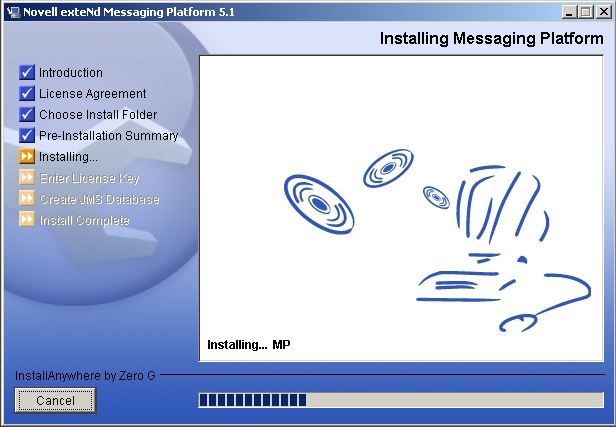
Please be patient while the Novell exteNd Messaging Platform is installed on your system.
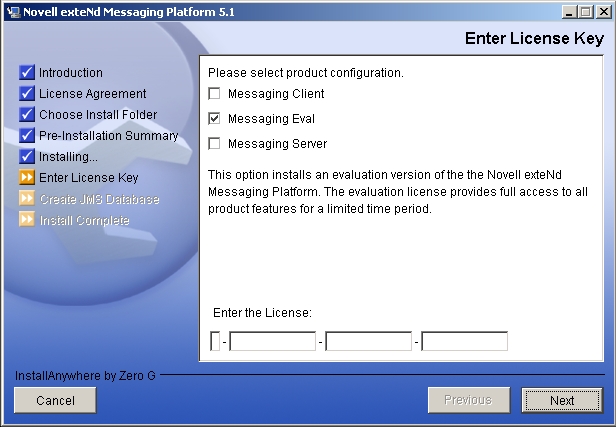
Select the product configuration. If you select "Messaging Server" you will need to enter a valid license key in the field at the botton of the screen. Once you are done, click "Next".
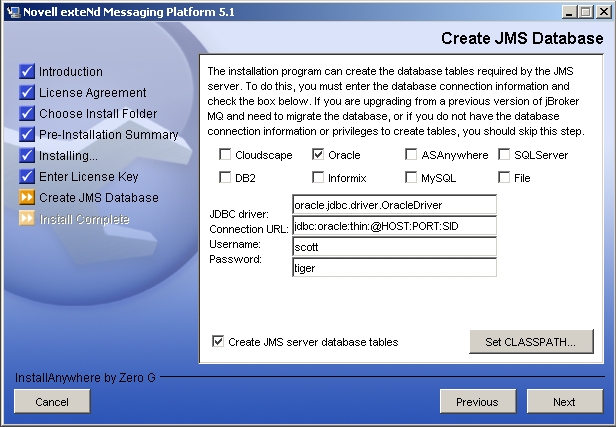
Configure the database for the JMS server. If you want the installation program to create database tables, you must select the "Create JMS server database tables" box. JDBC drivers are not included with the Novell exteNd Messaging platform so you may need to set the CLASSPATH using the "Set CLASSPATH" button. Once you are done, click "Next".
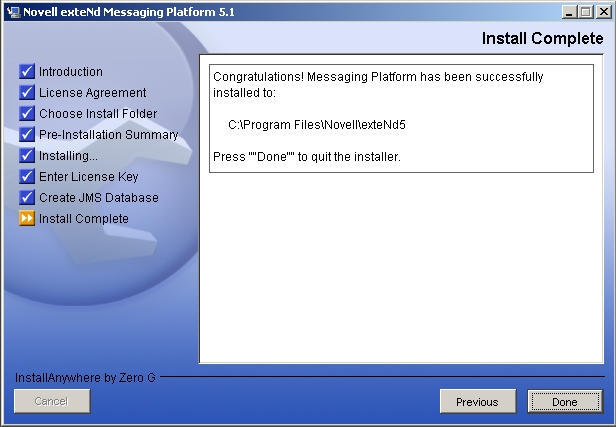
The installation is complete. Click "Done" to exit the program.
The following steps are required to uninstall the Novell exteNd Messaging Platform 5.1.
The uninstall program is located in the UninstallerData directory below the root installation directory where you install the Novell exteNd Messaging Platform (e.g. C:\Program Files\Novell\exteNd5\UninstallerData. Start the uninstall program as follows:
on Windows: launch Uninstall Messaging Platform.exe
on Unix : run java -cp uninstaller.jar uninstall
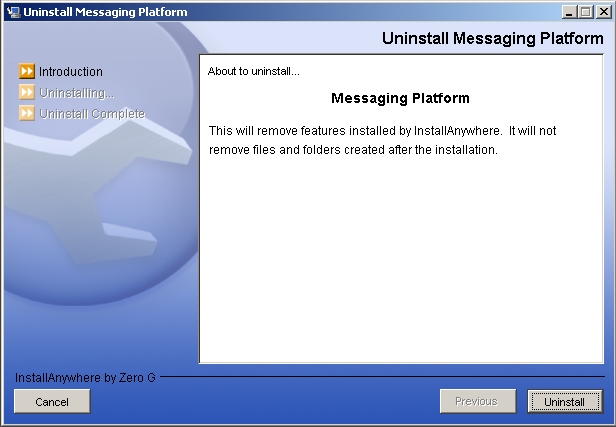
The uninstall program displays the welcome screen shown below. Click "Next" to continue.
Please be patient while the software is uninstalled.

Uninstallation is complete. Click "Done" to exit from the uninstall program.
