6.6 Configuring the Engine
-
In the Configuration Utility, click .

-
From the wizard page, read the overview of what will be configured and click .
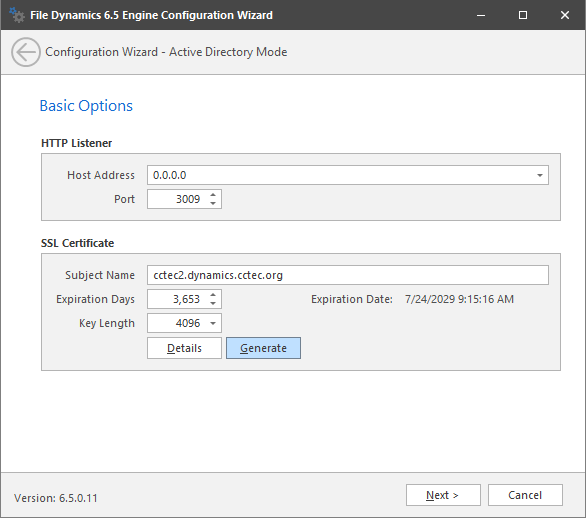
This page lets you confirm or change basic Engine configuration settings.
HTTP Listener: Communication parameters for the Engine.
Host Address: To listen to all addresses, leave the setting at 0.0.0.0. To limit listening to a specific address, enter the address here.
Port: The default port is 3009.
SSL Certificate: Details for the SSL certificate that will be generated.
Subject Name: The name of the certificate that will be generated. The server name is listed by default.
Expiration Days: The life span of the security certificate, which is set at 10 years by default.
Key Length: The SSL certificate encryption setting, which is set at 2048 by default.
Details: Click the button to view the certificate data.
Generate: If you modify any of the settings in the SSL Certificate region, click this button to generate a new certificate.
-
Edit any needed parameters settings and click .
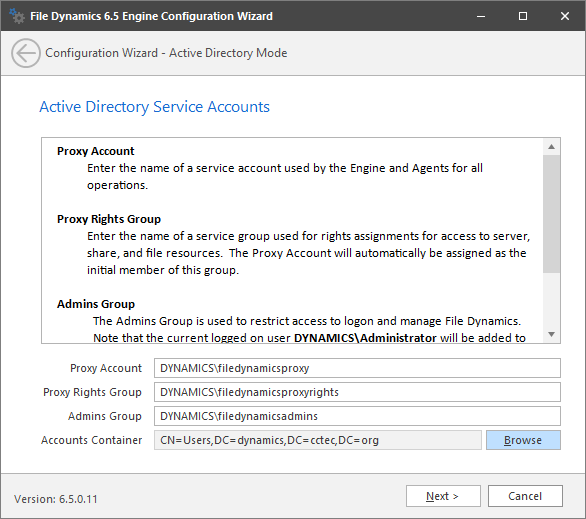
This page lets you establish a name for the Proxy Account, Proxy Rights, and Admins Groups.
File Dynamics uses proxy accounts so that it can perform tasks necessary for storage management.
Because you will want to create the proxy objects in an Active Directory container appropriate to your environment, you can specify the container using the button.
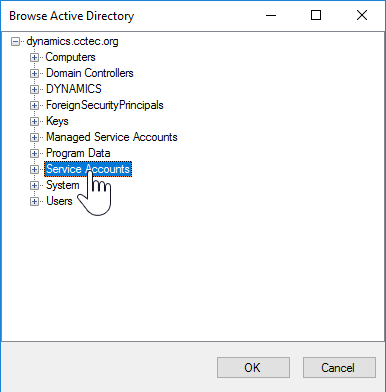
In this example, the proxy objects are being created in the Service Accounts container.
-
Establish your proxy account settings and click .
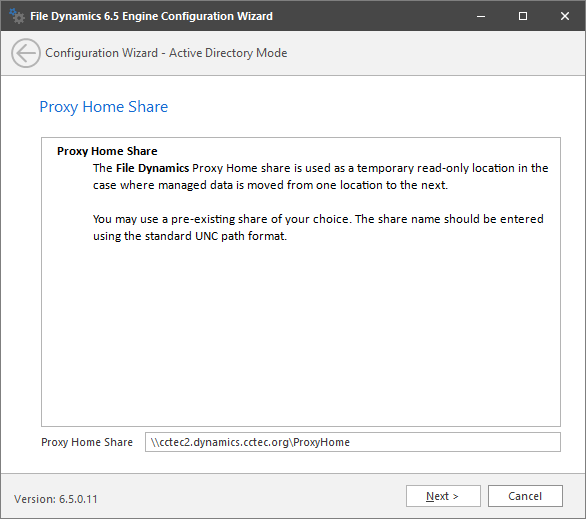
The Proxy Home Share that you establish in this page is the read-only location where users’ managed path attributes are temporarily set when data is moved because of a change in policy.
-
Click .

Target-Driven security policies allow for email notifications to be sent to designated recipients. These notifications are sent to your email server to be relayed.
Completing fields in this page is optional.
Mail Listener: These fields specify information pertaining to the mail server that is sending alerts.
Host Address: Specify the IP address or DNS name of the mail server.
Port: Specify the port number for the mail server.
Connection Type: From the drown-down menu, select the encryption type used by your mail server.
Mail Options: These fields specify additional mail information.
From Address: This field specifies the default address where the alerts come from.
Use Authentication: In most cases, SMTP will require authentication. Selecting this check box activates the and fields where you can enter the credentials for authenticating to the SMTP server.
Email Address: Specify an email address for a test alert.
Send Test Email: Click this button to send a test email to the recipient specified in the field.
Micro Focus recommends that a specialized email account be used such as an alerts@domain or no-reply@domain account if authentication is required for relay. You might need to contact your email administrator for the correct settings.
-
Establish your SMTP settings and click .
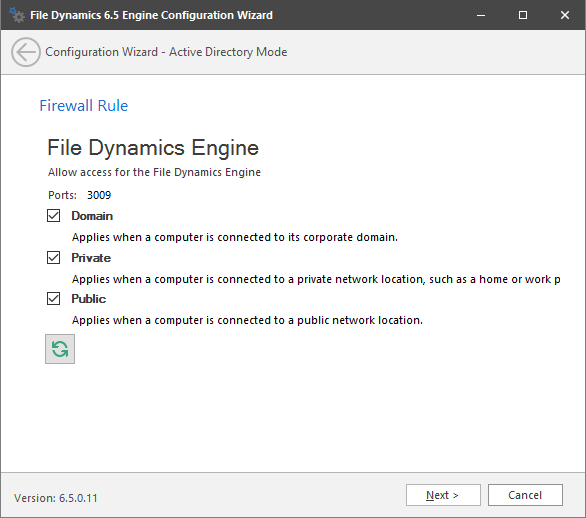
This page displays the current Windows firewall rules that pertain to the Engine. You can enable or disable these profiles as needed.
-
Click .
-
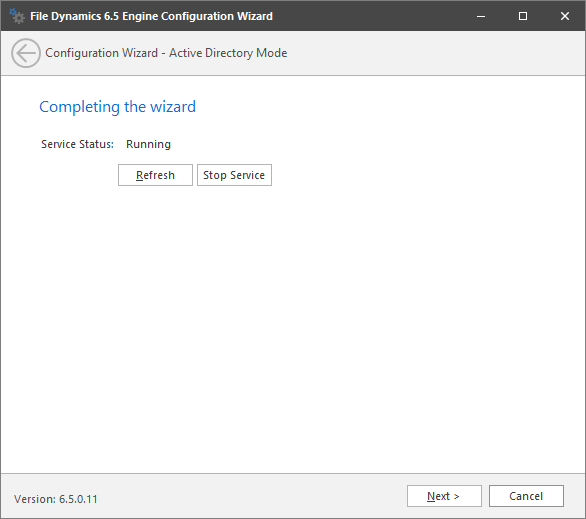
Click .