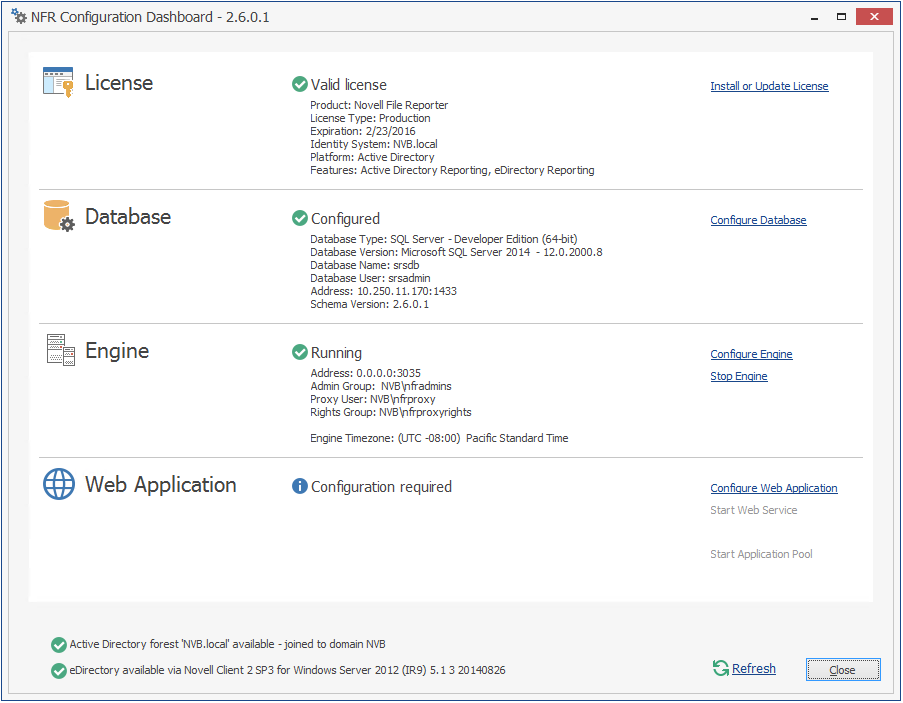
6.6 Configuring the NFR Engine
-
Click .
-
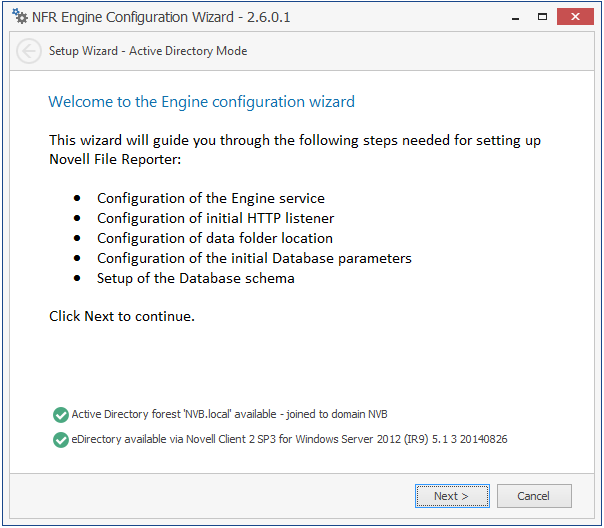
From the wizard page, read the overview of what will be configured and click .
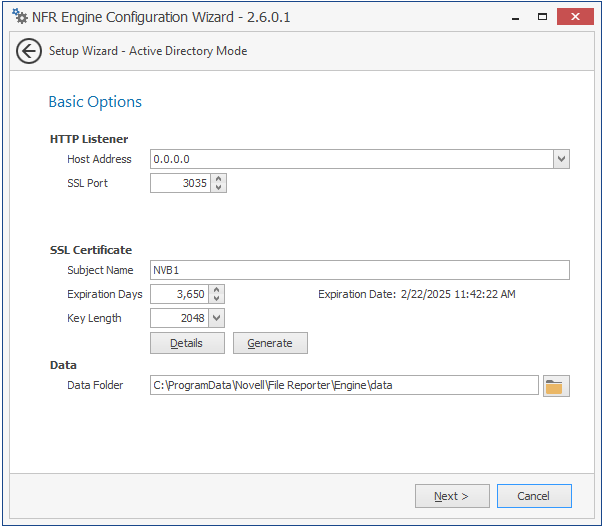
This page lets you confirm or change basic NFR Engine configuration settings.
HTTP Listener: Communication parameters for the NFR Engine.
Host Address: Unless you want the NFR Engine to only listen on a certain IP address, leave this setting as it is.
SSL Port: Unless there is a port conflict, leave the setting at 3035.
SSL Certificate: Details for the SSL certificate that will be generated.
Subject Name: The name of the certificate that will be generated. The server name is listed by default.
Expiration Days: The life span of the security certificate, which is set at 10 years by default.
Key Length: The SSL certificate encryption setting, which is set at 2048 by default.
Details: Click the button to view the certificate data.
Generate: If you modify any of the settings in the SSL Certificate region, click this button to generate a new certificate.
Data Folder: The default location of the Data folder. The Data folder is used for a variety of tasks, including storing NFR Agent configuration data, serving as a temporary repository for scans, and mail spooling.
-
Edit any needed parameters settings and click .
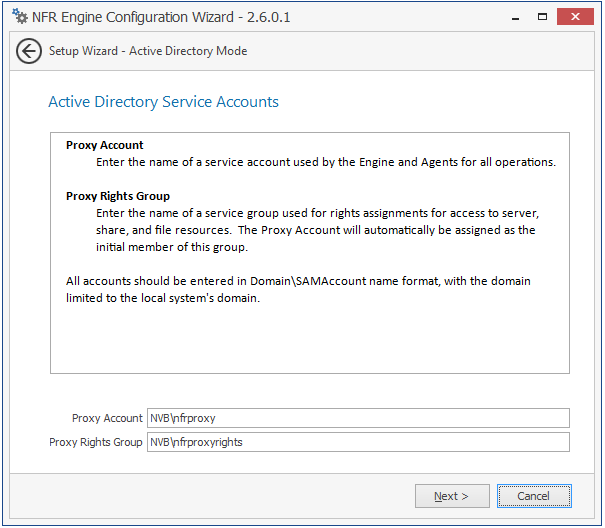
This page lets you establish a name for the proxy account and proxy rights group.
Novell File Reporter uses a proxy account so that NFR Agents can access all of the servers for reporting. A proxy rights group makes it easier to manage the rights of the proxy account.
-
Click .
-
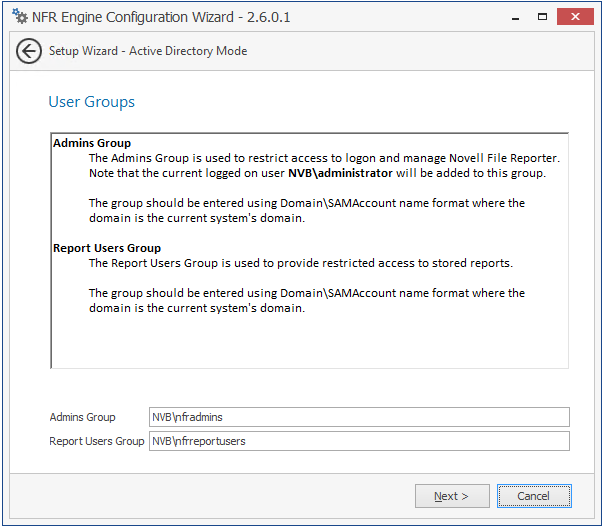
Specify the name for the Admins Group and Report Users Group, or use the default names.
The Report Users Group is a group that Novell File Reporter creates in Active Directory. Members of this group have access to all stored reports.
-
Click to create the two groups.
-
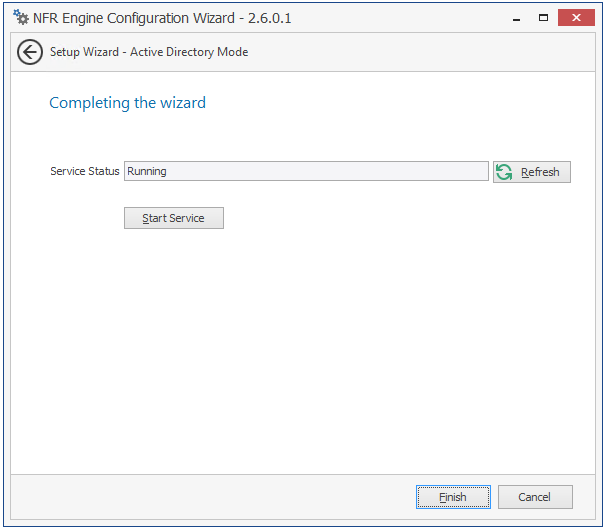
Click .
The NFR Engine is now installed, configured, and running.