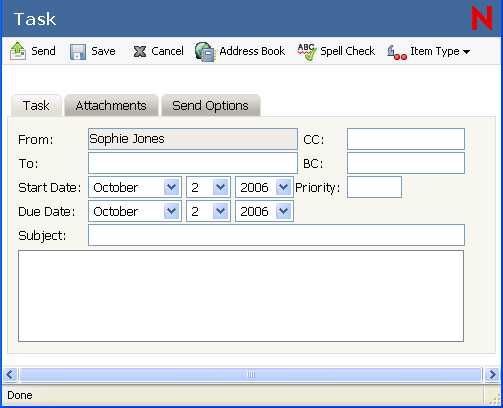
5.4 Assigning a Task
-
In the GroupWise WebAccess main window, click
or
In the HTML Calendar, click
or
In the Calendar, right-click a day and select
-
Click to add recipients in the , , and fields.
or
Type a recipient’s address in the , , or field. The address can be a GroupWise user ID, GroupWise full name, or external e-mail address. Separate each address with a comma.
To create a personal task that displays only in your Calendar, add only your name or switch to posted task.
-
For the start date, specify the month, day, and year you want the task to first appear on the recipient’s Calendar.
-
Type a priority.
You can type a letter (such as A), a number (such as 1), or a letter-number combination with the letter first (such as A1).
-
For the due date, specify the month, day, and year when you want the task to be completed.
-
Type a subject and message.
You can include Web site locations or addresses (URLs) in both the and fields.
-
(Optional) Click to spell check the message. For this feature to work, your browser must be enabled for Java.
-
(Optional) Click to attach files to the message. For this feature to work, your browser must support attachments.
-
(Optional) Click to select a security setting (classification), assign a priority (high, standard, low), request a reply, or select to receive return notification.
-
Click or click .