5.6 Specifying a Time Zone for an Appointment
The Time Zone feature lets you schedule a meeting for recipients in different time zones who will be meeting in a single location.
Normally, GroupWise automatically adjusts meeting times based on the recipients’ time zones. For example, a meeting scheduled by a user in Utah for 10:00 would be displayed as 9:00 for a recipient in California and as 12:00 for a user in New York because these users are in different time zones. Because GroupWise adjusts the time, all the users scheduled for a conference call can call in at the same moment, even though their local time might differ.
Use the Time Zone feature if you don’t want GroupWise to adjust to the recipients’ local time zone. For example, if you are in the Saskatchewan time zone and include users from the Mountain Time (US & Canada) time zone in your appointment, you would use the Time Zone feature if these users are flying to Saskatchewan for the appointment. Time Zone ensures that the appointment in their Calendars and Mailboxes shows the correct Saskatchewan time.
-
Open and create a new appointment.
-
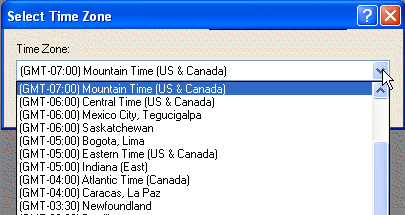
Click > , click the drop-down list and select the time zone for the appointment location, then click .
-
Click on the toolbar.
When the users you have scheduled with the Time Zone feature receive the appointment, they see a time annotation after the subject when they see the appointment in their Mailboxes. For example, if the subject of the meeting is “Marketing Conference” and the time zone is Saskatchewan, users would see a subject and time annotation similar to the following: Marketing Conference (Saskatchewan). In the users’ Calendars, the place is annotated with the time zone, rather than the subject.