5.1 About the Wizard and the Overview Tab
You create provisioning request definitions in three main steps:
-
You create the basic information about the provisioning request definition (for example, the name of the provisioning request definition, the category to which it belongs, who can access it) using the Create A New PRD Wizard. After you have created the basic provisioning request definition, the basic information is displayed in the tab.
-
You create the forms that interact with the workflow participants using the tab.
-
You design the workflow using the tab.
To add a provisioning request definition:
-
Launch the Create A New PRD Wizard in one of these ways:
-
From the Provisioning view, right-click the node and choose .
-
From the Provisioning view, click a user application or provisioning request container, then select .
-
Select .
-
Choose , then click .
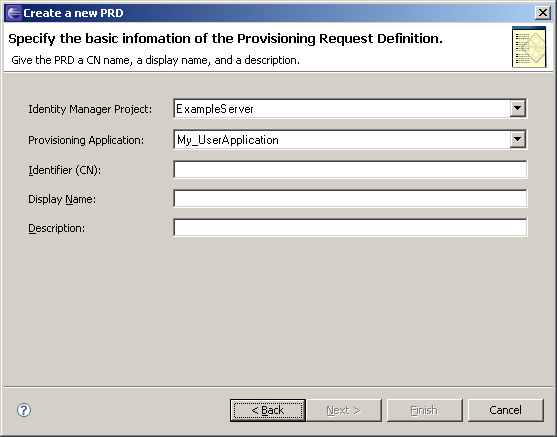
The first page of the Create A New PRD Wizard is displayed.
-
-
Fill in the fields as follows:
-
Click . The next page of the wizard is displayed.
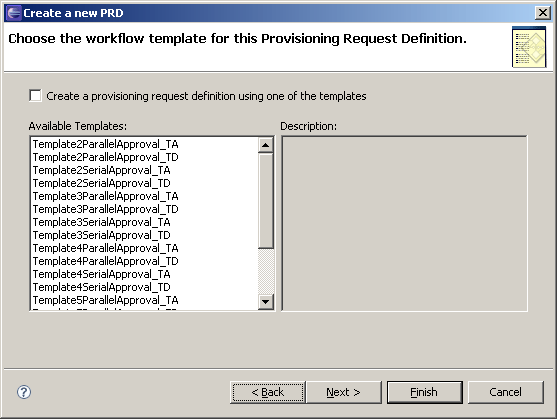
You can create new provisioning request definitions based on a template, or you can build the provisioning request definition from concept to finished product. You use the next panel of the wizard to specify whether or not to base this provisioning request definition on a template.
-
Perform one of these steps:
-
If you want to base this provisioning request definition on a template, select , then select the desired template (for example, TemplateSingleApproval_TA) from the list, then click .
-
If you want to build this provisioning request definition from concept to finished product, click .
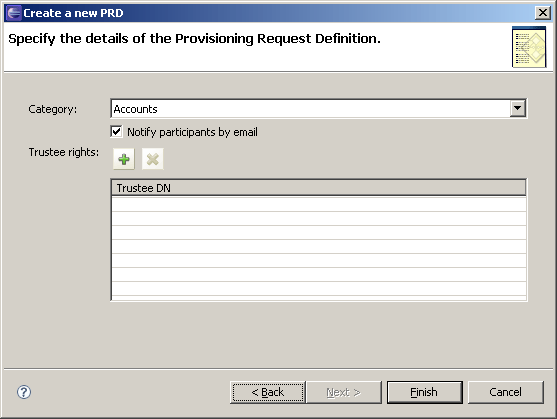
You use the next panel of the wizard to specify the trustees who can access the provisioning request definition.
-
-
Click the plus (+) icon to add a trustee.
Designer displays a panel that you use to browse the Identity Vault to select a trustee. You can select an individual trustee, or select a group.
-
Select the trustee, then click .
Designer returns you to the previous panel. If desired, add additional trustees by repeating the previous step. When you have finished adding trustees, click . Designer displays the Provisioning Request Definition Details panel on the tab (see Section 5.3, Using the Overview Tab to Modify Basic Settings).