8.2 Installing the Client Login Extension Configuration Utility for Novell Identity Manager 3.5
You need to download the idmcle.exe file from the Novell Downloads page. Under Product or Technology, select and click , or type under Keyword and click . Select to download, then follow the steps to download the idmcle.exe file.
After the file is downloaded, double-click the idmcle.exe file to install the files for the Client Login Extension Configuration utility and the Client Login Extension MSI files. The process also installs the .NET platform if it is not already installed.
The idmcle.exe file creates an idmcle folder containing the following files:
-
ClientLoginExtensionConfigurationUtilitySetup.msi
-
Config.ini
-
dotnetfx.exe
-
Settings.ini
-
Setup.exe
To install the Client Login Extension:
-
From the idmcle folder, run Setup.exe to launch the Client Login Extension Configuration Utility installer.

-
Click to continue with the installation. The installer checks to see if the .NET platform is installed on this machine. If .NET is installed, skip to Step 5. If it is not, you see the following dialog box:

-
Click to install the Microsoft .NET Framework.

-
Click , then click .
After the .NET Framework is installed, the Client Login Extension for Novell Identity Manager 3.5 Setup Wizard launches.

-
Read the information on the initial wizard page, then click .
-
On the License Agreement page, read the license agreement. If you agree, click, then click .

-
On the Select Installation Folder page, use the default directory selection, or click to select a different directory.
The default directory is C:\Documents and Settings\Username\My Documents\Client Login Extension Configuration Utility for Novell Identity Manager 3.5.
You can also select to create shortcuts for the currently logged-in user, or for anyone who uses this computer. The default is .
-
Click .
-
On the Confirm Installation page, click to install the Client Login Extension Configuration utility and the Client Login Extension files.

-
When the installation completes, click , then click .
The install process creates two shortcuts to ClientLoginExtensionConfigurationUtility.exe, one for the desktop and one for the menu. The process installs the following folders and files in the installation folder:
-
ClientLoginExtensionConfigurationUtility.exe
-
Interop.WindowsInstaller.dll
-
license.rtf
-
Installer/
-
IdentityManagerClientLoginExtension_en.msi (English--default)
-
IdentityManagerClientLoginExtension_de.msi (German)
-
IdentityManagerClientLoginExtension_es.msi (Spanish)
-
IdentityManagerClientLoginExtension_fr.msi (French)
-
IdentityManagerClientLoginExtension_it.msi (Italian)
-
IdentityManagerClientLoginExtension_ja.msi (Japanese)
-
IdentityManagerClientLoginExtension_zh_CN.msi (Chinese Mandarin)
-
IdentityManagerClientLoginExtension_zh_TW.msi (Chinese Traditional)
-
-
-
Continue with Section 8.3, Using the Client Login Extension Configuration Utility to Configure the Client Login Extension MSI Files.
8.2.1 Uninstalling the Client Login Configuration Utility for Novell Identity Manager 3.5
To uninstall the configuration utility:
Using Add or Remove Programs to Uninstall the Configuration Utility
-
Open the Add or Remove Programs dialog box in the Control Panel, select . Then click .
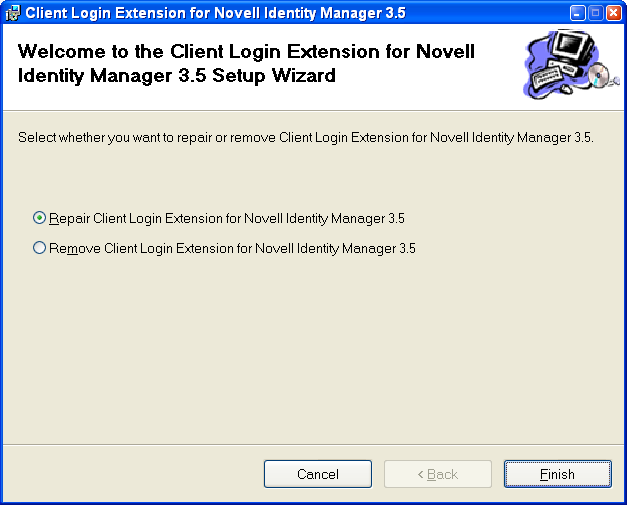
Using the Setup Wizard to Uninstall the Configuration Utility
-
Re-run Setup.exe to re-launch the Client Login Extension for Novell Identity Manager 3.5 Setup Wizard.
-
Select the option , then click .