2.3 Installing on Windows
This section assumes that you have already installed the Metadirectory engine (and, most likely, other drivers) on the server and need to install only the Exchange driver. See
Installing Identity Manager
in the
Identity Manager 3.5.1 Installation Guide
.
Typically, an Identity Manager installation installs all drivers, including the Exchange driver, at the same time that the Metadirectory engine is installed. If the Exchange driver wasn’t installed at that time, you can install the driver separately. The schema won’t be extended during this driver install because the Identity Manager installation already extended it when the Metadirectory engine was installed.
-
Run the installation program from the Identity Manager 3.5.1CD or image file.
If the installation program doesn’t autolaunch, you can run \nt\install.exe.
-
On the Welcome page, review information, then click .
-
On the License Agreement page, select a language, review the license agreement, then click .
-
On the first Identity Manager Overview page, review the information on the Identity Manager/Metadirectory Server and a Connected System Server, then click .
-
In the second Identity Manager Overview page, review information on the Web-based Adminstration Server and utilities, then click .
-
On the Identity Manager Install page, select , then click .
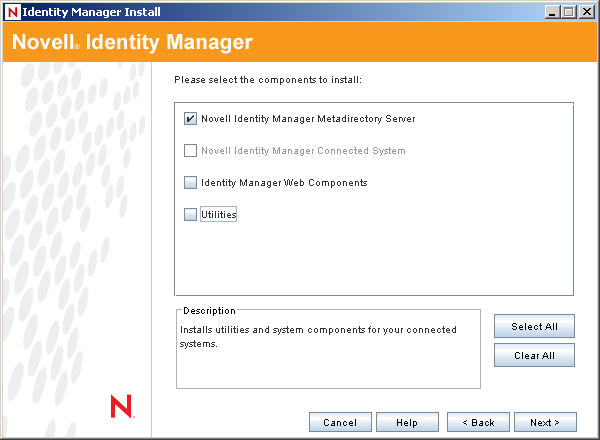
The following options are available:
-
Metadirectory Server: Installs the Metadirectory engine and service drivers. These include Identity Manager Drivers for Active Directory*, Avaya*, Delimited Text, eDirectory, Exchange, GroupWise®, JDBC*, JMS, LDAP, Linux/UNIX Settings, Lotus Notes*, PeopleSoft, RACF, Remedy, SOAP, SAP*, SIF*, Top Secret, and Work Order. Selecting this option also extends the eDirectory schema.
IMPORTANT:Novell® eDirectory 8.7.3 and Security Services 2.0.4 (NMAS™ 3.1.3) with current patches must be installed before you can install this option. Install the Metadirectory Server component where you want to run the Metadirectory engine for Identity Manager. If you do not have the correct version of NMAS, you receive a warning message and you lose Identity Manager functionality.
-
Connected System: Installs the Remote Loader that allows you to establish a link between the connected system and a server running the Metadirectory engine. For Windows, this option installs the following drivers: Active Directory, Avaya, Delimited Text, eDirectory, Exchange, GroupWise, JDBC, JMS, LDAP, Linux/UNIX Settings, Lotus Notes, PeopleSoft, RACF, Remedy, SOAP, SAP, SIF, Top Secret, and Work Order.
Install the Connected System to allow application connection from an application server to an eDirectory-based server running the Metadirectory engine.
-
Web Components: Installs driver configurations, iManager plug-ins, and application scripts and utilities.
Novell iManager must be installed before you can install this option.
-
Utilities: Installs additional scripts for the JDBC driver and utilities for other drivers. Most drivers don’t have a utility connected to them. Driver utilities can include:
-
SQL scripts for JDBC driver
-
JMS components
-
PeopleSoft components
-
License Auditing tool
-
Active Directory Discovery tool
-
Lotus Notes Discovery tool
-
SAP utilities
Another utility allows you to register the Novell Audit System components for Identity Manager. (A valid eDirectory version and a Novell Audit logging server must be installed on the tree before this utility installs.)
-
-
-
On the Select Drivers for Engine Install page, select , then click .
By default, all supported drivers are selected. You can install all selected drivers or you can install just the Exchange driver. Additional drivers are not viable until they are configured. To configure the driver, see Section 4.0, Importing an Example Configuration File and Section 5.0, Configuring the Exchange Driver.
-
Review the informational message reminding you about product activation, then click .
Activate the driver within 90 days of installation; otherwise, it will shut down.
-
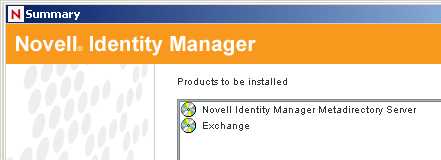
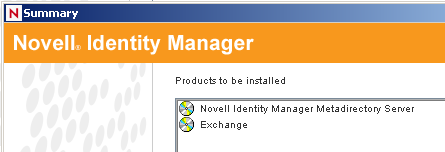
On the Summary page, read and verify your selections, then click .
-
On the Installation Complete dialog box, click .
-
Continue by importing an example configuration file.