17.1 Browsing the Role Catalog
To browse the Role Catalog:
-
Click in the list of actions.
The User Application displays the current list of roles in the Role Catalog.
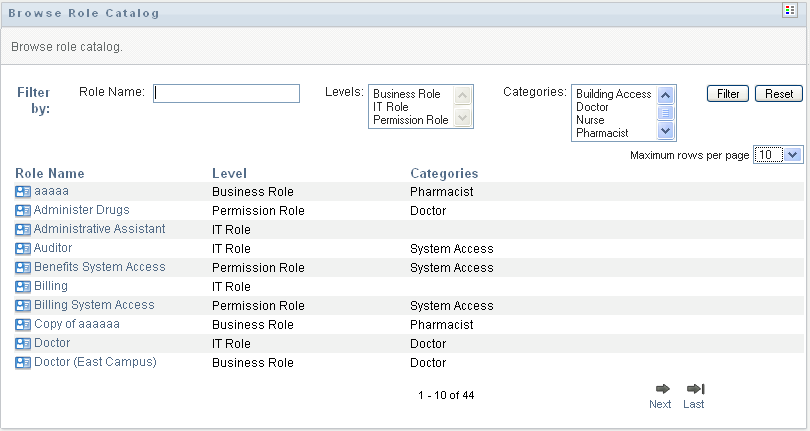
The columns in the assignment list table are described below:
-
The column provides the name of each role in the catalog.
-
The column indicates the level of the role within the catalog. By default, the catalog supports three levels with the following names:
-
The column lists the categories associated with the role. Categories allow a business to organize the roles in the Role Catalog. Once a role has been associated with a category, it can be used as a filter when browsing the catalog.
-
-
You can filter the list of roles, as follows:
-
To view only those assignments that start with a particular string of characters, see Filtering Data for information about what to enter in the box.
-
To view those roles that have a specific level in the hierarchy, select the desired level in the box.
-
To view those roles that have been associated with a particular category, select the desired category in the box.
-
To apply the filter criteria you’ve specified to the display, click .
-
To clear the currently specified filter criteria, click .
-
-
To set the maximum number of assignments displayed on each page, select a number in the drop-down list.
-
To see the details for a particular role, click the role name in the column.
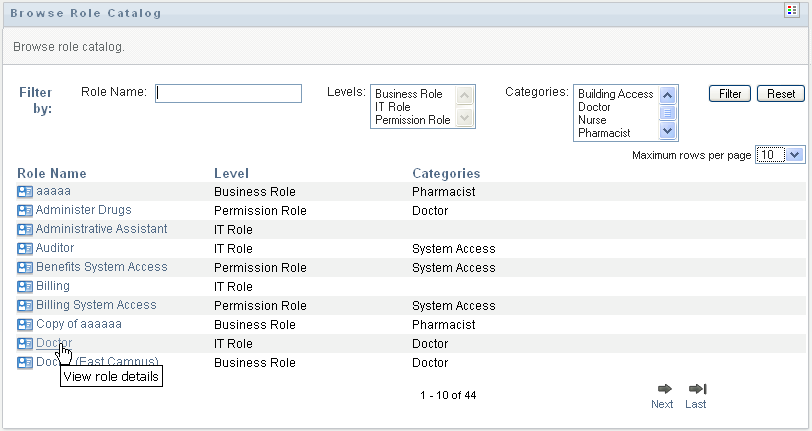
The User Application takes you to the Manage Roles page, where you can view details of the role or make changes.