10.3 Requesting a Resource
The action allows you to make a resource request. When you initiate the request, the user application displays the initial request form. This form lets you specify all of the information needed for the request.
When a resource request is submitted, the request starts a workflow. The workflow coordinates the approvals needed to fulfill the request. Some resource requests require approval from a single individual; others require approval from several individuals. In some instances, a request can be fulfilled without any approvals.
To request a resource:
-
Click in the group of actions.
The Request Resource page is displayed.
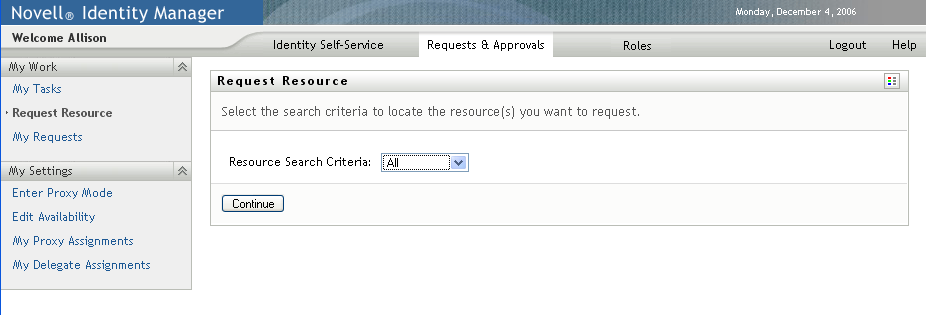
-
Select the category of the resource in the drop-down list. Select to include resources from all available categories.
-
Click .
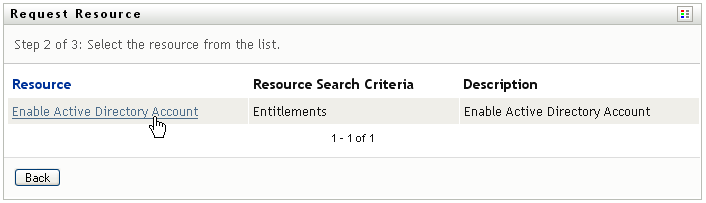
The Request Resource page displays a list of resources available to the current user.
The user application enforces security constraints to ensure that you see only those request types to which you have access rights.
-
Select the desired resource by clicking the resource name.
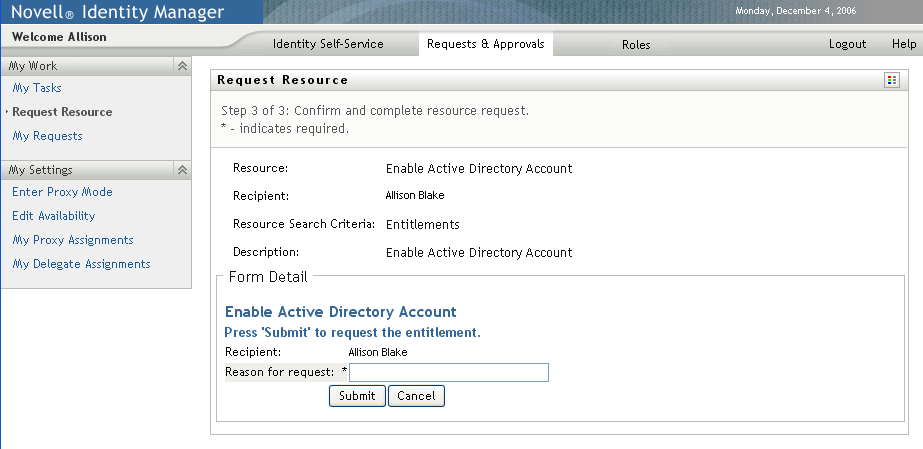
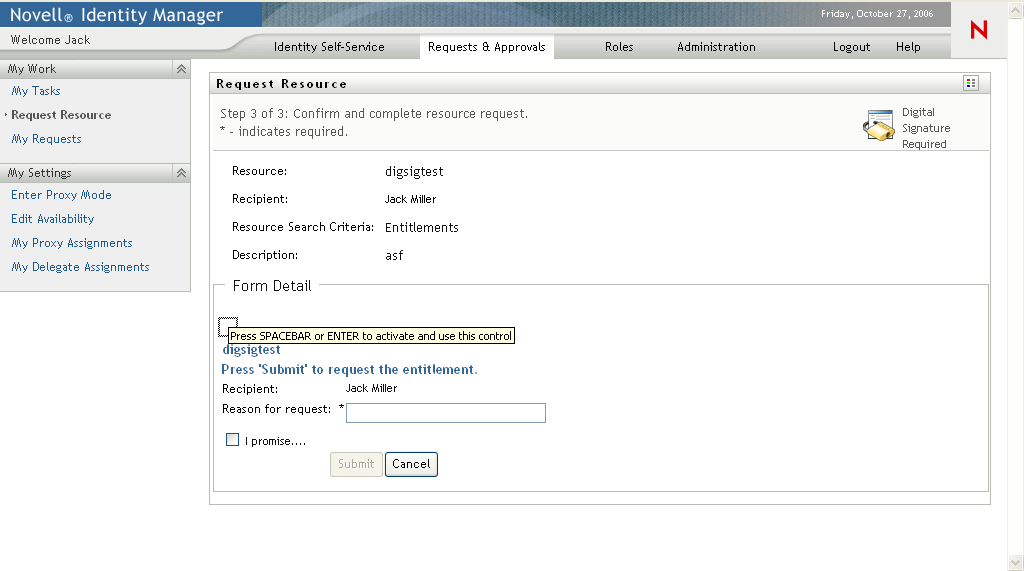
The Request Resource page displays the initial request form.
If the resource you’ve requested requires a digital signature, the icon appears in the upper right corner of the page. In addition, on Internet Explorer, a message appears indicating that you need to press the Spacebar or the Enter key to activate the digital signature applet:
-
If you’re making a request that requires a digital signature, perform these steps:
-
If you’re using a smart card, insert the smart card into the smart card reader.
-
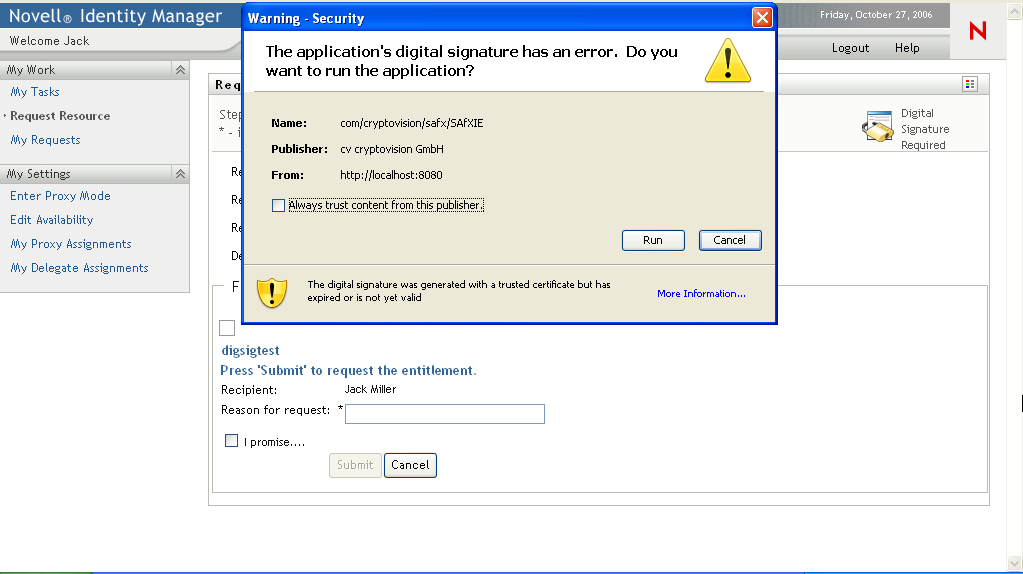
On Internet Explorer, press the Spacebar or the Enter key to activate the applet.
At this point, your browser might display a security warning message.
-
Click to proceed.
-
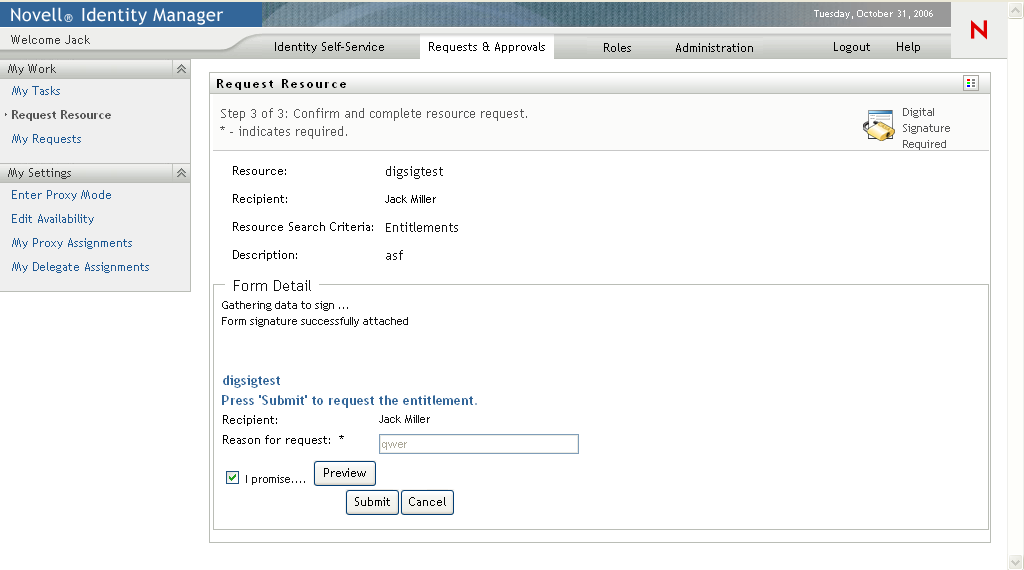
Fill in the fields in the initial request form. The fields on the form vary depending on which resource you requested.
-
Click the check box next to the digital signature confirmation message to indicate that you are ready to sign.
The digital signature confirmation message varies depending on how the provisioning resource was configured by the administrator.
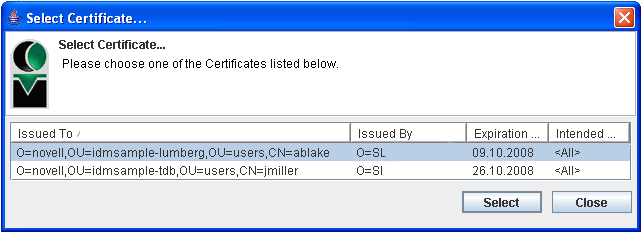
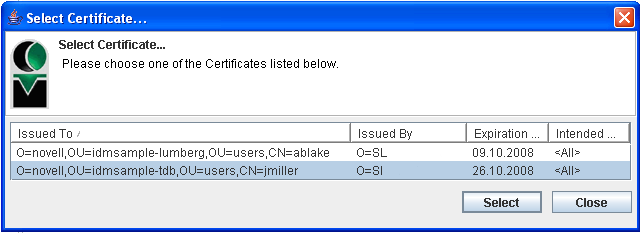
The applet then displays a pop-up window that allows you to select a certificate. The pop-up window lists certificates imported to the browser as well as certificates imported to the smart card (if one is currently connected).
-
Select the certificate you want to use and click .
-
If you select a certificate that has been imported into your browser, you need to type the password for the certificate in the field on the request form.
-
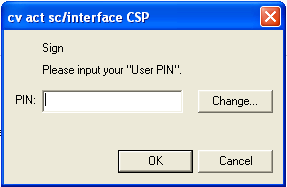
If you select a certificate that has been imported to your smart card, type the PIN for your smart card and click .
You do not need to type the password for the certificate if you’re using a smart card, because the certificate password has already been transmitted to the card.
If your administrator has enabled the ability to preview the user agreement, the button is enabled.
-
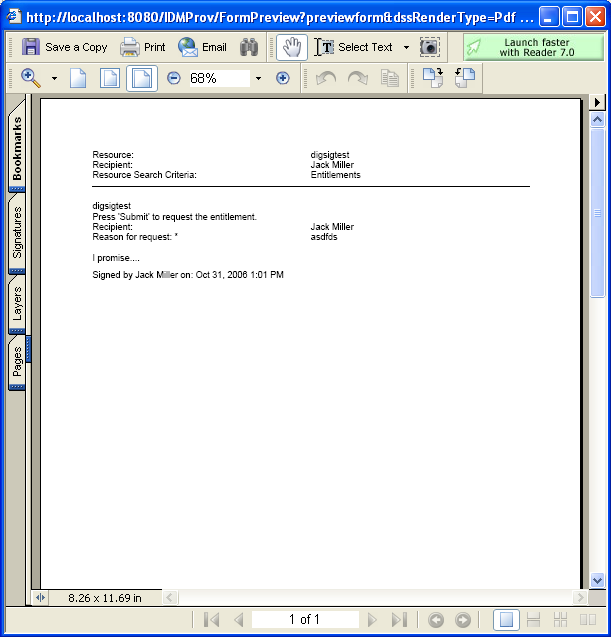
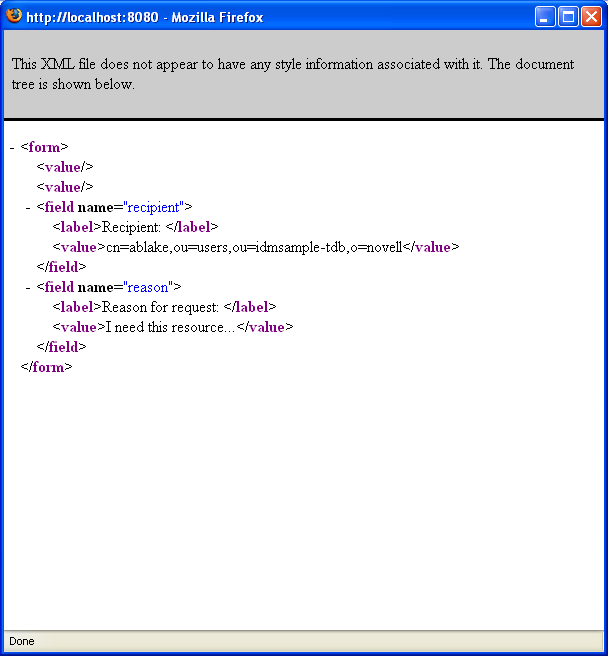
Click to see the user agreement.
If the digital signature type is set to Form, a PDF document is displayed.
If the digital signature type is set to data, an XML document is displayed.
-
-
If the request you’re making does not require a digital signature, simply fill in the fields on the initial request form. The fields on the form vary depending on which resource you requested.
-
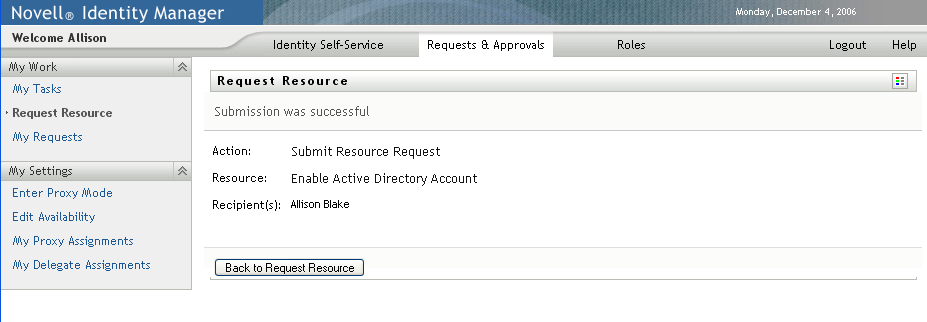
Click .
The Request Resource page displays a status message indicating whether the request was submitted successfully.