10.4 Checking the Status of Your Requests
The action allows you to see the status of the resource requests you’ve made. It lets you see the history and current state of each request. In addition, it gives you the option to retract a request that is still in process if you have changed your mind and do not need to have the request fulfilled.
To view a list of your requests:
-
Click in the group of actions.
-
Select the category of the resource in the drop-down list. Select to include resources from all available categories.
-
Optionally filter the list of requests by date by selecting , , or , and filling in the field. To include all requests for the selected resource search criteria, leave the field blank.
-
Click .
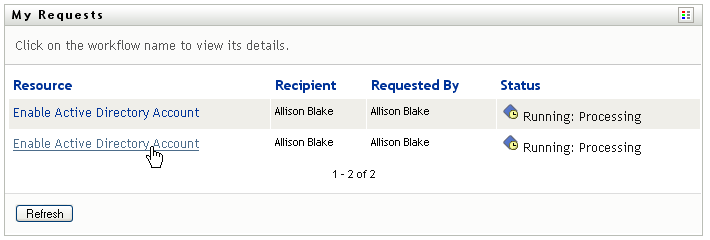
The Request Resource page displays your requests. The list includes active requests, as well as requests that have already been approved or denied. The administrator can control how long workflow results are retained for. By default, the Workflow system retains workflow results for 120 days.
-
To view details about a particular resource request, select the request by clicking the name:
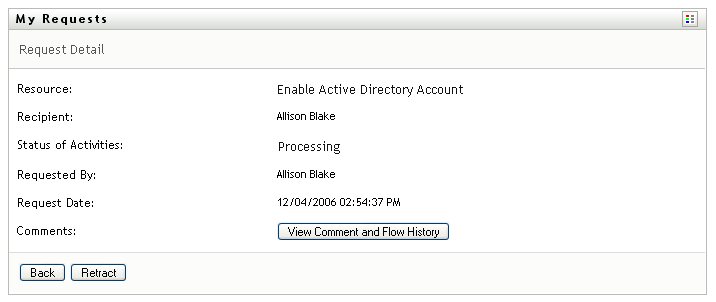
The Request Resource page displays details such as when the request was initiated and what the current state of the workflow is.
-
To retract the request, click .
-
To view comment history for the request, click .
A pop-up window lets you see user and system comments. The order in which comments appear is determined by the time stamp associated with each comment. Comments entered first are displayed first. For parallel approval flows, the order of activities being processed concurrently can be unpredictable.
-
To display user comments, click .
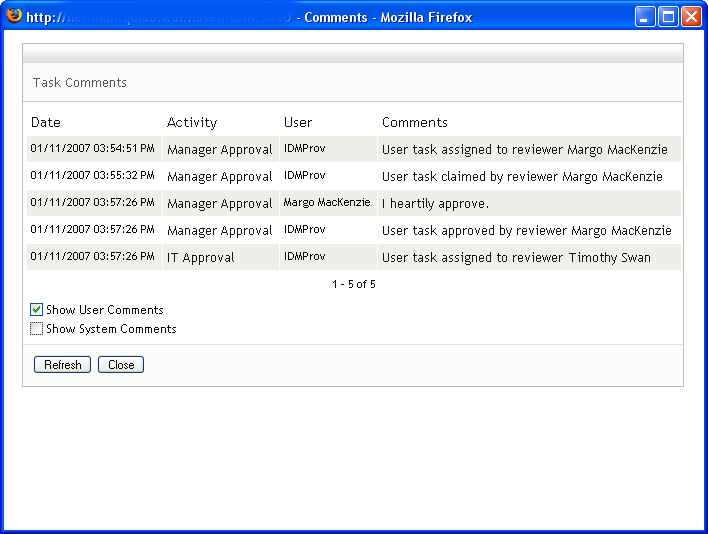
User comments include the following kinds of information:
-
The date and time when each comment was added.
-
The name of the activity to which each comment applies. The list of activities displayed includes user and provisioning activities that have been processed or are currently being processed.
-
The name of the user who made the comment. If the comment is generated by the workflow system, the name of the application (for example, IDMProv) is the user name. Comments generated by the workflow system are localized automatically.
-
The comment text, which includes the name of the user who is the current assignee for each activity.
The workflow designer can disable the generation of user comments for a workflow. For more information, see the Identity Manager User Application: Design Guide.
-
-
To display system comments, click .
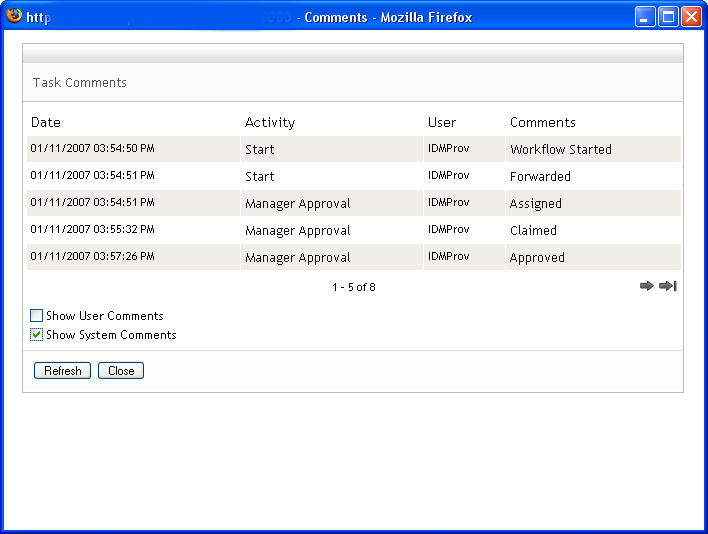
System comments include the following kinds of information:
-
The date and time when each comment was added.
-
The name of the activity to which each comment applies. When you display system comments, all activities in the workflow are listed. The list of activities includes those that have been processed or are currently being processed.
-
The name of the user who made the comment. If the comment is generated by the workflow system, the name of the application (for example, IDMProv) is the user name. Comments generated by the workflow system are localized automatically.
-
The comment text, which indicates what action was taken for the activity.
System comments are intended primarily for debugging purposes. Most business users do not need to look at the system comments for a workflow.
-
-
To scroll through a long list of comments, click the arrows at the bottom of the screen. For example, to scroll to the next page, click the arrow.

-
Click to close the window.
-