13.3 Viewing and Editing Your Team’s Delegate Assignments
The action allows you to manage the delegate assignments for team members. The rules for defining delegates are as follows:
-
You are allowed to define delegates for the members of a team for which you have been designated as team manager, as long as the team definition gives you this permission.
-
The people whom you specify as delegates must also be within your team.
-
The Provisioning Application Administrator has the ability to define delegate assignments for any user, group, or container in the organization.
To define a delegate assignment:
-
Click in the group of actions.
-
Click to select a team for which you have been designated as a team manager.
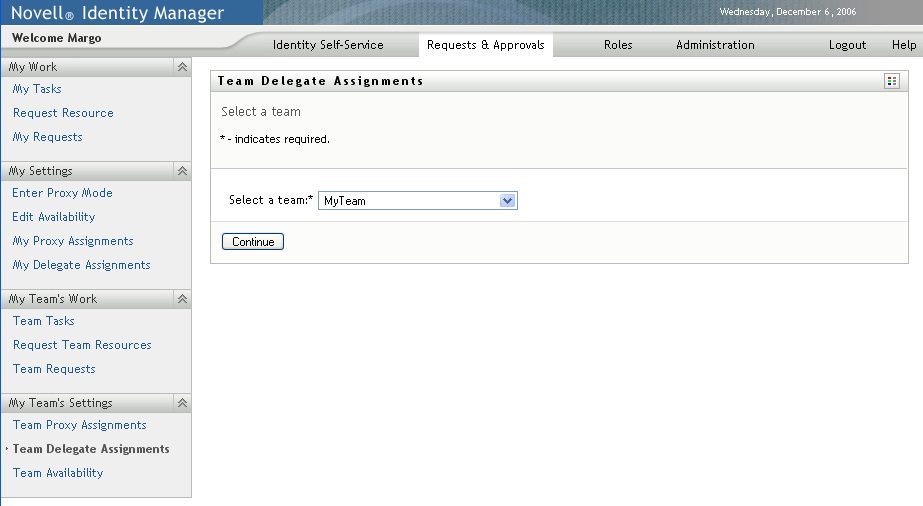
The list of teams includes teams for which team managers are permitted to define delegates (specified in the team request rights), as well as teams for which the ability to set delegates has been disabled. If the team request rights do not permit team managers to define delegates, the manager can still view delegate settings defined for the team members by the administrator or by a manager of another team to which these users belong. However, the team manager cannot edit or delete these settings, view details for these settings, or create new delegate assignments.
If you are a Provisioning Application Administrator, you do not see the box.
-
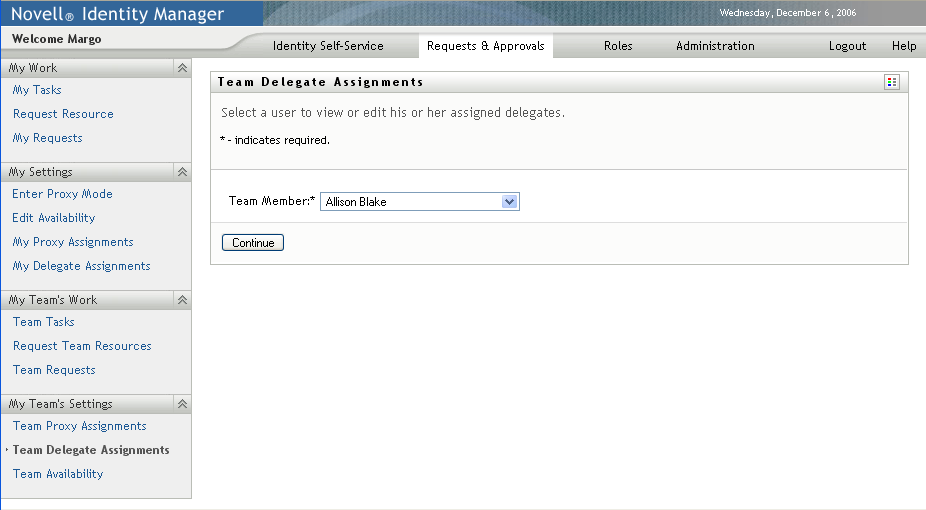
Click .
-
Click a name to select it.
Depending on how the team was defined, you might see an icon
 beside the
selection box, instead of a list of team members. In this case, click the icon to open the Object Lookup window. Specify search criteria for the team member, click
and select the team member.
beside the
selection box, instead of a list of team members. In this case, click the icon to open the Object Lookup window. Specify search criteria for the team member, click
and select the team member.
-
Select a team member from the list, and click .
Any existing assignments for the team member are displayed.
-
Click
The button is only enabled for those teams for which team managers are permitted to define delegates for team members.
-
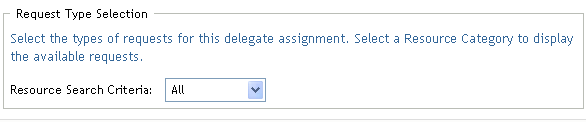
Fill in the fields as follows:
-
Click to save your assignments.
If the save is successful, you’ll see a message like this:
Submission was successful
Please note that any previous availability settings for users referenced in processed delegatee assignment will not be updated automatically. Please check and refresh any existing availability settings for the corresponding users in order to activate these changes.
To modify delegate assignments:
-
Click in the group of actions.
-
Click to select a team for which you have been designated as a team manager.
The list of teams includes teams for which team managers are permitted to define delegates (specified in the team request rights), as well as teams for which the ability to set delegates has been disabled. If the team request rights do not permit team managers to define delegates, the manager can still view delegate settings defined for the team members by the administrator or by a manager of another team to which these users belong. However, the team manager cannot edit or delete these settings, view details for these settings, or create new delegate assignments.
If you are a Provisioning Application Administrator, you do not see the box.
-
Click .
-
Click a name to select it.
Depending on how the team was defined, you might see an icon
beside the
selection box, instead of a list of team members. In this case, click the icon to open the Object Lookup window. Specify search criteria for the team member, click
and select the team member.
The delegate assignments for the selected team member, if any, are displayed.
-
Select a team member from the list, and click .
Any existing assignments for the team member are displayed.
-
To edit a delegate assignment, click the edit button in the same row as the assignment you want to modify.

If the team request rights do not permit team managers to define delegates, the edit button is disabled.
-
Fill in the fields as follows:
-
Click to save your selections.
To delete a delegate assignment:
-
Click in the group of actions to view assignments delegated to this team member and also assignments delegated away from this team member.
-
To remove a delegate assignment, click the delete button in the row of the assignment you want to delete.

You are prompted to confirm the deletion. When the deletion is complete, you’ll see a confirmation message.