13.4 Specifying Your Team’s Availability
The action allows you to specify the resource requests your team members are not available to work on. During the time period when you or your team members are not available, any resource requests of that type are forwarded to the delegate’s queue.
You can specify availability for each resource request individually or globally. You can only specify the availability for users who have delegates already assigned.
-
Click in the group of actions.
-
Click to select a team for which you have been designated as a team manager.
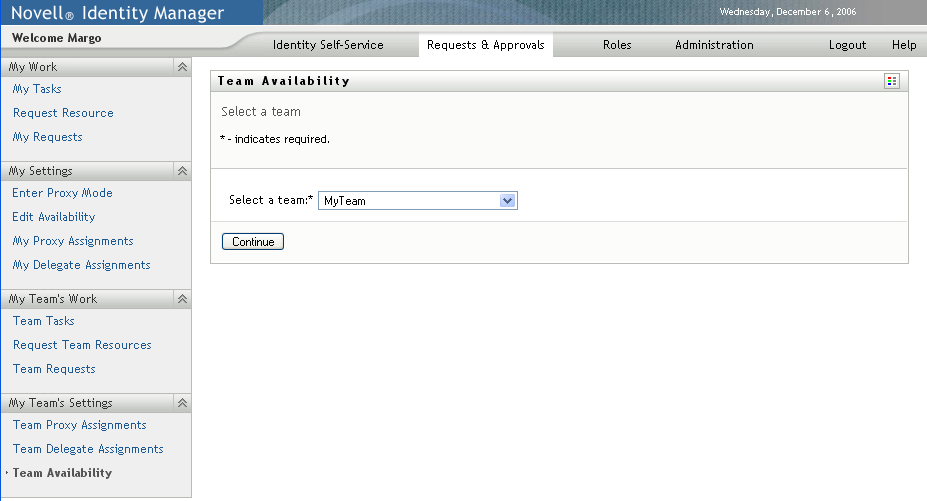
The list of teams includes teams for which team managers are permitted to define availability (specified in the team definition), as well as teams for which the ability to define availability has been disabled. If the team definition does not permit team managers to define availability, the manager can still view availability settings defined for the team members by the administrator or by a manager of another team to which these users belong. However, the team manager cannot edit or delete these settings, view details for these settings, or create new availability assignments.
If you are a Provisioning Application Administrator, you do not see the box.
-
Click .
-
Click a name to select it, and click .
Depending on how the team was defined, you might see an icon
 beside the
selection box, instead of a list of team members. In this case, click the icon to open the Object Lookup window. Specify search criteria for the team member, click
and select the team member.
beside the
selection box, instead of a list of team members. In this case, click the icon to open the Object Lookup window. Specify search criteria for the team member, click
and select the team member.
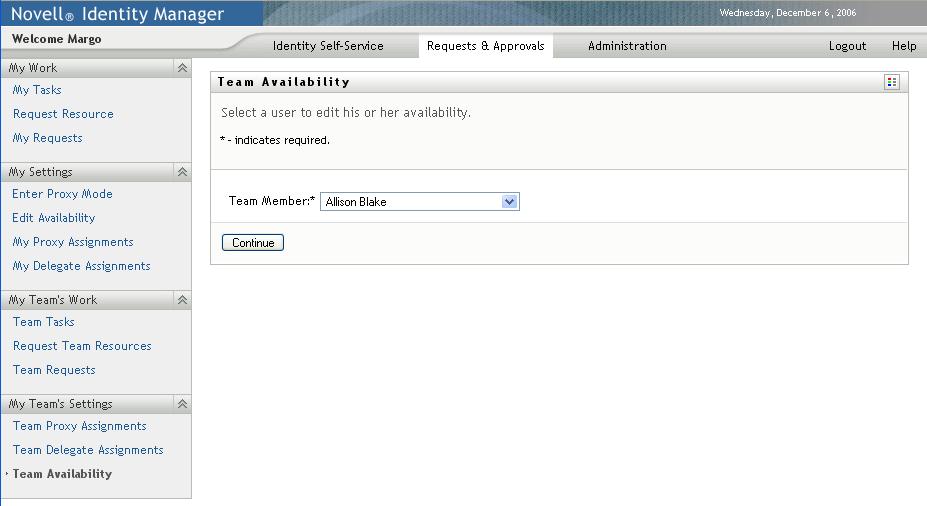
The availability settings for the selected team member, if any, are displayed.
-
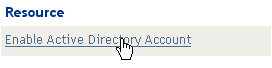
To see details about a particular resource associated with an availability assignment, click the name of the resource:
The page then displays a pop-up window that provides information about the delegate assignment:
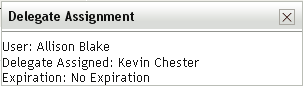
This information is particularly helpful in situations where the same resource name appears more than once in the availability settings list.
-
Click
The button is enabled only for those teams for which team managers are permitted to define availability settings for team members.
-
Specify the status by selecting one of the options in the drop-down list:
-
Specify the time period when the team member is unavailable:
-
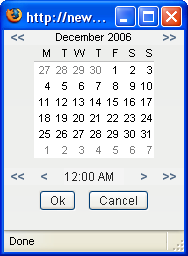
Specify when the time period begins by typing the start date and time in the box, or by clicking the calendar and selecting the date and time.
-
Specify when the time period ends by clicking one of the following:
-
-
Specify whether you want to send e-mail notifications to other users by filling in these fields:
-
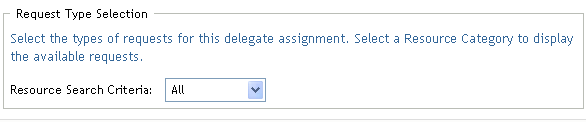
Select one or more requests in the list box, then click .
On this page, you select the types of requests that the team member does not accept during the unavailable period. This has the effect of delegating these requests to other users.
Each request you add is included in the list box.
If you add multiple requests for this time period, each request is treated as an individual object that can be edited separately.
-
To indicate that this availability setting applies to all request types, click instead of selecting the request types individually.

The check box is only available when the resource search criteria for the delegate assignment is set to .
-
To remove a request from the list, click .
-
Click Submit to save your changes.