6.3 Configuring an iFolder Account
Use the to add and configure a new account. You must configure at least one iFolder account before you can create iFolders or share iFolders on your system. You can connect to the iFolder server with only one account at any given time. However, to connect to more than one iFolder servers, you can configure multiple accounts. You can log in separately to each account and be logged in concurrently to multiple accounts.
Multiple users with different local login identities will have iFolders on the same computer. The first time you start iFolder under your current local login identity, iFolder prompts you to set up an iFolder account.
IMPORTANT:iFolder 3.7 introduces a new feature, auto-account creation, which helps the iFolder administrator to create and configure an account for you. If your iFolder administrator has enabled auto-account creation, you don’t need to configure an account for yourself. When you start an iFolder for the first time, you are prompted to enter your password. Enter your password and complete configuring the account.
To configure a new account:
-
Access the , using one of the following methods:
-
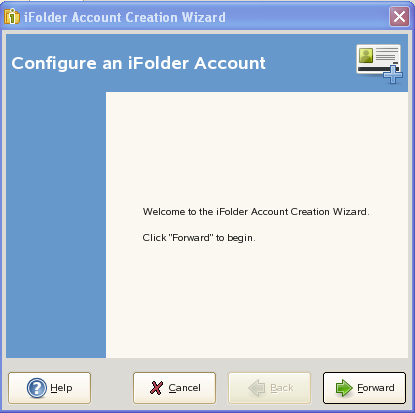
The first time you start iFolder under your current local login identity, iFolder prompts you to set up an iFolder account. Click to go directly to the .
-
Right-click the iFolder Services
 icon in the notification area, select to open the iFolder Preferences dialog box to the tab, then click to open the .
-
-
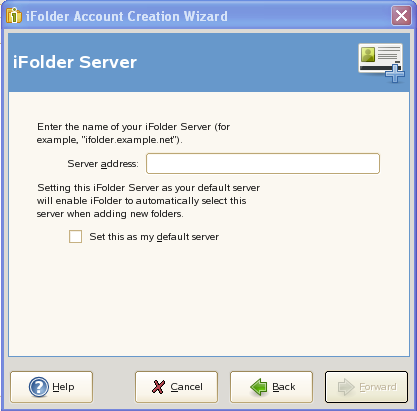
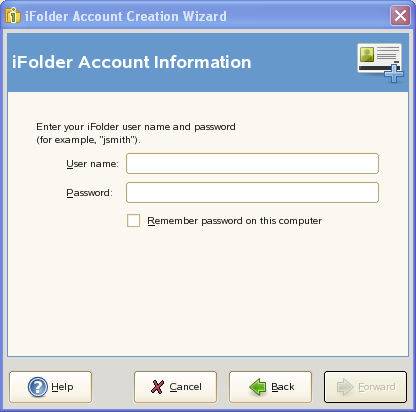
Follow the on-screen instructions to specify the following values:
-
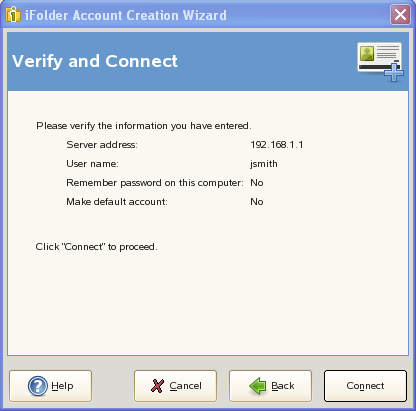
Verify the information entered by you. To make any changes, click the button and revisit the previous pages. Click to proceed and validate your connection with the server.
-
If you are prompted to , click to review the certificate information, then click to accept it.
NOTE:During the account creation, login happens through SSL. When you are prompted to accept the server certificate, you must validate the certificate and accept it for a successful connection.
-
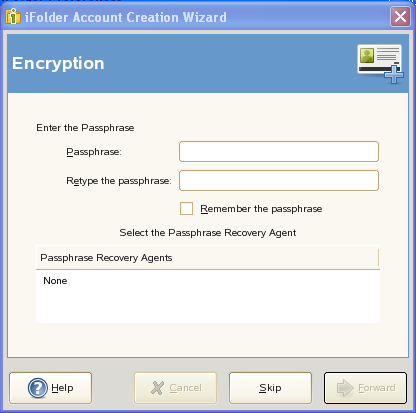
If the administrator has enabled the encryption policy, iFolder prompts you to enter your passphrase.
Enter your passphrase in the field.
Re-enter the passphrase in field.
Select check box to automatically access the encrypted iFolder data during the current session. If you select this option, iFolder can remember your passphrase during the next login process. This passphrase exchange is done automatically.
NOTE:If you do not want to enter the passphrase and skip this step, you must skip the default iFolder creation step also. Otherwise, you will be prompted to enter the passphrase again.
-
Select the desired Recovery agent from the list and click .
-
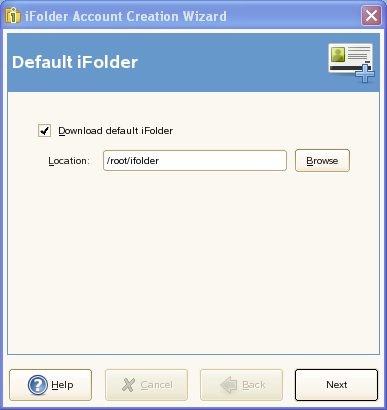
Specify the location where you want to create the default iFolder.
By default, the default iFolder is stored at <users home directory>/ifolder/server_name/user_name.
NOTE:For Windows, by default, the default iFolder is stored at the location %USERPROFILE%\iFolder\domainname\username\

-
Select the type of the Default iFolder that you want to create. If you choose , you will be prompted to provide the passphrase.
IMPORTANT:You can share only the regular iFolders. Encrypted iFolders cannot be shared.
If your iFolder administrator has not enabled encryption for your current account, you can create only regular iFolders, and if encryption is enabled, the option is selected by default.
-
Select to enable secure synchronization of files in the iFolder you are creating.
You can enable secure channel for both regular and encrypted iFolders. With this option selected, iFolder allows you to use a secure channel to synchronize between iFolder on the server and on the local machine.
If you remove the default iFolder on the server, the next time you configure the account from any thick client, iFolder prompts you to create a default iFolder again.
However, if you remove the default iFolder from the local machine, the next time you configure the account, iFolder prompts you to download the default iFolder.
-
If you have already set up a default iFolder, you can download it to your local machine.
Download the default iFolder and click to proceed.
-
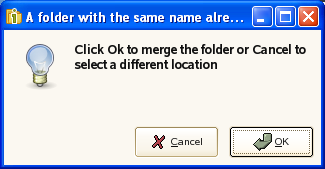
If a folder with the same name as the default ifolder already exists on your system, you are prompted to either merge the two folders or download the default ifolder to a different location.
Click to merge the two folders or click to download the default iFolder to a different location
-
Click to close the iFolder Account Creation Wizard.
iFolder synchronizes the user list for the specified account and identifies iFolders that are available for download. This initial download can take a few seconds to a few minutes, depending on the size of the user list for the account.
-
Verify that the account you set up appears in the list of accounts.
-
Right-click the
icon in the notification area, then select from the menu to open the dialog box to the tab.
When you are connected to the iFolder server, the check box is selected.
-
Close the iFolder Preferences dialog box.
-
-
Set up iFolders for the account using either of these methods:
-
Right-click the icon in the notification area, then select to open the iFolder browser. Continue with Section 7.5, Creating and Uploading an iFolder.
-
If iFolders for this account are available for download from the server, they are listed on the iFolder window under iFolders on <iFolder_server_name>. The download icon
 indicates that the iFolder is available for download. Continue with Section 7.9, Downloading an Available iFolder.
-
NOTE:You cannot create two accounts on the iFolder client from two domains if both the iFolder domains point to the same LDAP source (eDirectory or Active Directory). However, this issue is not observed if the LDAP source is Openldap.