4.2 Creating A VPN Client Profile To Connect To Novell BorderManager 3.9
This section explains the procedures to create a VPN client profile to connect to Novell BorderManager 3.9.
To create a VPN client profile, do the following:
-
After you have installed the VPN Linux client, open a system terminal Install the VPN Linux client; change to root and using su, run the following command: cat /var/log/vpnClientInstall.log After this, you get a message that the installation is terminated successfully.
-
Using KDE, click > .
-
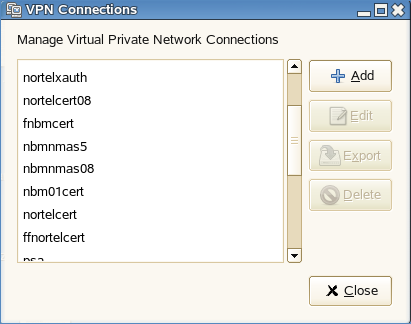
Next, click .
-
Click .
-
In the Connect To options, select .
HINT:You had installed VPN client with no errors and still do not see any options here, reboot your computer.
-
Provide a connection name, provide a name to identity this connection.
-
Select the gateway type as Novell BorderManager.
-
Select the authentication type as NMAS.
-
For the gateway, provide the IP address of the Novell BorderManager server.
-
Select .
-
Select the sequence as NDS.
-
Provide the of the user and the .
-
Under the , click > .
-
Next, click > .
-
Click . Your profile is now created.
Verify that racoon service is ready. As root on a system console type: rcracoon restart.
To use this profile to connect to your Novell BorderManager server, do the following:
-
Click .
-
Select Connect to
-
Provide the username and password.Your connection is now made.
To verify whether the connection is made, on the terminal server console, type . You will see an interface with the IP address of the VPN client pool you configured in the iManager.
You will now be able to access your internal networks through the VPN Linux client.