11.2 Branding the Login Dialog Box
You can change the image that is used in the login dialog box that users see before they log in to the Novell Filr site.
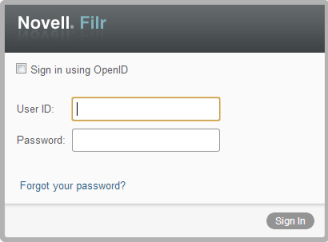
To re-brand the login dialog box to contain a custom image:
-
Sign in to the Filr site as the Filr administrator.
-
Click the link in the upper-right corner of the page, then click the icon
 .
.
The Administration page is displayed.
-
In the section, click .
The Site Branding dialog box is displayed.
-
(Conditional) If you have not done so already, upload to Filr any images that you want to use in your site branding:
-
Click the icon
 to browse to and upload your image to Filr to be used in the site branding.
The Add File Attachment dialog box is displayed.
-
(Optional) Click if you want to upload multiple images to the Filr site. After images are uploaded to the Filr site, they can then be used in the site branding.
-
Browse to and select the images that you want to upload.
The suggested image size to use in the login dialog box is width: 400px, height: 60 px.
-
Click to exit the Add File Attachment dialog box.
-
-
In the section, in the drop-down list, select the file that you want to use for branding the login dialog box.