7.1 Configuring the MySQL Database Appliance
This section describes how to change configuration options for the MySQL database appliance for a large deployment, including how to change the credentials for the MySQL database.
If you already have a MySQL database server that you want the Filr appliance to use, you can skip this section and update the configuration as described in Section 5.3, Configuring an Existing Database Server.
IMPORTANT:In a production environment, it is a best practice to change the credentials for the MySQL database when the MySQL database is running as a separate appliance. If you do not change the credentials, you at least need to change the root password for the MySQL database.
If your MySQL database is configured on the same appliance as your Filr application, you make configuration changes on the Filr appliance, as described in Configuring and Maintaining the Filr Appliance
in the Novell Filr 1.1 Administration Guide.
-
After installing the database appliance, as described in Section 5.2, Installing the MySQL Database Appliance, navigate to the following URL:
https://ip_address:9443
Replace with the IP address of your database appliance.
-
Sign in to the database appliance using the vaadmin user and the password that you set during installation.
The Novell MySQL Appliance landing page is displayed.
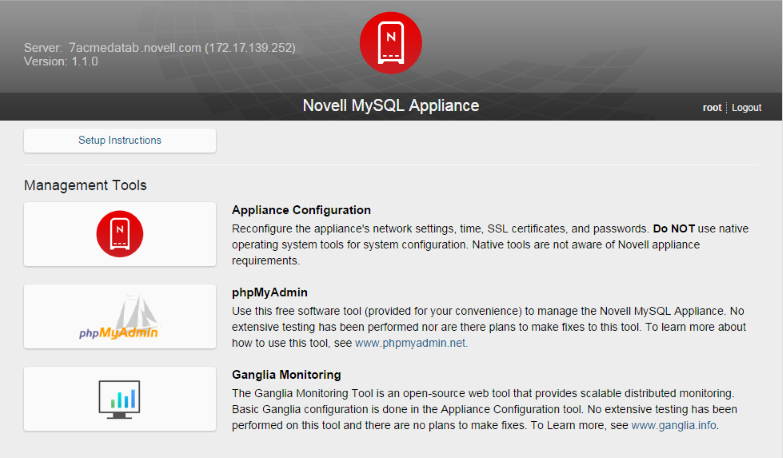
-
Click the icon, then click to log in to phpMyAdmin.

-
Log in to the phpMyAdmin tool as the root user. (The default password for the root user is root. You will be instructed to change the default password in a future step.)
-
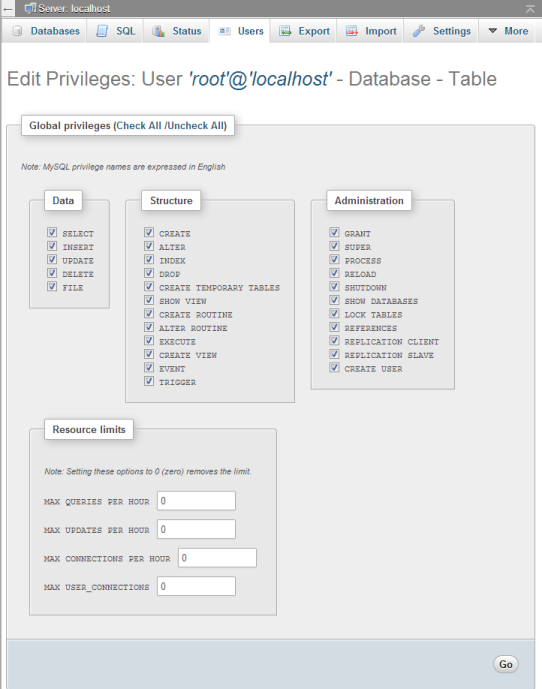
Create a new Filr user to administer the MySQL database:
-
At the top of the page, click .
-
Click .
-
In the field, specify filr as the new user.
-
In the field, select in the drop-down list, then specify the IP address or host name of the Filr application server.
-
In the field, specify a new password for the user, then confirm it in the field.
-
In the section:
-
If you are installing the MySQL database for the first time: select .
-
If you are upgrading the MySQL database: select .
-
-
In the section, select , then deselect all privileges in the section.
-
Click . Note the user name and password of this user. This is the user you will use to access the MySQL database when you configure the Filr appliance.
You can now administer the Filr MySQL database by using this new user.
-
-
(Conditional) If you have a clustered Filr system with multiple Filr appliances, edit the privileges of the Filr user that you created in the previous step so that each of the Filr appliances is granted remote access to the database.
-
On the page, click next to the user that you created in Step 5.
-
Scroll to the section. In the field, specify the IP address or host name of the next Filr appliance in the cluster.
-
In the section, ensure that is selected, then click .
-
Repeat this process for each Filr appliance in the cluster.
-
-
(Recommended) Change your MySQL root password if you have not done so already:
-
At the top of the page, click .
-
In the Users Overview table, locate the root user with in the column, then click for that user in the column.
-
Scroll to the section. In the field, specify your password, then confirm it in the field.
-
Click .
-
-
Make any other configuration changes.