A.1 Configuring the VMware Host Workstation for the Wireless Router
The instructions in this section assume that you are using a Windows 7 workstation (VMware Workstation host) that is directly connected to your organization’s network for optimal bandwidth for downloading large files. (Later, you connect it to the wireless router, but that is not recommended for initial configuration because the router might not provide the same bandwidth, thus impacting the download and installation process.)
Furthermore, these instructions assume that you plan to use a wireless router that is configured for a 192.168.1.0 IP address subnet, with the router itself configured with IP address 192.168.1.1 (a common configuration for many home wireless routers).
Finally, these instructions prepare VMware Workstation to support VMs that are created with IP address configurations that are compatible with connecting to the wireless router through a bridged connection. However, the VMs are created in VMware by using the NAT (network address translation) capabilities in VMware, which is why these preparation steps are required.
-
Ensure that you have met all of the system and software requirements outlined in Section 2.0, System Requirements.
-
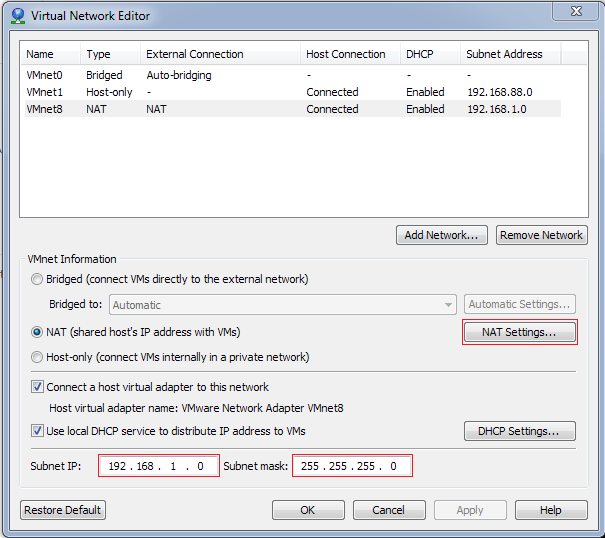
Start VMware Workstation, then click > .
-
Select , change the field to 192.168.1.0 and field to 255.255.255.0, then click .
-
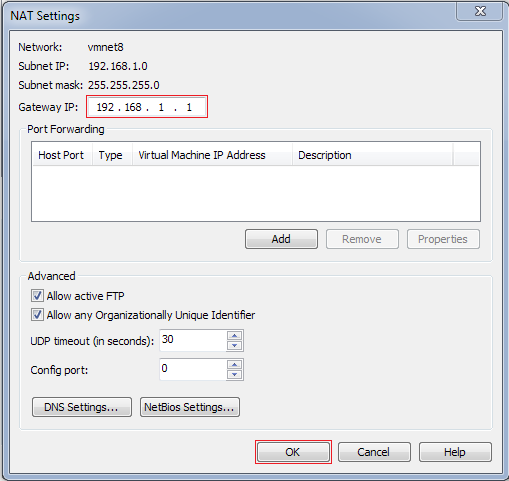
Change the field to 192.168.1.1.
-
Click > > .
-
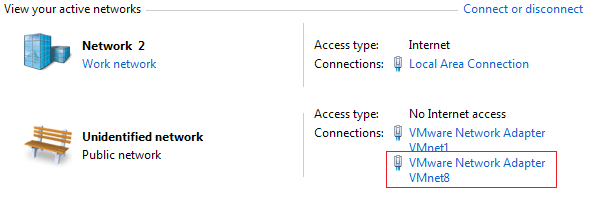
On the workstation’s desktop, click > > . Then under , select .
-
Click > > .
-
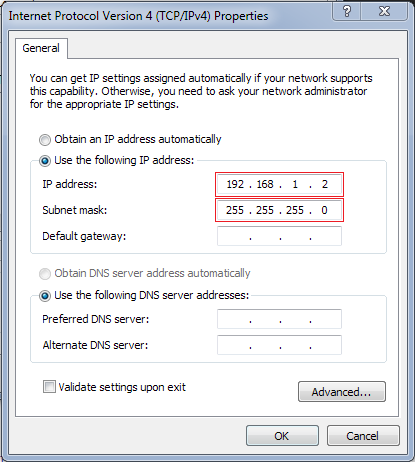
Specify only the IP address (192.168.1.2) and the Subnet mask (255.255.255.0) for the VMware 8 adapter as shown.
-
Click > > .
-
Close the Control Panel and continue with Installing the OES Server.