4.2 Configuring Your Audio and Video Settings
The default audio and video settings can only be set by the host and cannot be changed after the meeting starts. This setting determines if audio and video are available during the meeting.
-
Log in to your Novell Conferencing account.
For information on how to log in, see Section 1.3, Logging In.
-
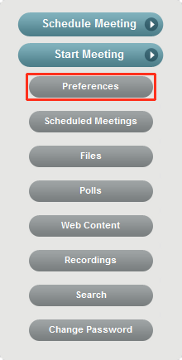
In the dashboard, click s or click .
Use the Preferences dialog box to change the settings for all meetings, or use the Schedule Meeting dialog box to change settings for only one meeting.
-
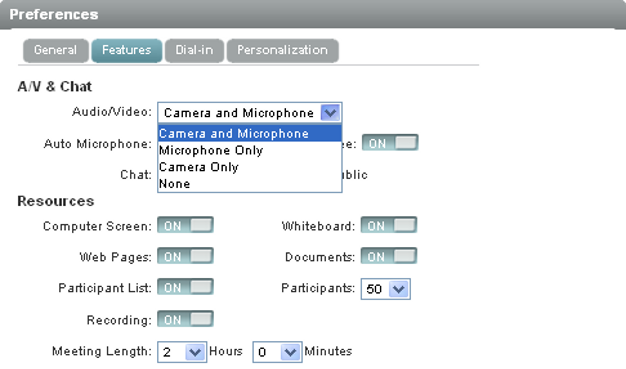
In the Preferences dialog box or the Schedule Meeting dialog box, select the tab.
-
In the section, select the audio and video option you want. You can choose from the following:
Camera and Microphone: The host’s webcam and microphone are broadcast. The other attendees have access to three other webcams or microphones.
Camera Only: The host’s webcam is broadcast, but no audio is available. The other attendees have access to three other webcams.
-
To save the A/V settings, click if you are in the Preferences dialog box, or click if you are in the Schedule Meeting dialog box.
You can completely turn off the audio and video by clicking the button. This turns off the A/V Broadcaster, but saves your preferences in case you decide to turn the audio/video on for a meeting. To see how to turn on the A/V Broadcaster inside the meeting, see Section 4.3.1, Starting the A/V Broadcaster.