4.3 Logging In to the Administration Console
The Administration Console supports the following Web browsers:
-
Microsoft Internet Explorer 7.x and 8.x
-
Mozilla* Firefox 3.5.x and 3.6.x
WARNING:The Administration Console is a combination of iManager and a device manager. It has been customized for Access Manager so that it can manage the Access Manager components.
You cannot use it to log into other eDirectory trees and manage them.
You should not download and add iManager plug-ins to this customized version. If you do, you can destroy the Access Manager schema, which can prevent you from managing the Access Manager components. This can also prevent communication among the modules.
You should not start multiple sessions of the Administration Console on the same machine through the same browser. Because the browser shares session information, this can cause unpredictable results in the Administration Console. You can, however, start different sessions with different brands of browsers.
To log in:
-
Enable browser pop-ups.
-
On the Administration Console, ensure that ports 8080 and 8443 are open.
For information on how to do this, see Section 4.2, Configuring the Administration Console Firewall.
SUSE Linux Enterprise Server (SLES) comes with a firewall enabled by default, which closes these ports.
-
From a client machine external to your Administration Console server, launch your preferred browser and enter the URL for the Administration Console.
Use the IP address established when you installed the Administration Console. It should include port 8080 and the application /nps. If the IP address of your Administration Console is 10.10.10.50, you would enter the following:
http://10.10.10.50:8080/nps
IMPORTANT:If you enter https instead of http, you receive the following error message: The connection was interrupted.
-
Click to accept the certificate. You can select either the permanent or temporary session certificate option.
-
On the Login page, specify the administrator name and password that you defined during the Administration Console installation.
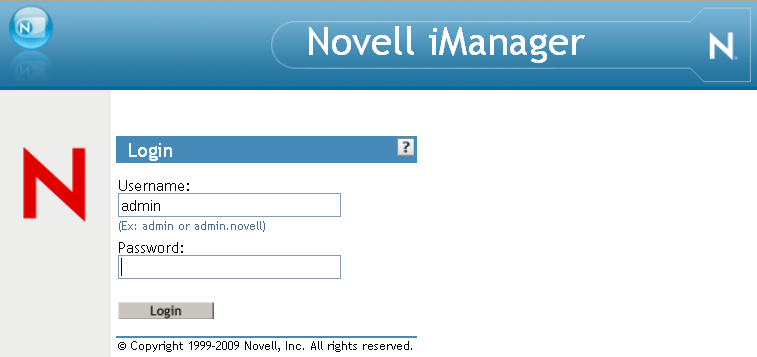
-
Click , and the following view appears.
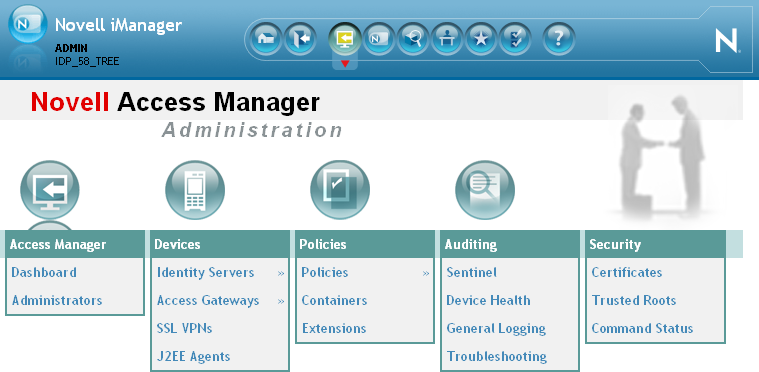
This is the new view for Access Manager 3.1. For more information about this view or about configuring the Administration Console for the 3.0 view, see
Configuring the Default View
in the Novell Access Manager 3.1 SP2 Administration Console Guide.IMPORTANT:All of the configuration and management tasks in the Access Manager documentation assume that you know how to log in to the Administration Console.
-
Continue with one of the following:
-
Before you can configure the system, you need to install some of the other Access Manager components. You need to install at least one Identity Server and one other Access Manager component: an Access Gateway, SSL VPN server, or a J2EE Agent. The best practice is to next install the Identity Server. See Section 5.0, Installing the Novell Identity Server.
-
If your Administration Console machine has multiple interface cards, see Section 4.4, Enabling the Administration Console for Multiple Network Interface Cards.
-
To understand the conventions of the Administration Console, see Section 4.5, Administration Console Conventions.
-