5.2 Installing iFolder Advanced
-
Click from .
-
Select , then click .
-
Specify your iFolder server name.
-
System Name: The name assigned to the iFolder sever.
-
System Description: An optional description of this iFolder server.
-
-
Specify the settings for your LDAP services. LDAP is used for user authentication and authorization.
-
LDAP URL: The LDAP URL is the server address that iFolder authenticates against.
-
LDAP Admin DN: The admin user DN for the LDAP server. For example: cn= admin, o=treename.
-
LDAP Proxy: Where iFolder should create its proxy user in the directory.
-
System Admin DN: The distiguished name for an iFolder-specific administrator user. This user will be created if it does not exist.
-
-
Click to continue your iFolder install.
-
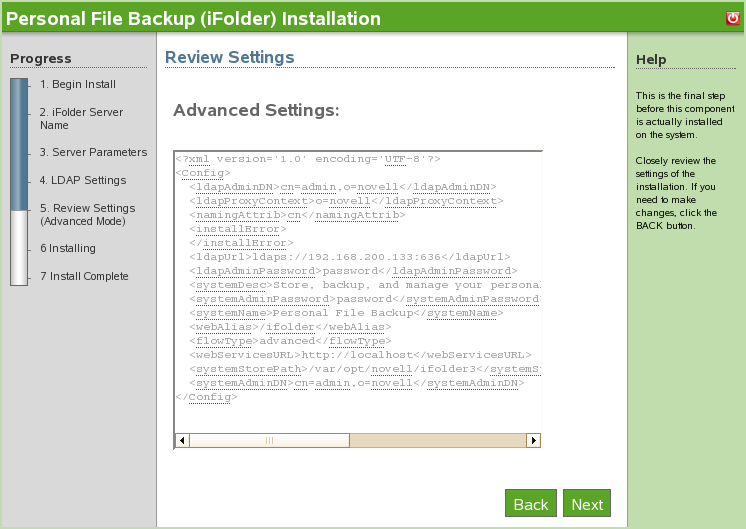
Review the settings. To make a change, click . To proceed with the installation, click .
-
The iFolder installation is now complete. Click to proceed to installed software page. iFolder is now listed on the installed software list and can be launched from the iFolder Administration link.