14.2 Installing OpenVPN Advanced
-
Click on the OpenVPN row.
-
Click , then click .
-
Specify the OpenVPN advanced network configuration.
-
Server IP Address for VPN Interface: The IP address to be set to the assigned address of the interface that will be accepting VPN connections. If a system has multiple network interfaces, only one of them can be used for the VPN server.
-
Virtual IP Address Network: Virtual IP network range (such as 192.168.1.0) to use for VPN network or auto for automatic network detection
-
VPN Network Mask: Network mask (such as 255.255.255.0) of the VPN network or auto for automatic detection.
-
Port to Use for VPN Traffic: Port to use for VPN traffic. The default is 1194, but it can be anything above 1024 (1194 is highly recommended for best results).
-
Protocol to Use for VPN Traffic: The protocol to use for VPN traffic, either UDP or TCP (the default is UDP for better performance).
-
IP Address or FQDN of VPN Server: IP address or fully qualified domain name that VPN clients will connect to (such as vpn.mycompany.com or 207.191.20.141).
-
Unique Name for VPN Client: Name to use for the VPN client (no special characters).
-
Allow VPN Clients Access to Internal Network: Select this option to enable access.
-
-
Specify your OpenVPN certificate configuration.
-
Country of VPN Server: Your country.
-
City of VPN Server: The city of your VPN server.
-
The State or Province of Your VPN Server: The state of your VPN server.
-
Organization Name: The name of your organization.
-
Hostname for Key: Unique hostname for this server, which will be embedded in the key.
-
E-mail Address for Certificate: An e-mail address to be displayed with the certificate.
-
Key Size in bits for Diffie Helman Key: The Diffie Helman Key Size determines the size of the key used for the initial handshake between the VPN client and server. The larger the key, the more secure it is, but it also takes much longer to generate during install and takes slightly more time for each VPN client to connect. 2048 provides the best balance between security and speed. 1024 is less secure but faster.
-
-
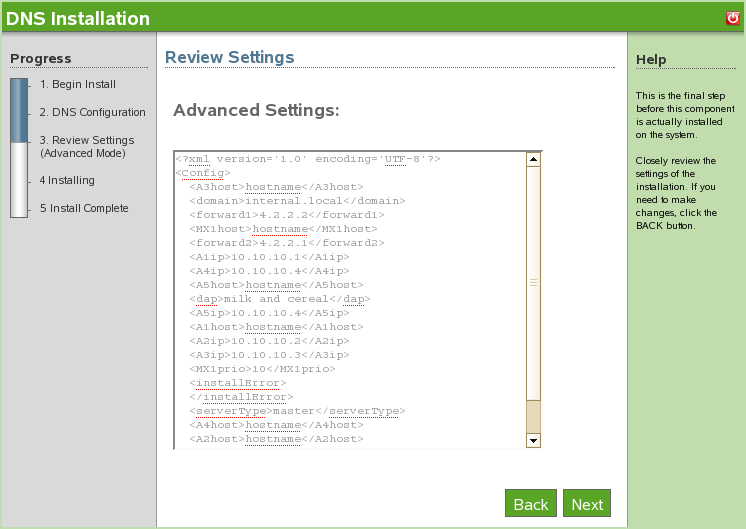
Review the settings. To make a change, click . To proceed with the installation, click .
-
The OpenVPN advanced installation is now complete. Click to proceed to the available software page. OpenVPN is now listed on the installed software list and can be launched from the OpenVPN administration page.