11.2 Installing HylaFAX Advanced
-
Click under .
-
Click , then click .
-
Specify the HylaFAX configuration settings.
-
Machine Type: This is the identification that will be sent out with each Fax. For example, a good choice would be your company name.
-
Fax Identification String: Select if you are using this machine to both send and receive faxes. Select if you do not have a dedicated phone line or only want to send faxes from your machine.
-
Country Code: Country code of your fax server.
-
Area Code: Area code of your fax server.
-
Long Distance Prefix: Long distance prefix for your fax server.
-
International Prefix: The prefix you need for an international call.
-
Dial Out Prefix: Specify a number here if the fax modem needs to specify a number to go outside of your internal phone network.
-
-
Specify the modem configurations.
-
Modem Device: The TTY port of your fax modem is a serial port modem. It is probably something like /dev/ttyS1. If this is an internal or built-in modem, drivers need to be configured.
-
Phone Number of the Fax-modem: Phone number of the fax modem.
-
-
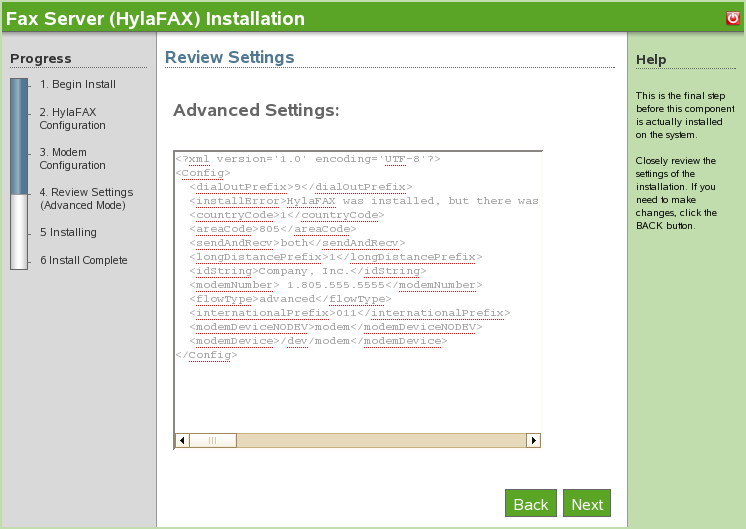
Review the settings. To make a change, click . To proceed with the installation, click .
-
The HylaFAX installation is now complete. Click to proceed to the available software page. HylaFAX is now listed on the installed software list and can be launched from the administration link.