18.2 Installing DHCP Advanced
-
Click under .
-
Click , then click .
-
Specify your DHCP configuration.
-
DHCP Settings: Verify that the DHCP settings are correct for your network.
-
Subnet: Specify the network’s subnet IP address.
-
Netmask: Specify the network’s subnet mask.
-
IP Range Start: Specify beginning number of the range of your network’s IP addresses (0 is usually the network address).
-
IP Range End: Specify the ending number of the range of your network’s IP addresses (255 is usually the broadcast address).
-
DNS 1: Specify the IP addresses of your DNS server.
-
DNS 2: Specify the IP address of an alternative DNS server.
-
Default Route: Specify the default route for DHCP clients. This is the IP address of the next hop router that the clients would go for any traffic off their network. If your server is the NAT/internal gateway, use the server’s internal IP address for this setting.
-
Domain: This is your company’s domain name.
-
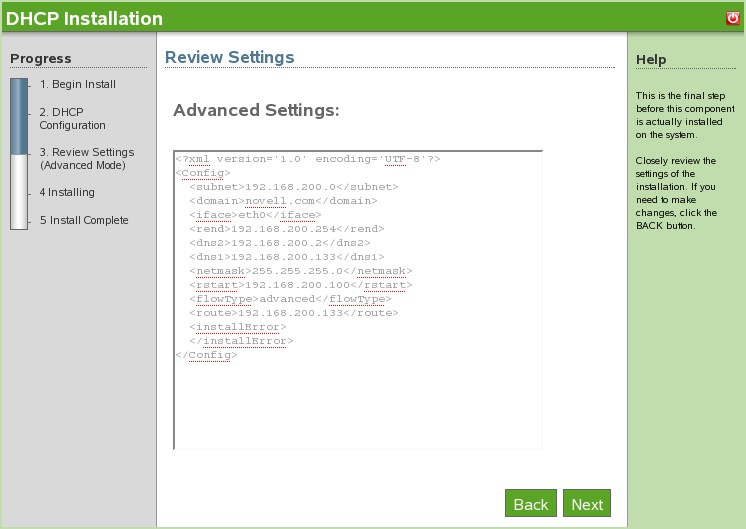
-
Review the settings. To make a change, click . To proceed with the installation, click .
-
The DHCP advanced installation is now complete. Click to return to the available software page. DHCP is now listed on the installed software page.