3.2 Installing and Configuring iPrint Services through YaST
Follow this procedure to install and configure the iPrint services on an OES 11 SP3 server in either of the following cases:
-
Installing iPrint with a bundle of products during OES 11 SP3 installation.
-
Installing only the Novell iPrint service and its dependencies on an existing OES 11 SP3 server.
Before you begin, ensure that you have the required eDirectory admin credentials to proceed, if you are installing iPrint after installing OES 11 SP3.
-
Launch YaST, using one of the following methods:
From your Desktop: Click .
From your Terminal: Run the yast2 command on the server console.
-
Click > > .
-
Select from the software patterns listed.
IMPORTANT:By default, the iPrint dependency packages are selected.
-
Click .
The subsequent pages allow you to configure iPrint on OES 11 SP3.
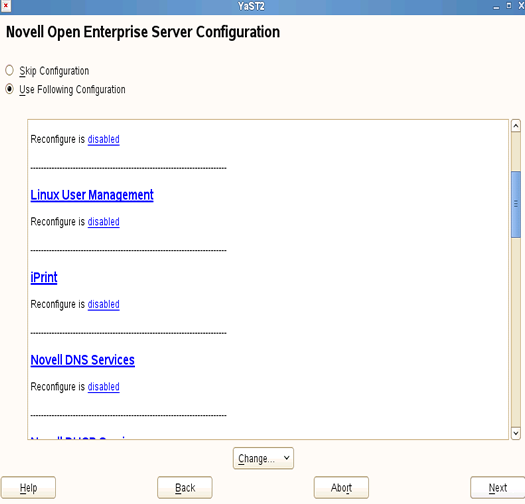
-
To change the default configuration settings for iPrint, click the service, or click to continue with the default configuration.
If you are installing iPrint after installing OES 11 SP3, you are prompted to enter the eDirectory admin password. Enter the password and click to proceed. Enter the eDirectory parameters in the page that is displayed and click .
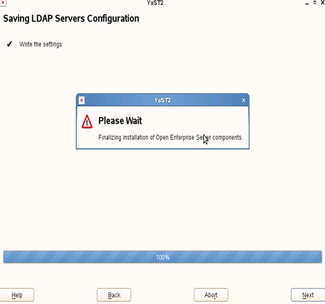
-
Read the confirmation message on the LDAP Server settings for the iPrint configuration getting successfully saved, as you specified on your OES 11 SP3 server.
-
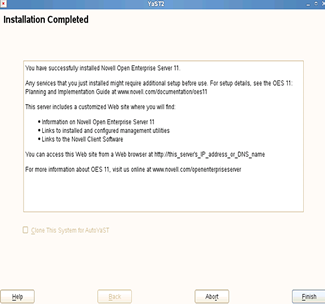
The system displays a confirmation message to indicate a successful install.