13.2 Deployment Task
The deployment task is a method where the ZCM agent software is distributed by the ZCM server. The task is initiated from the ZENworks Configuration Management Web interface. This method can be used for installing the agent at many devices simultaneously. The underlying operating system must be available for this kind of installation, unlike an automatic installation procedure, such as via AutoYaST.
The deployment task can be combined with several actions. The interface allows you to specify registration keys and whether to execute pre-installation and post-installation tasks.
The menu is accessible from the left main menu frame within ZENworks Configuration Management.
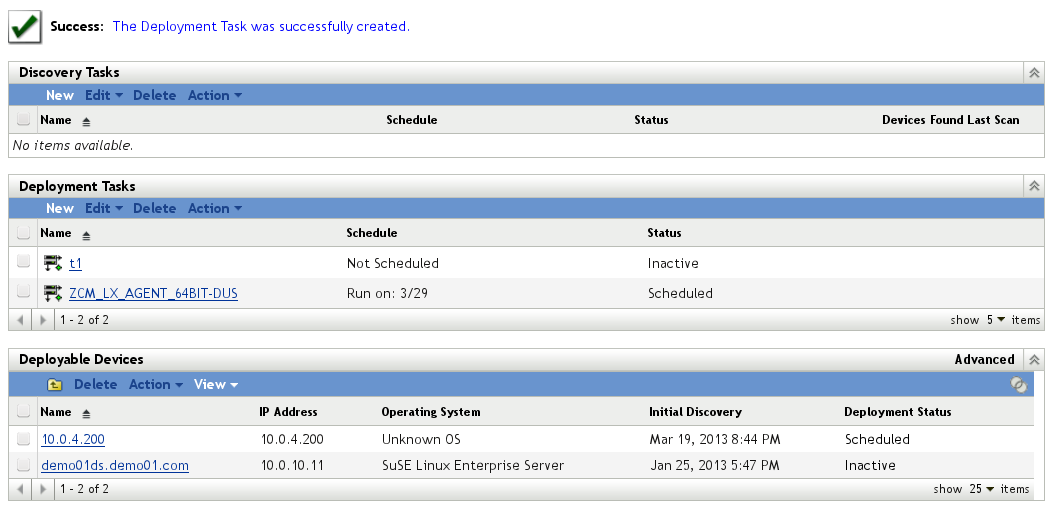
Figure 13-4 Deployment Task

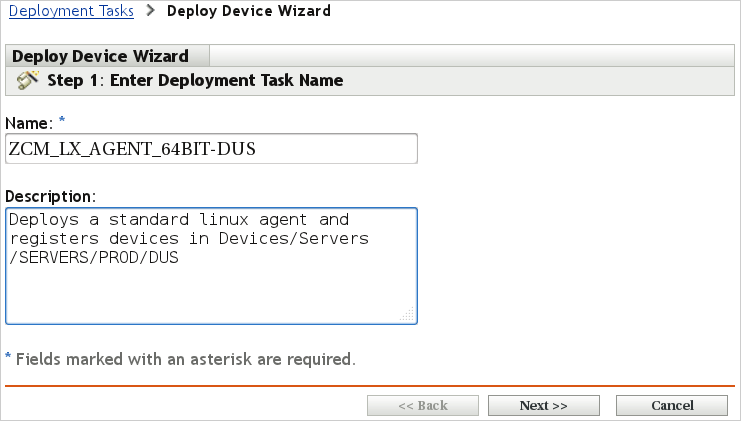
Click to initiate a new deployment task.The next form asks for a task name and a description.
Figure 13-5 Creating a Deployment Task - Enter Task Name
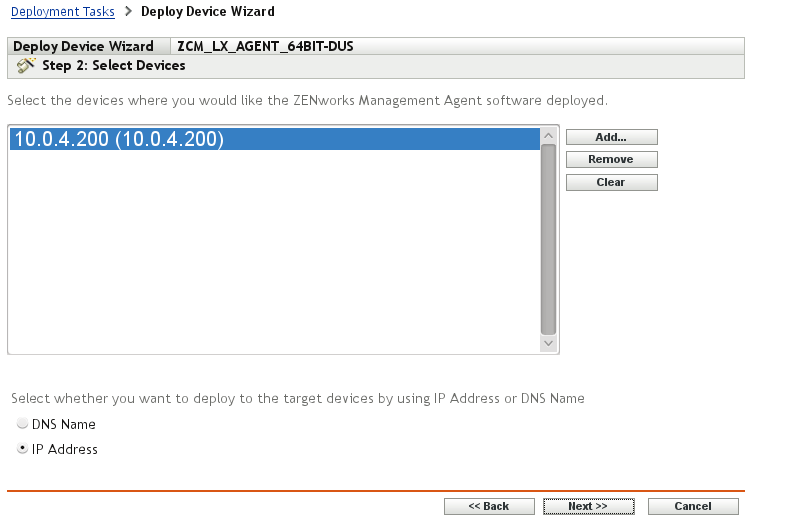
The following dialog window asks the user whether the IP address or DNS name of the target devices is being used:
Figure 13-6 Creating a Deployment Task - Select Devices (1)
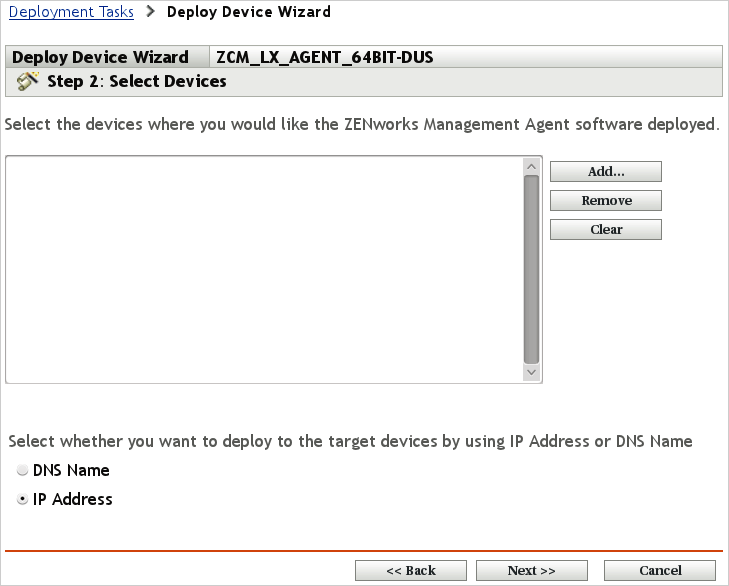
Click to display multiple options to specify devices to which the agent should be deployed. For simplicity, the example in the following figures demonstrates a deployment by IP address.
Figure 13-7 Creating a Deployment Task - Select Devices (2)
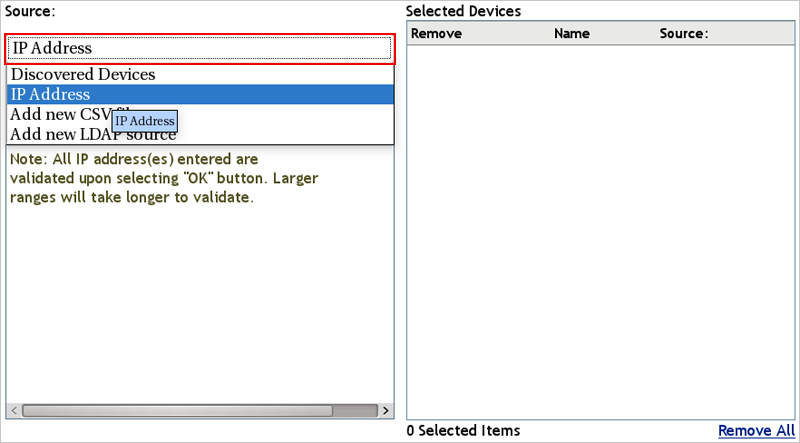
You can specify either single IP address or an IP address range.
Figure 13-8 Creating a Deployment Task - Select Devices (3)
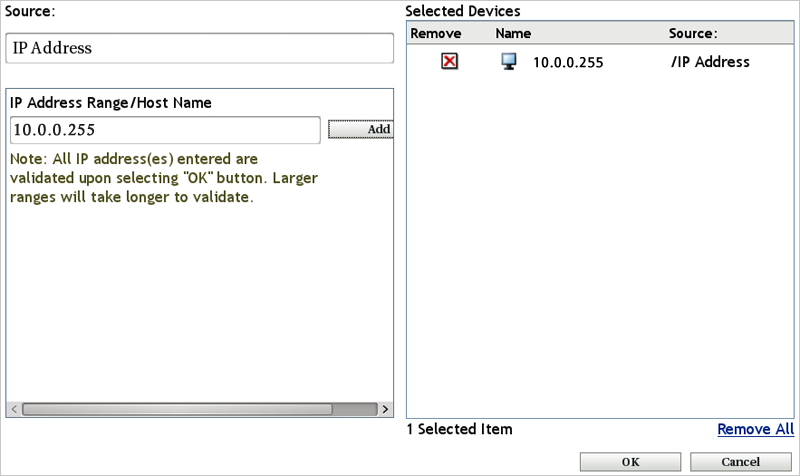
A list is displayed after one or more IP addresses have been added.
Figure 13-9 Creating a Deployment Task - Select Devices (4)
The deployment of the ZCM agent is executed via port 22 (SSH) on Linux devices. An admin user name with sufficient rights to install the agent (usually root) and the corresponding password are required by ZENworks Configuration Management for login and installation at the target devices:
Figure 13-10 Creating a Deployment Task - Enter Credentials

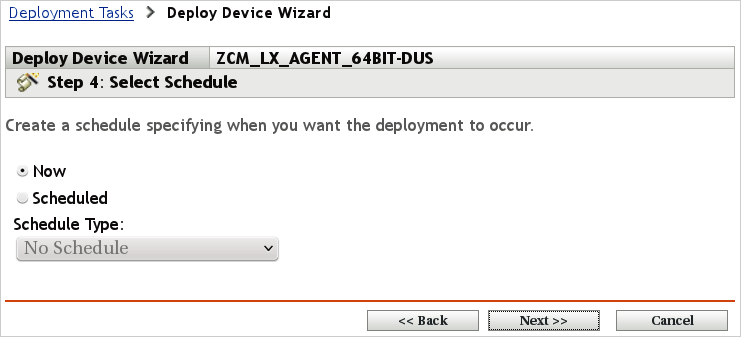
The deployment task can be scheduled like most other tasks in ZENworks Configuration Management:
Figure 13-11 Creating a Deployment Task - Select Schedule
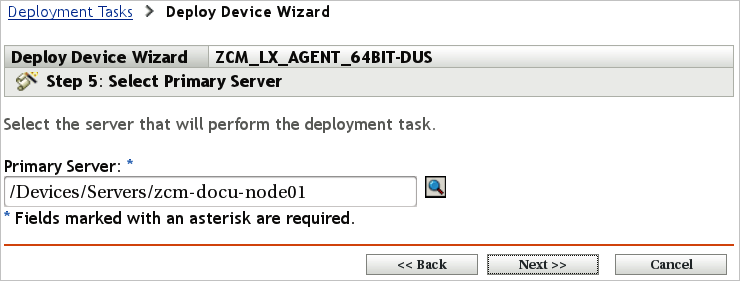
You need to select the server to perform the task. This is important in environments with multiple primary servers.
Figure 13-12 Creating a Deployment Task - Select Primary Server
The proxy asked for in the next dialog window is not meant as a Web proxy but rather another Primary or Satellite server inside the ZENworks Configuration Management zone. The box can be left empty in single-server environments or environments where Primary Server and target devices are located within the same network.
Figure 13-13 Creating a Deployment Task - Select or Edit Proxy Device
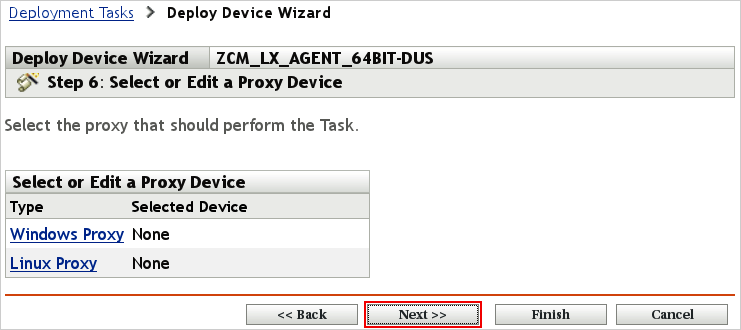
If you click at this stage, some of the deployment properties are set to their defaults. To select a particular agent deployment package, prevent the installation of packages running on X (GUI mode) only, and select a registration key, click instead.
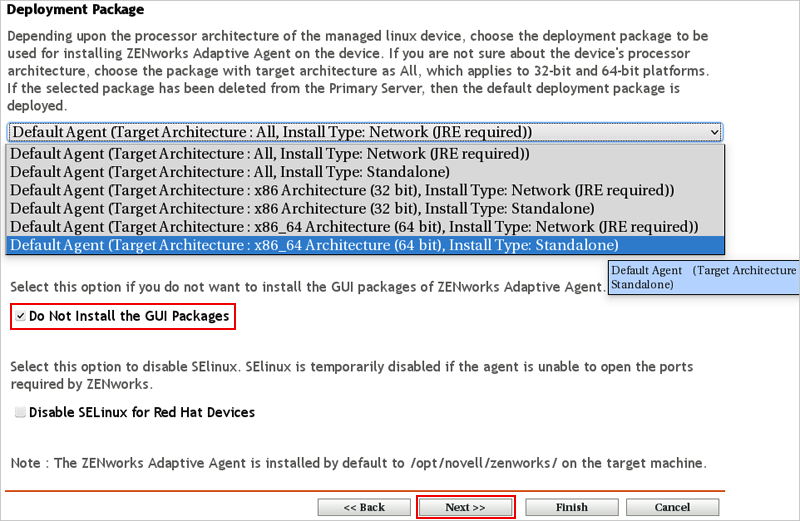
The Default Standalone agent is used in the current example:
Figure 13-14 Creating a Deployment Task - Install Without GUI Packages
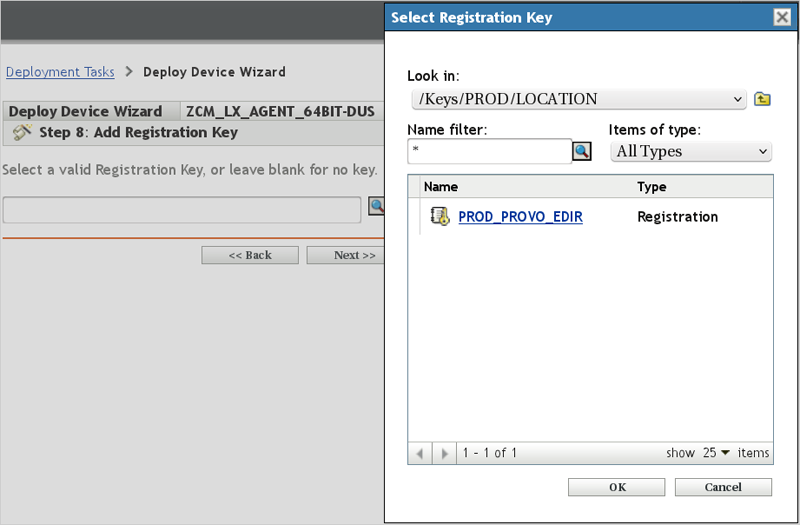
Only one registration key can be specified in this dialog. If you want to add additional device group registration keys, you can do this in the summary screen where pre-installation and post-installation tasks are added.
Figure 13-15 Creating a Deployment Task - Select Registration Key
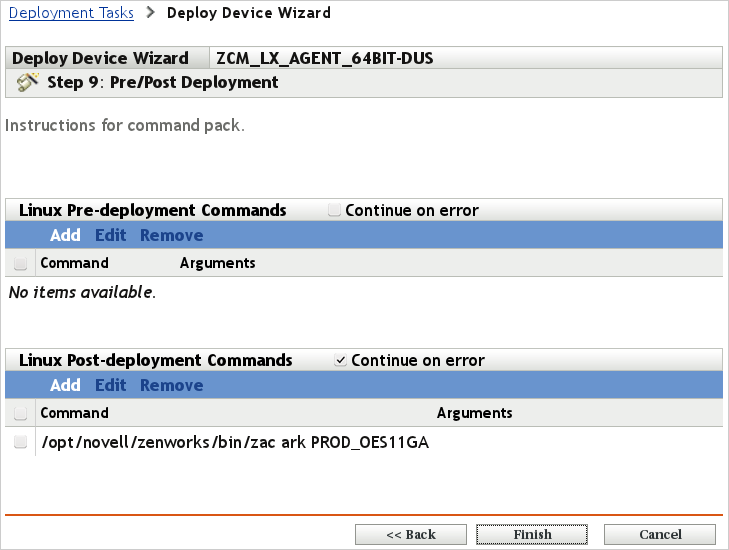
In this example, the device is registered with the additional ZENworks Configuration Management PROD_OES11GA registration key:
Figure 13-16 Creating a Deployment Task - Define Pre-Deployment and Post-Deployment Tasks
The deployment task starts at the scheduled time:
Figure 13-17 Creating a Deployment Task - Success