4.1 Installing DST on a New OES 11 SP3 Server
You can install the pattern during the OES 11 SP3 installation. For general installation instructions for OES 11 SP3, see the OES 11 SP3: Installation Guide.
-
Start the YaST install For SUSE Linux Enterprise Server and continue to the Installation Mode page.
-
Select and , click , then continue with the installation as desired until you get to the Installation Settings page.
-
On the page, click to open the Software Selection and System Tasks page.
-
Under , select .
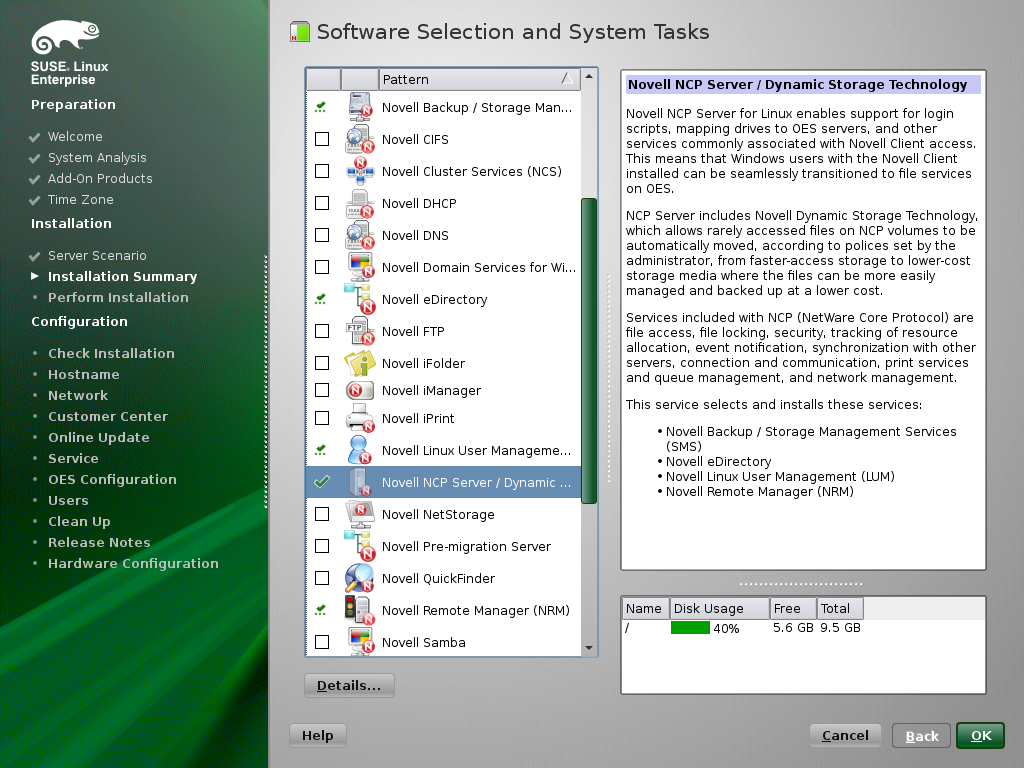
When you select , the following additional patterns are automatically selected:
-
-
Select from the patterns.
NSS is required because DST shadow volume pairs are supported only for NSS volumes.
-
(Optional) Select from the patterns.
You must install Novell iManager somewhere in your network, but it is not necessary to install it on every server.
-
(Optional) If you plan to configure shared DST shadow volumes in a cluster, select from the patterns.
For detailed information about configuring Novell Cluster Services after the installation is complete, see
Configuring Novell Cluster Services
in the OES 11 SP3: Novell Cluster Services for Linux Administration Guide. -
(Optional) If you plan to provide access to DST shadow volumes for CIFS users, select one of the following from the patterns:
-
-
Click to accept the software choices and return to the Installation Settings page.
-
Continue with the installation.
When the installation is complete, NCP Server and Dynamic Storage Technology run automatically on system restart.
-
After the installation is completed, continue with Section 7.0, Configuring DST Global Policies.