8.9 Outlook Plugin Administrators Guide
8.9.1 Overview
The Outlook Plugin integrated the Retain storage directly into the Outlook client. Users will have a new tab and ribbon added to the Outlook client offering connection to their Retain storage. Messages may be retrieved and added to the user’s local machine and administered through the Outlook client. Message data may be searched in both the Retain storage, and the locally restored messages. The client will not modify Retain administration nor will anything done through the Outlook Plugin modify the Retain Server or the Retain Storage. The Outlook Plugin is provided for both individual and distribution installations.
The Outlook Plugin is found on the tools page. To access the tools page, select the 'tools' link from the top right of the Retain Server administration page.

8.9.4 Installation
Prerequisites
Make sure that the prerequisites Visual Studio Tools for Office v. 4 .Net 4 or higher and .Net 4 or higher are installed on the workstation.
Installation of the Retain Outlook Plugin is straight forward.
If deploying from a distribution server, utilize the MSI installer package. In addition, silent install commands are provided. A full list of silent install commands can be found at the bottom of this page. Make sure to utilize the correct version of the installer to match the version of Outlook: 32-Bit or 64-Bit.
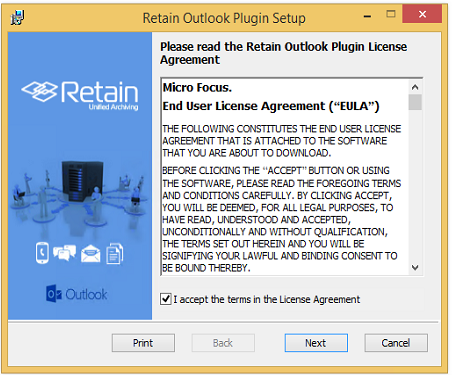
Begin the installation, accept the license agreement, and click ‘Next’.
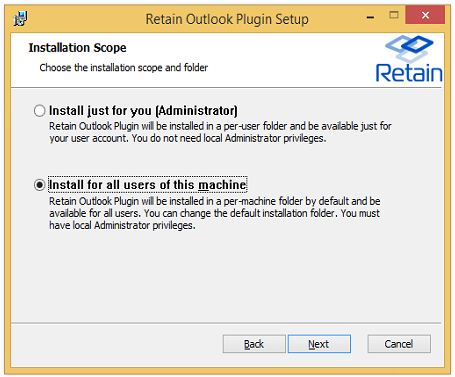
Select whether the installation will be system wide or restricted.
The Retain Outlook Plugin may be customized during installation, to only allow certain functions once installed.
-
Retain server URL: this is the connection address for the Retain Server. Do not put the ‘/RetainServer/’ suffix on the end of the URL. Use the following syntax: http(s)://(Retain Server URL)
-
Select Outlook Plugin: There are two options for the plugin. The Web integration is the first plugin version, which links to the Retain Server Web Interface. The Outlook Integration places the Retain tab and ribbon in the Outlook Plugin and the rest of the options apply to the Outlook integration.
-
Download on startup: This tells the Retain plugin to match the local data with what is in the Retain Server. This does not push any data from the plugin to the Server. The plugin may be configured to download at start, or on an automatic time period. The setting is designated in hours.
-
Allow users to change settings: If checked, the following selected options are available to be changed by the user in the plugin. If this option is not checked, the options will be grayed-out in the settings section of the plugin, and cannot be modified.
Configure as desired and select ‘Next’.

If any settings need to be changed, use the ‘back’ button and change then.
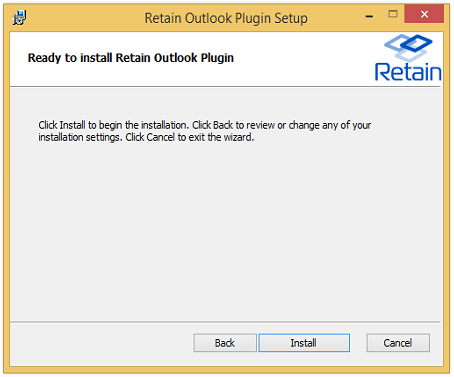
Select the ‘Install’ button to begin the plugin installation. (Installation will require admin rights.)
Wait for the plugin to install.
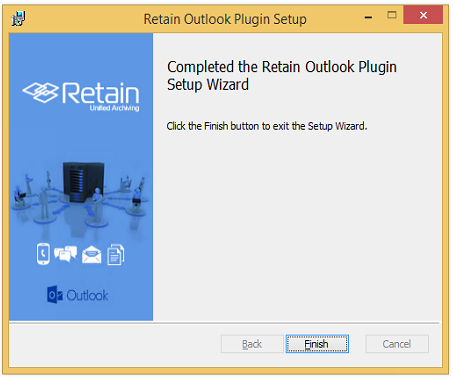
Once the install has completed, select ‘Finish’ to exit the installer.
8.9.5 Features and Use
To access the Retain Outlook plugin, open the Outlook client.
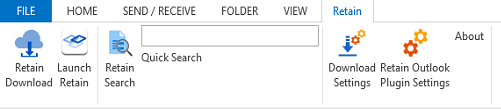
In the Outlook client, a new Retain tab is available. The Retain tab provides access to the plugin and Retain archive settings and features.
Initialize the archive.
Users now can search their Retain archive, import messages from Retain to their local system, and manipulate those local messages with the Outlook plugin.
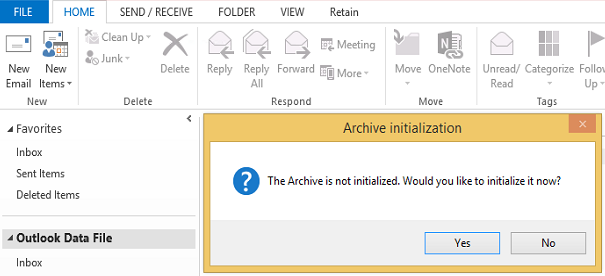
The first time that the plugin is initialized you, it will ask to initialize the archive. Initializing the archive creates a new folder tree in the tree navigation pane on the left. The folders here are the default folder set for Outlook. Any new folders created after download, are there as they exist in the Retain Archive.
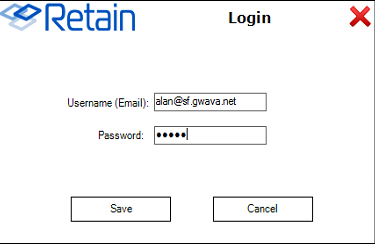
Users will then need to log into Retain with their Active Directory/Azure Logon.
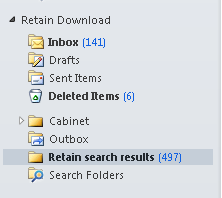
Once installed and initialized, the Retain tab, ribbon, and folder structure are available. A new folder called Retain Download will appear.
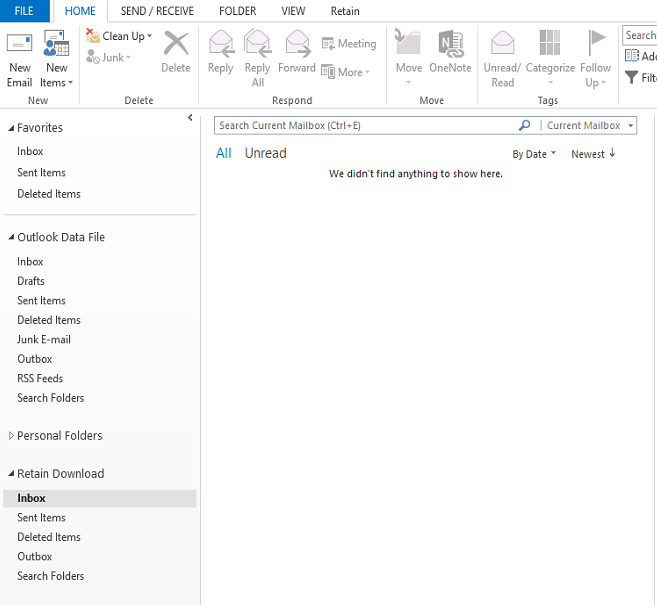
To access the folder structure, simply select it as you would the normal folder structure in Outlook.
Individual settings can be changed from the ribbon.
8.9.6 Download Settings
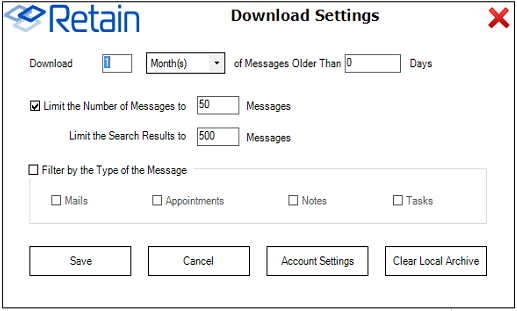
The Download Settings contains the criteria which dictates what message data will be added into the local storage and made available in the Outlook client.
The download time limit dictates the time frame of messages which will be displayed in the Outlook client. This can download a large amount of data which may overwhelm the resources available to Outlook, so it is best to limit this to 90 days or less.
Messages may be limited by total number, as may the search results. (Search results limit the number of results by default to only display 500 messages.)
In addition, the type of data may be limited to only the types selected, or all types.
What data is added to local storage can be limited by age, number of messages, or item type. ‘Save’ saves your settings. However, before the download can be performed, the login information must be provided. Select the ‘Account Settings’ button.
8.9.7 Account Settings
The account settings are simply the login credentials of the account which is to be used for the download. Input the email and password. GroupWise usernames must not be the full address. If inputting an Exchange username, enter the entire email address. Save settings.
8.9.9 Retain Download
The Retain Download button initiates a download of the users Retain archive according to the download settings. Download settings and the user credentials must be configured before the download will complete.
8.9.11 Easy Search
With the Easy search, the plugin only offers a simple keyword and date range.
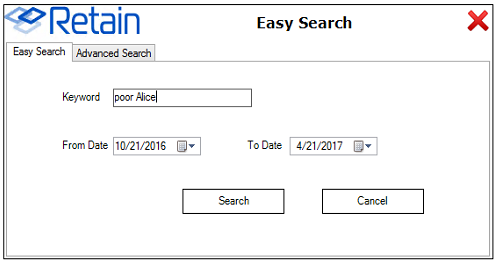
The search keywords are subject to the same restrictions and abilities as the Retain web interface. Easy search supports wildcards and quotes for search criteria. Without quotes, the search text will be searched as each word is an individual search term. With quotes, the search phrase is the criteria.
For example: Searching for ping pong will result in messages with the term ‘ping’, with the term ‘pong’, and with both, ‘ping pong’.
While searching for “ping pong” will only result in messages with the term ‘ping pong’.
Searching with wildcards: Searching for gwava.* will produce results of ‘gwava.com, gwava.org, gwava.edu’, and ‘gwava.’.
In general, if multiple search terms are desired, move to the advanced search option. After search terms and a date range has been applied, select the ‘Search’ button.
8.9.12 Advanced Search
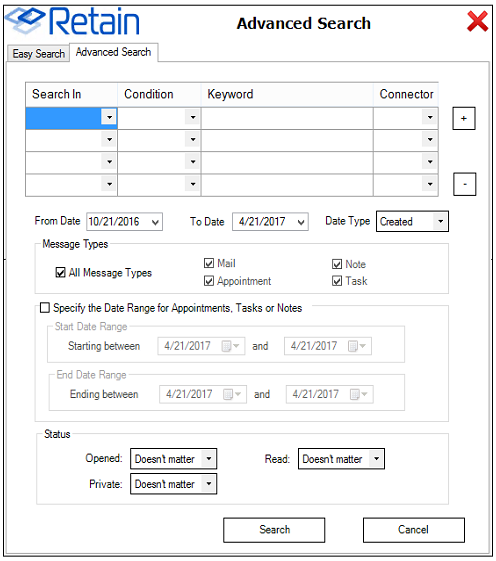
The advanced search allows for more control in the search process.
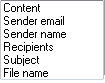
The ‘Search in’ drop-down menu allows for customization of the limiting function of the keyword.
The condition field restricts the condition of the data items in the Retain Message Store.

Finally, the Connector setting allows for the logical connection between criteria.

The “+ and -” buttons to the right of the window allow the user to add multiple search term lines. There is no limit to the amount of lines, or criteria, which may be added.
The Message type option allows the search to be limited to the specific selected type or types. (Note, Appointment, Task, or Mail)
The Date Range is designed with appointments, tasks, and notes. If the date range is used, the range for the desired date applies. This is essentially a date range for the date ranges. This is a good way to look for tasks and appointments which were placed into the system before, but not removed later.

The Status restriction allows the user to search for messages with a specific message state; opened, read, and private.
Once the search terms are satisfactory, select the ‘Search’ button to begin the search. Once the search has completed, the resulting group of messages is added to the Retain local archive, under the ‘Retain search results’ folder.
NOTE:It is important to note that the number outside the folders represents the ‘unread’ message count, not the total message count. To view the total message count, see the ‘Items:’ count at the bottom left of the Outlook window.
8.9.14 Retain Outlook Plugin Settings
The Plugin settings button opens the plugin settings window. This is where the user can modify the basic plugin settings.
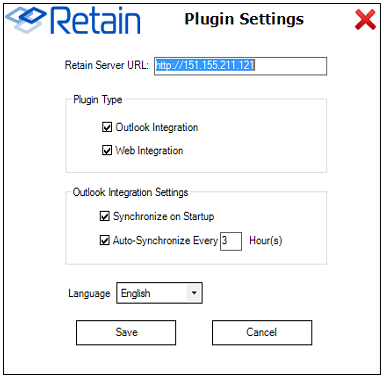
This window contains all connection and plugin settings. If the entries here are grayed-out, then the ability to change the settings has been disabled during install, and the setting information is display-only.
The connection URL should be specified with just the hostname or IP address. If a port number is required, it may also be specified, but is not necessary if Apache or IIS is handling requests for the Retain Server.
Outlook as well as Web integration is controlled here, as are the download settings. The plugin may be set to automatically download messages from the archive on startup, or at a set time interval, to ensure that the plugin shows what is present in the Retain Archive.
The Language set in the Plugin Settings will change the displayed language for all Retain plugin displays.
8.9.15 Launch Retain
The Launch Retain button is simply a single sign-on portal to the Retain web interface for users. This plugin opens a browser and uses the account credentials and logs into the ‘search messages’ web interface of the Retain Server.