9.6 Retain Viewer
To connect to the published archive, locate the shortcut to the installed Retain Viewer and start the Viewer.
The viewer must be pointed to a valid database on initial startup. If the viewer does not prompt for the location to a published database, or if a new database is desired, select the ‘Open’ button and browse to and select the containing folder. If the Viewer has been previously opened, it will remember the last database opened.
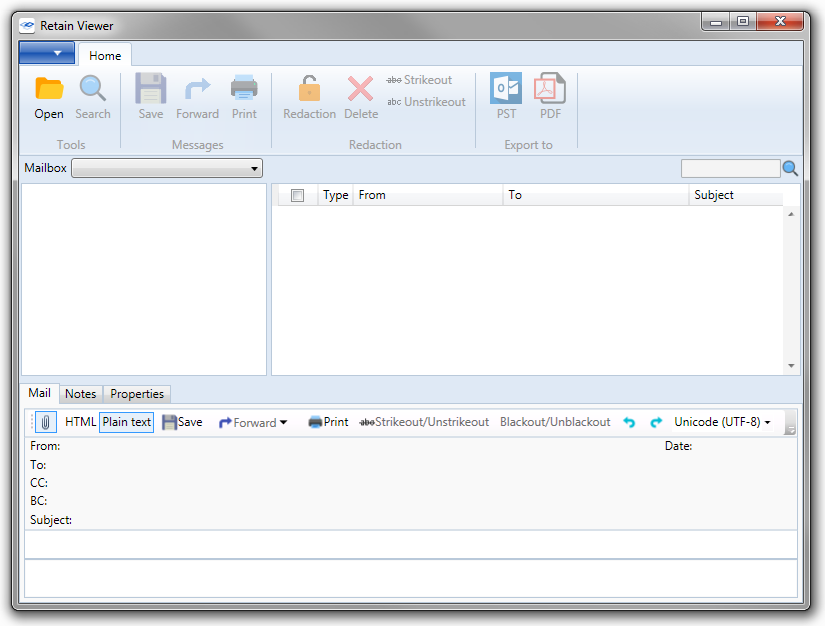
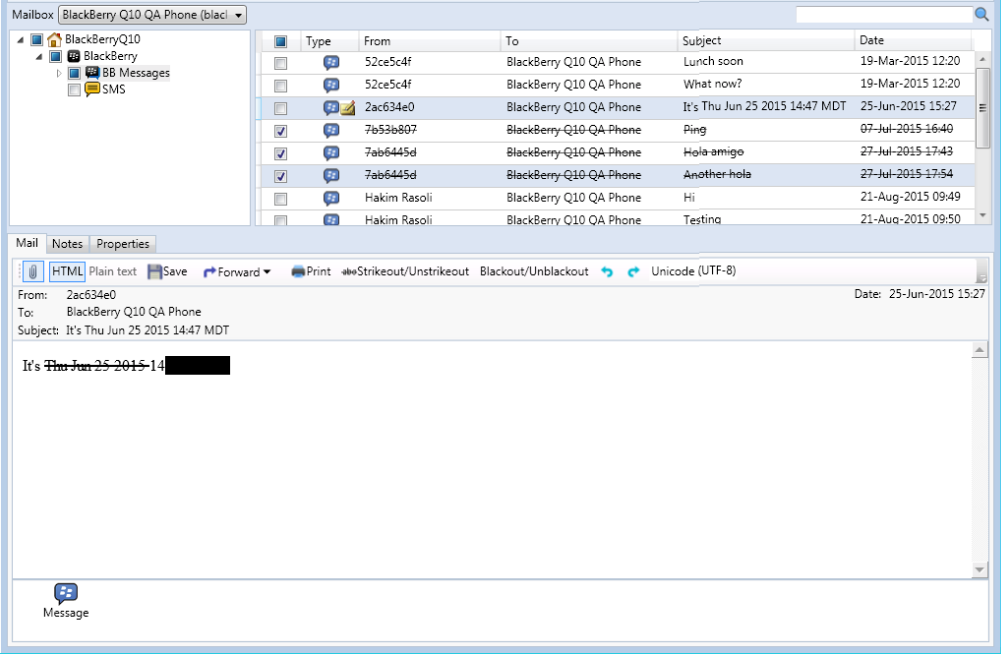
The viewer is setup similar to an email client, with the mailbox and account on the left, the selected account’s contents fill the space on the top right, and any selected message’s contents are displayed along the bottom. Tabs allow access to the message properties or text, and highlighted buttons below the tabs determine what is shown and how, (Attachments, HTML, Plain Text). The Viewer also has the ability to forward the selected message out of the portable archive to any specified address.
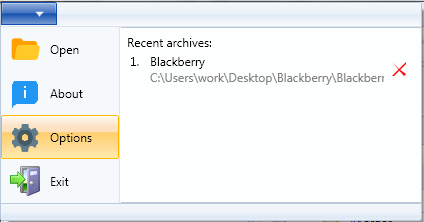
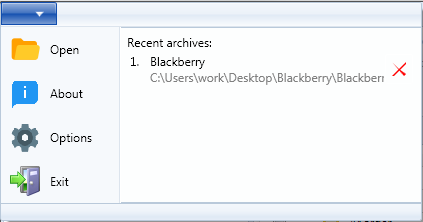
To access an archive, select the ‘open’ button from the top toolbar, or select the ‘Open’ option from the ‘File’ dropdown menu.
The Viewer only needs to know the base location of the archive, or the folder selected in the Publisher as the archive location. The ‘Open’ menu starts a browse window.
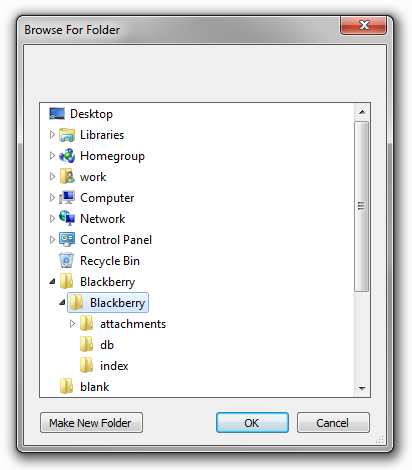
Browse to the location where the portable archive is located, select it, and click ‘OK’.
If the archive was password protected, the correct password must be entered before the Viewer can gain access.
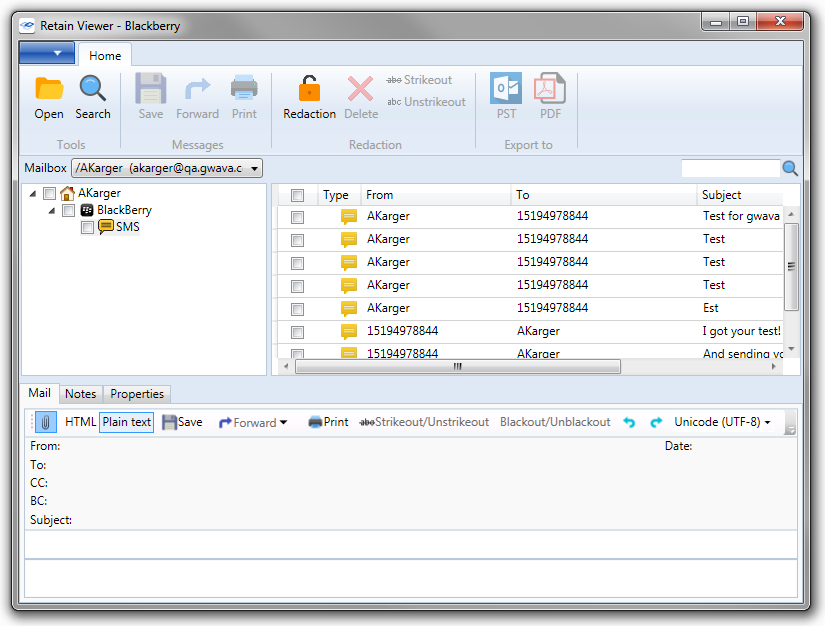
Once the Archive has opened, all mailboxes contained in the archive are displayed. Select a mailbox to access the mail in the archive.
It is important to note that while the Publisher stores time in UTC, the time displayed in the viewer, located in the ‘Date’ column for each message, is relative to the viewer’s installed time zone, it is not in UTC. Messages published in PDF also display according local time zone. PST is exported in UTC, but Outlook rounds to the nearest minute, and displays the UTC time stamp in local time.
The text of the selected message will be displayed in the bottom viewer pane. The viewer contains options to show or hide the attachments, forward the message, as well as whether to view the message in plain text, or in HTML when available.

HTML: Select the HTML version of the item, if available.
Plain text: Select the text version of the item, if available.
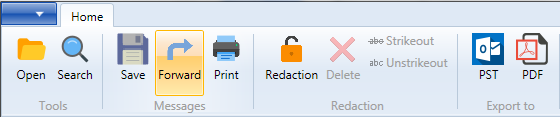
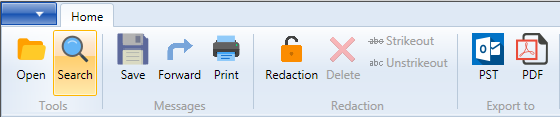
Save: Save the current item to disk.
Forward: Forward the current item to an email address.
Print: Print the current item.
Strikeout/Unstrikeout: Toggle the strikeout feature of the current highlighted section.
Blackout/Unblackout: Toggle the blackout feature of the current highlighted section.
Undo redaction: A green reverse arrow that undos the last action.
Redo redaction: A green forward arrow that redos the last action.
Encoding drop down menu: Change the item encoding, depending on the encoding schemes installed to the OS. Default, Unicode (UTF-8).
Attachments are shown along the bottom of the message window. Double-clicking on an attachment will send it to the operating system to open in the appropriate program.
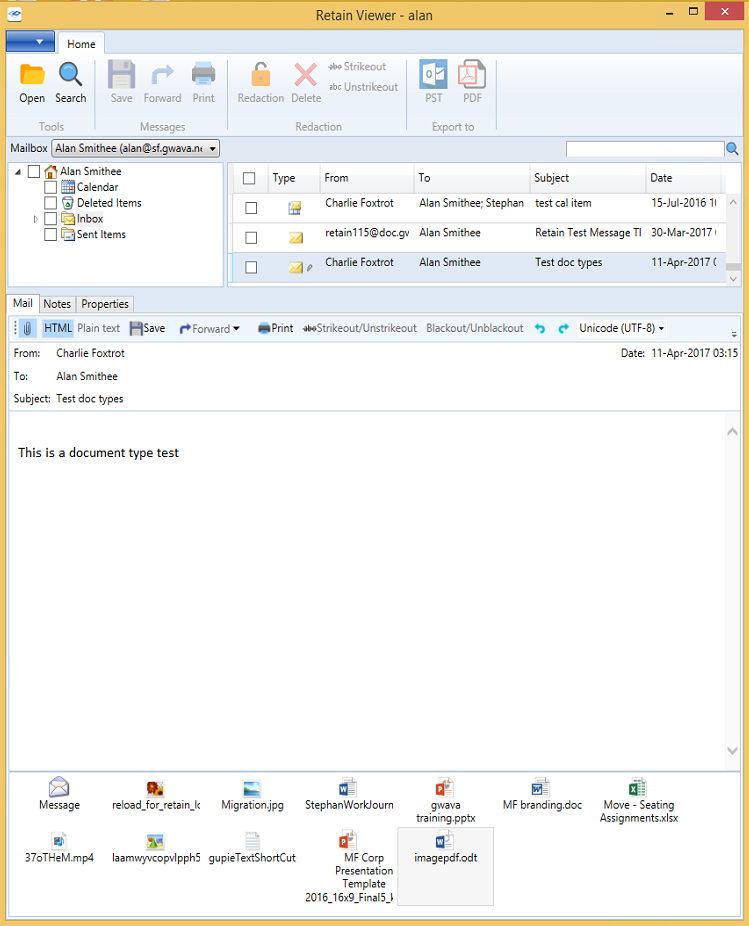
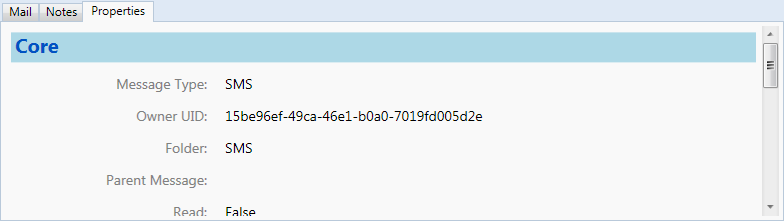
The properties tab displays the essential information on the mail item in question. The created, delivered, read status, and store date are displayed along with the identification number, message source, etc.
9.6.1 Forward
The Forward, and forward as attachment options, (found both on the main toolbar, as well as a drop down menu in the toolbar in the view window), allow the Retain Viewer to send the selected message from the archive to a destination account. ‘Forward’ functions exactly as the forward function in an email client. The ‘Forward as attachment’ creates an attachment from the selected email and attaches it to a message sent.
In order to utilize the ‘Forward’ option in the viewer pane, the Viewer must be configured with a mail server. To tell the Viewer which SMTP server and account to use to send messages, select ‘Options’ from the drop-down menu.
9.6.2 Settings
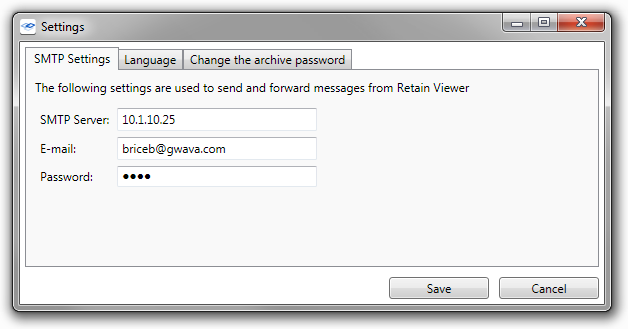
The ‘Settings’ configuration menu will appear. Enter the DNS or address of the SMTP Server desired to use for the Viewer system, and an appropriate account, (Username is required, password is optional), to connect and send messages.
Language and displayed document format settings may be changed as well for the specific viewer.

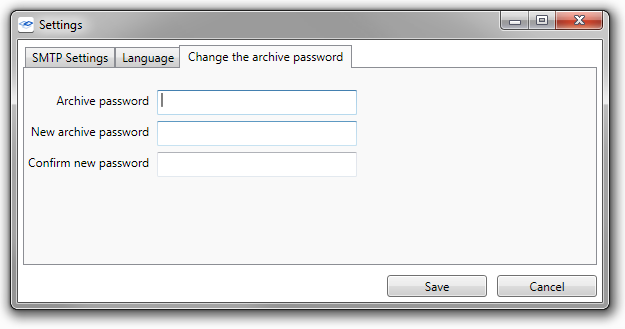
The ‘Change the archive password’ tab allows access to modify the password of the current archive. In order to change a password on an archive, the original password must be supplied first. If there is no password on an archive, a new password may be created; simply leave the current password field blank and input the desired password in the provided fields. While passwords may be changed, or created, the requirement for a password may not be removed.
9.6.3 Redaction
Redaction allows the viewing auditor to compile notes on the archive.
NOTE:Attachments cannot be redacted directly because they require third-party software to open. However, the archive can be exported as PDF and a third-party plugin can be used to redact the PDF portfolio.
The notes are appended to the entire archive, and not any individual messages, which makes Redaction extremely useful to compile messages and identify messages of interest.
To enable redaction, the archive must first be exported with the redaction option enabled in the publisher, (if the archive was not published with Redaction enabled, the option will appear grayed out), and a redaction password must be entered.
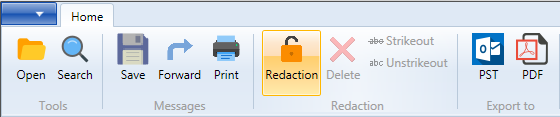
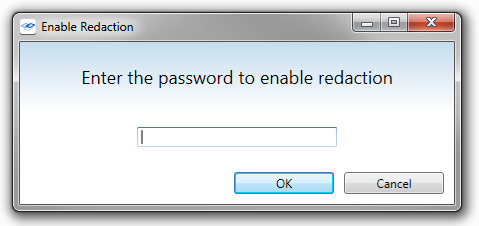
On a redaction-enabled archive, to access the feature, it must be ‘enabled’ in the viewer. This option is found on the toolbar. Select ‘Redaction’ and enter the redaction password.
When Redaction is enabled, the ‘Strikeout/Unstrikeout’, ‘Black out’ options, and ‘Notes’ tab become active. The Notes tab works much like a notepad that is always connected to the archive. Items of interest or whole messages’ texts can be copied and compiled in the redaction notes. Messages with notes on them are marked in the archive viewer with a notepad icon in the message list.
Redaction notes are attached to the message. Notes are only accessible for the messages which have notes, indicated by the note icon.
9.6.5 Searching the Archive
The Retain Viewer provides full search functionality.
The search function is accessed through either the shortcut ‘Ctrl+F’ or by selecting ‘Search’ from the toolbar.
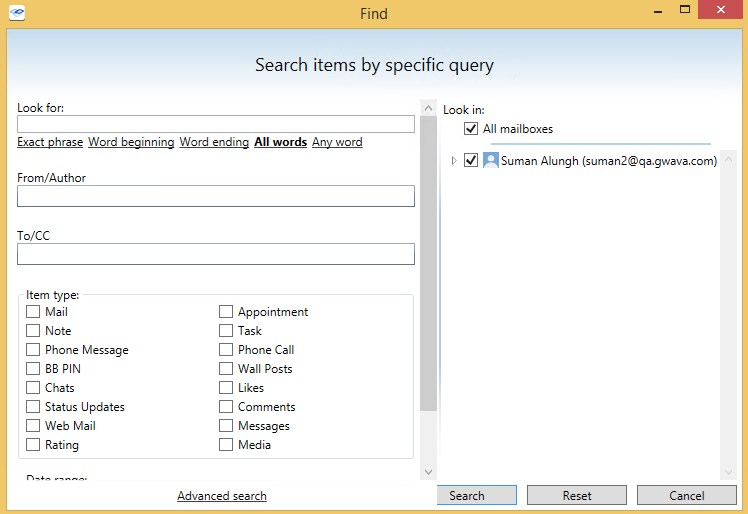
The different options for the search are shown with the criteria input below the options. Any text string or value can be searched for in the full text of the mail, or simply in the subject line. The following options are functional for both the search messages option included here, as well as the publisher search criteria. In the search ‘look for’ line:
-
&& represents ‘and’
-
|| represents ‘or’
-
No operators work as an exact match search.
-
For example:
-
Boy girl = exact search for “Boy girl”
-
Boy && girl = Boy and girl search
-
Boy || Girl = Boy OR girl search
-
Boy && girl || dog && cat = Boy and girl OR dog and cat search.
NOTE:These search operators DO NOT work with the search option ‘starts with’, but can be utilized with all of the other base modes of the search.
The search engine does not recognize the following English ‘stop words’ or articles of speech:
a, an, and, are, as, at, be, but, by, for, if, in, into, is, it, no, not, of, on, or, such, that, the, their, then, there, these, they, this, to, was, will, with
These words are not indexed, and thus are not taken into account if they appear in the list of words specified for the search. This may result in some unanticipated results in “exact” searches.
In addition to the operators and text, the sending Author or the destination and carbon copy recipients of a message as well as item type and the date range can specify or restrict a search. Selection of the date range is done through an interactive calendar.
Be sure to select the desired mailbox or mailboxes to apply the search through. (The depicted example archive only contains one mailbox.) Select ‘Search’ to begin.
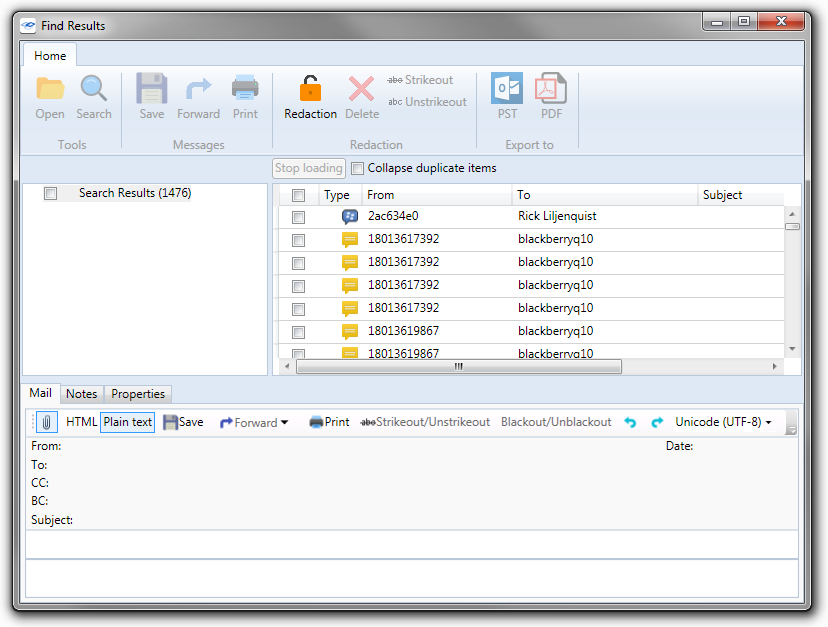
When the search is finished, the results will be displayed in a separate results window, identical to the main viewer interface.
9.6.6 PDF and PST Export
Retain Viewer can export selected files and messages from a mailbox or archive to a PDF or PST archive file.
PST
Prerequisites:
-
Outlook
PST export requires Outlook, or the associated plugin. The viewer will prompt for plugin installation if necessary. It is highly recommended to have Outlook installed.
To migrate to PST, select desired files in the view window then select ‘PST’ from the toolbar.
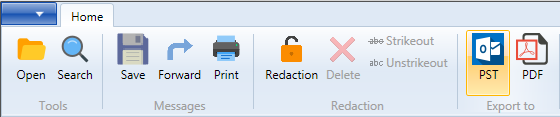
A window confirming the location and file will open. When the ‘Save’ button is selected the PST file is created and available for use.
Prerequisites:
-
Adobe Acrobat or Adobe Acrobat Reader
-
Adobe Flash
The export PDF is a PDF Portfolio and requires Adobe Flash to be installed on the workstation to properly display the message selector header. Adobe Acrobat Reader DC appears to have Flash integrated and does not need a separate install.
The Retain Viewer can also save selected messages as PDF. Select the desired messages and click ‘PDF’ in the toolbar.
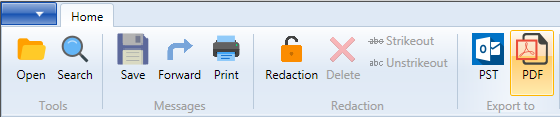
The selected messages are then published in a single PDF. This is an Adobe PDF Portfolio, this requires Adobe Flash to be installed on the workstation for full functionality, or you will only see the title page.
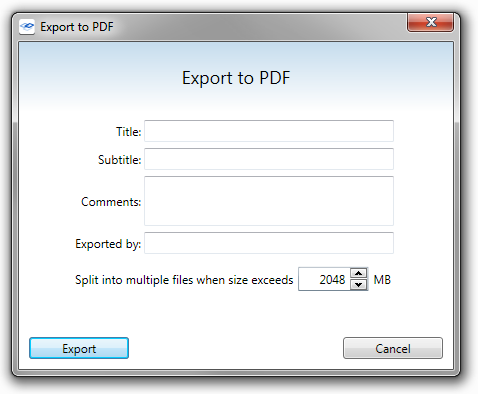
In addition to the standard file name and location, the PDF has title, exported by, and comment sections that the user is prompted to specify before the viewer publishes the PDF.
The finished PDF contains all the information displayed in the viewer, as well as an option to save individual text or message sources. (This information includes redactions, litigation tags, confidential tags, strikeouts etc. from the Retain Server archive as well as the Viewer.)
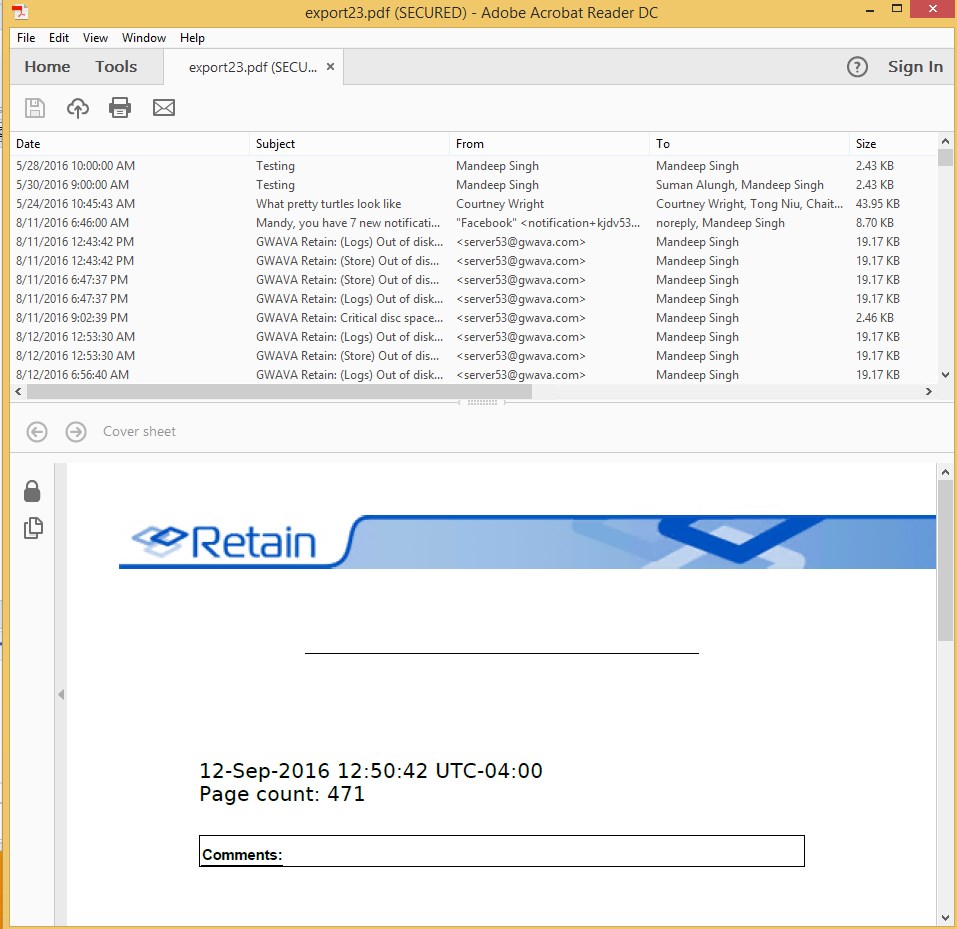
The published PDF displays the separate emails along the top in a list and displays the message information in a lower pane, as shown below. Flash must be installed on the workstation viewing the PDF Portfolio file.
9.6.7 Enabling Debug Logging
On occasion, extra logging will be needed for troubleshooting purposes.
The Publisher and Viewer logs are found in the %APPDATA%/Gwava/Retain Publisher folder
To enable debug level logging:
-
Close Publisher, if open
-
Open File Explorer and enter %APPDATA% into the address bar
-
Enter the Gwava folder
-
Enter the Retain Publisher folder
-
Edit Publisher.settings.xml
-
Find the line <LogLevel>INFO,WARN,ERROR,FATAL</LogLevel>
-
Add the DEBUG level <LogLevel>INFO,WARN,ERROR,FATAL,DEBUG</LogLevel>

-
Save and exit
-
Run Publisher