2.3 Configuring SMG
-
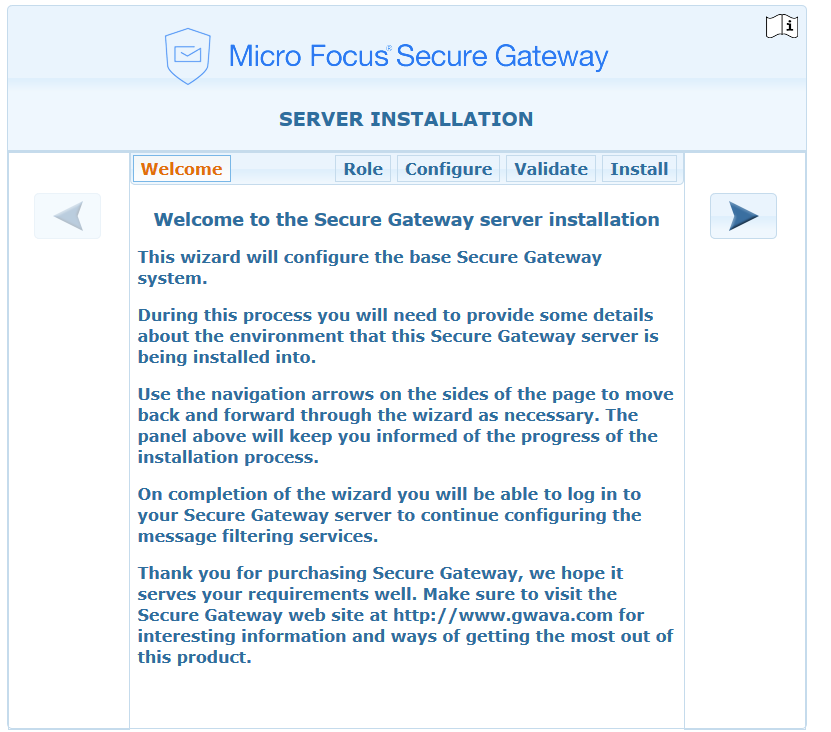
On completion of the initial install, you should now be able to access your SMG web interface by connecting to your server IP address or hostname with a web browser.
-
Select to run the SMG install.
-
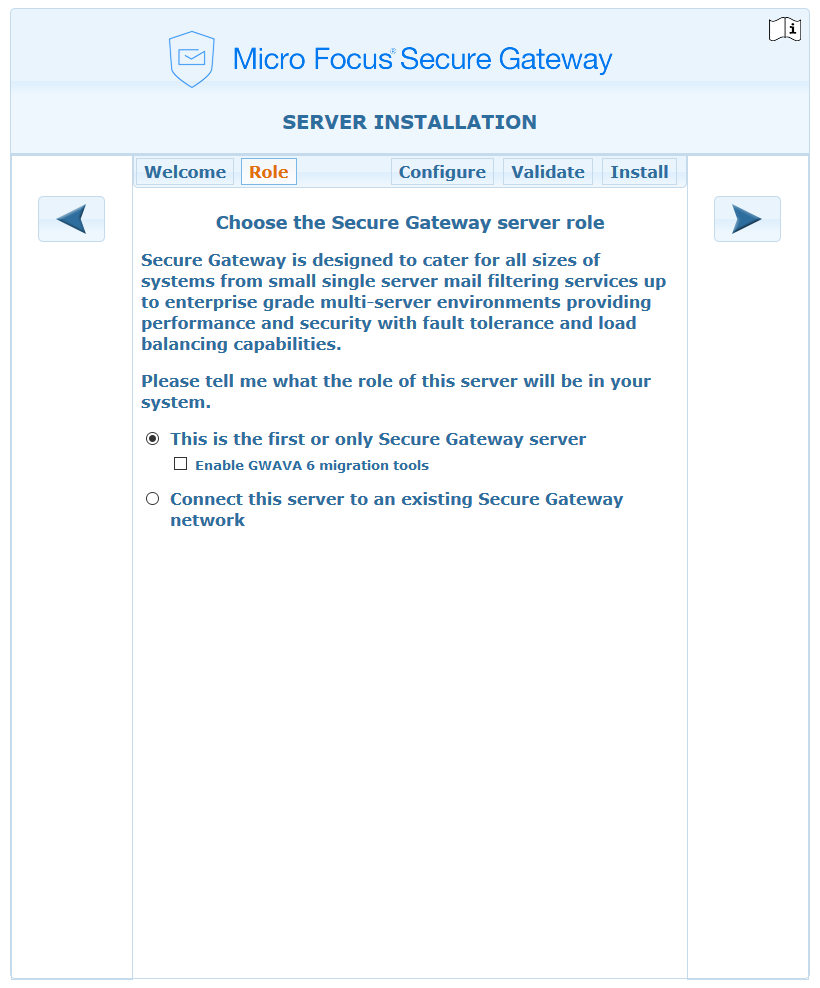
Select the Role this Secure Messaging Gateway server will have.
If adding to an existing Secure Messaging Gateway network, see how to connect with an existing network Installing Additional Servers into an Existing Network.
-
Configure the server:
Update the Server name and address.
Add a password for the admin user.
Enter the primary domain.
Enter a contact email, optional.
Enter the mail relay server hostname or IP address and credentials, if required.
Enable Setup default system.
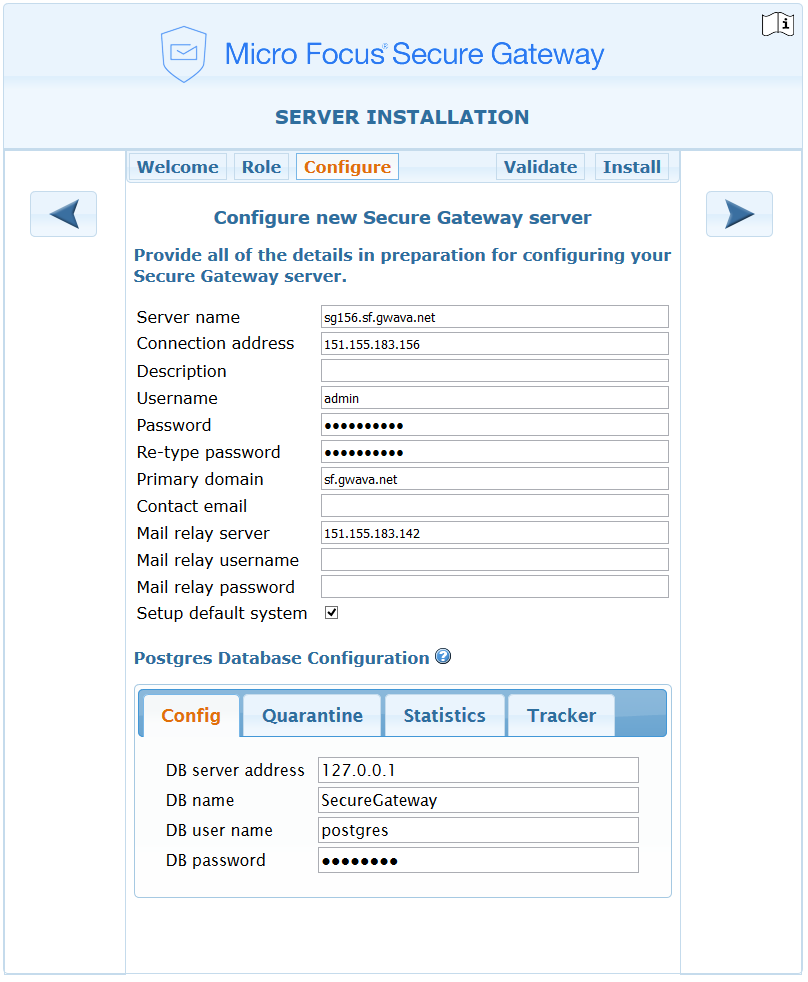
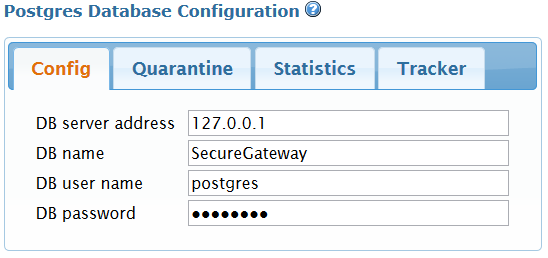
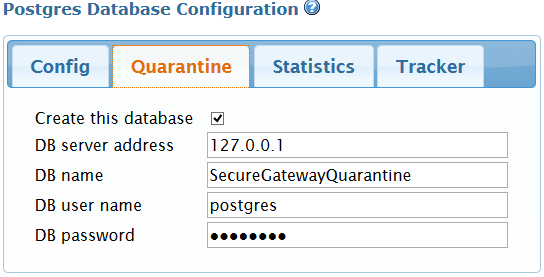
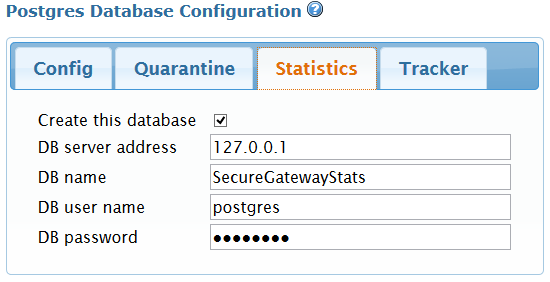
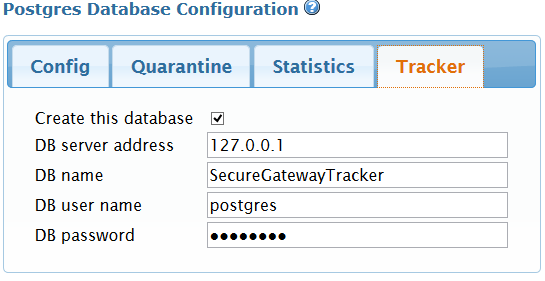
Postgres Database Configuration
If using a external databases, they can be configured here:
-
Config
-
Quarantine
-
Statistics
-
Tracker
-
-
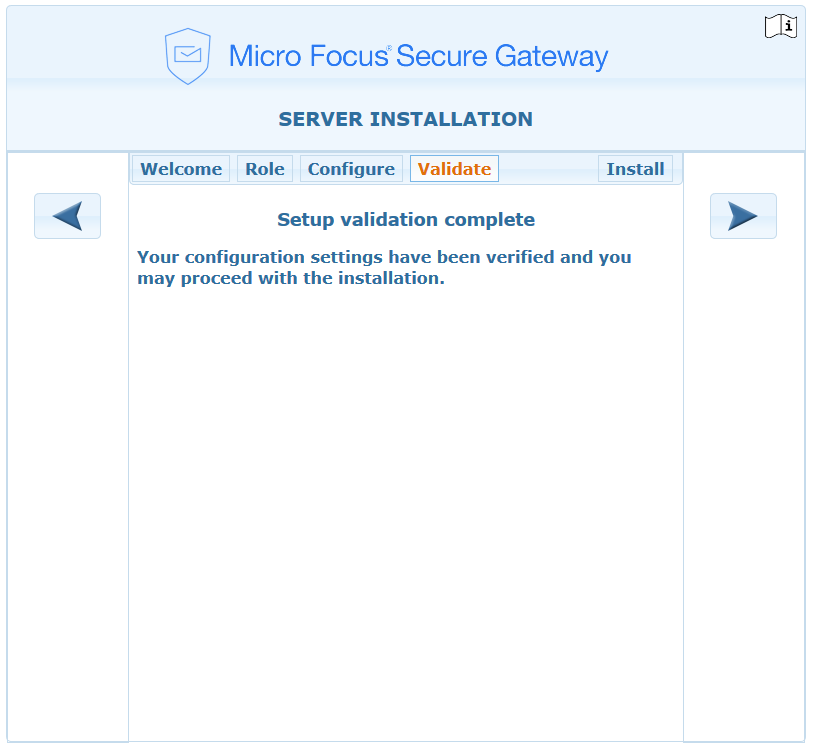
Validate. The installer will validate the entered settings.
-
Select the forward arrow to install the Secure Messaging Gateway server. This may take a few minutes. When complete log in to configure the server with the post install tasks.
-
Log into the Secure Messaging Gateway.

-
Continue with Post-Installation Tasks.