3.2 Publish an Application for Citrix Deployment
To publish an application for Citrix deployment from the Citrix Management Console and SecureLogin do the following:
-
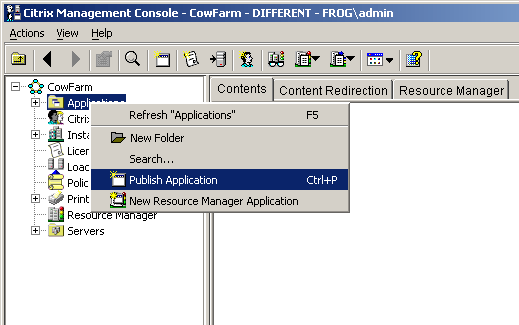
Select Applications from the Citrix farm.
-
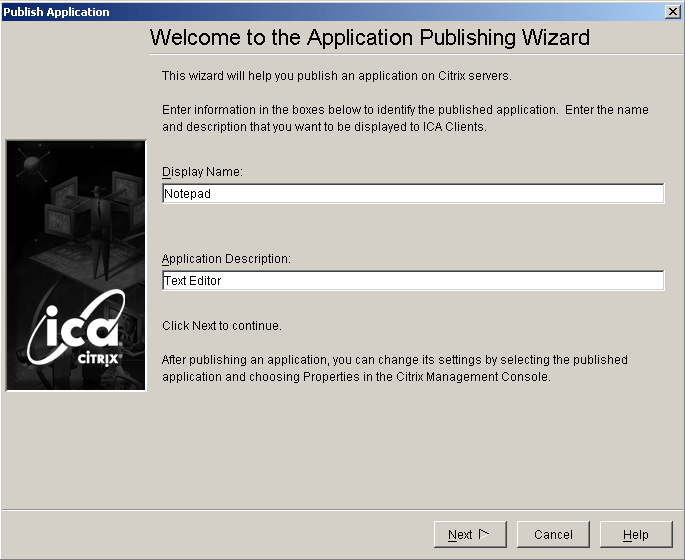
Right-click , then select option from the menu. The Welcome to the Application Publishing Wizard is displayed.
-
Specify a name for the published application in the field and description in the field.
-
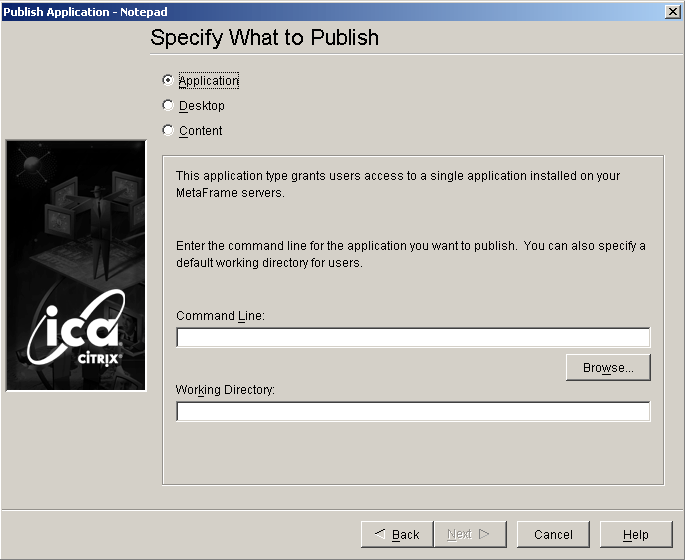
Click . The Specify What to Publish dialog box is displayed.
-
Click to find the location of the application program files and select the executable.
-
Click to return to the Specify What to Publish dialog box.
-
Specify the relevant directory path in the field. The working directory is the directory path of the program executable.
The path to the SLLauncher.exe file of SecureLogin is specified before the published application executable. Enter a space between the SecureLogin and application executable path descriptions.
For more information on SSLauncher.exe, refer to Section 7.10.2, Using SLLauncher Syntax.
-
In the field, specify the published application executable path.
-
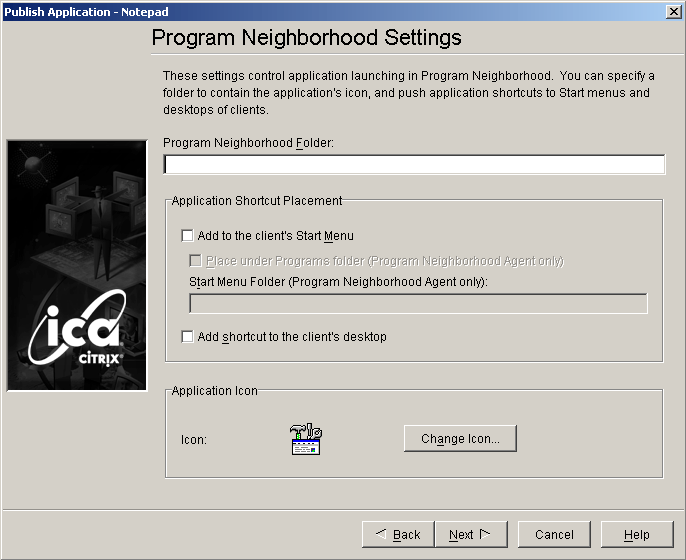
Click . The dialog box is displayed.
-
Select the options and configure neighborhood settings as required.
-
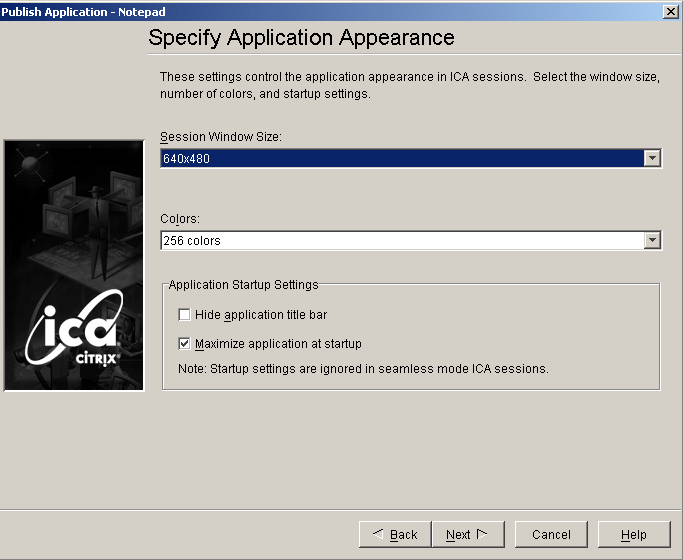
Click . The Specify Application Appearance dialog box is displayed.
-
Select and configure application appearance options as required
-
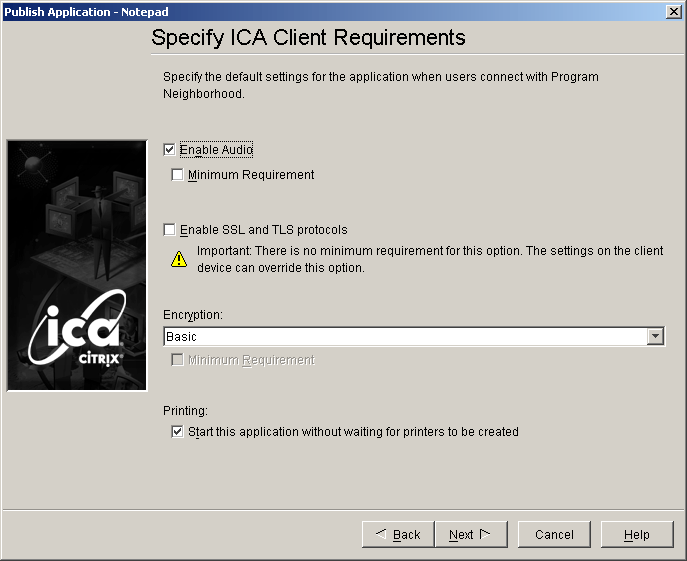
Click . The Specify ICA Client Requirements dialog box is displayed.
-
Select and configure ICA Client Requirement options as required.
-
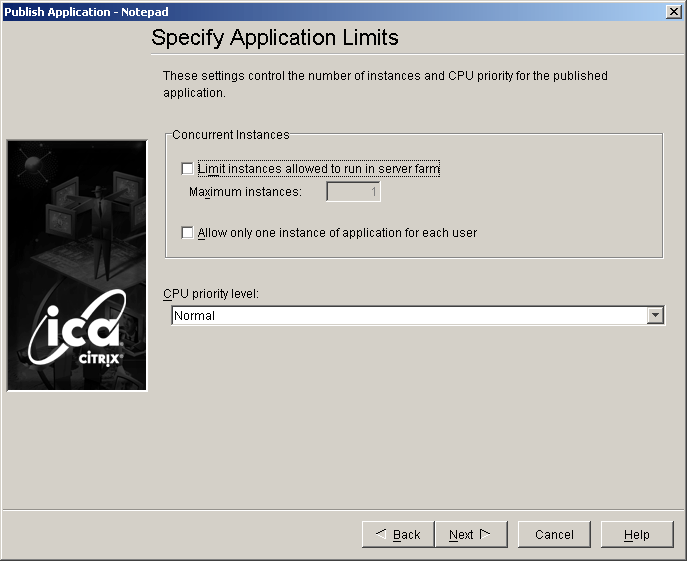
Click . The Specify Application Limits dialog box is displayed.
-
Select and configure application limits as required.
-
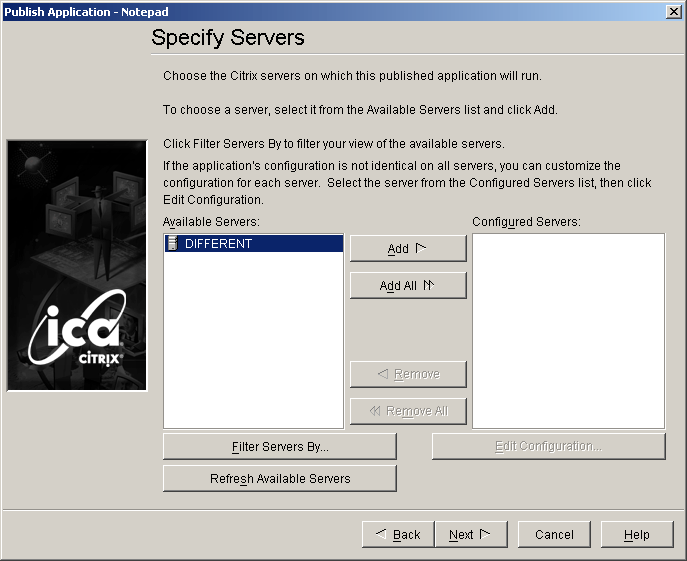
Click The Specify Servers dialog box is displayed. You need to specify a server for application publication and deployment.
-
Select the relevant server from the list.
-
Click .
-
Click . The Specify Users dialog box is displayed.

-
Check the check box, then drag the pointer to select the users.
-
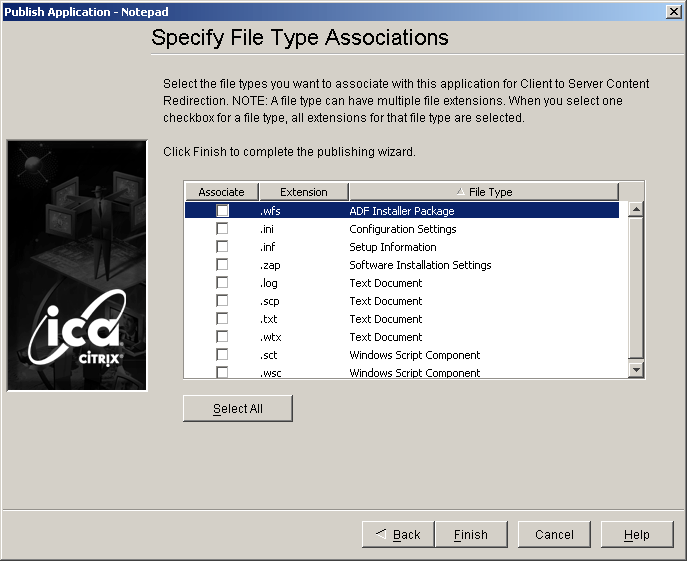
Click . Depending on the published application, the Specify File Type Associations dialog box may be displayed.
-
Check the file type check boxes as required.
-
Click . The published application now displays in the tab of the Citrix Management Console.
-
Repeat publishing steps for all SecureLogin enabled applications.
When all required applications have been published, test executing an application to make sure SecureLogin for Citrix is successfully installed.
3.2.1 SLLauncher Switches
You can use three switches in conjunction with the SLLauncher executable /d, and /w. Switches are not case sensitive, that is, both /d and /D are valid, however in the case of /w, the process name specified is case sensitive.
- /d is
used to initiate a trace file that is saved in the SecureLogin program
directory. Example syntax:
“C:\Program Files\Novell\SecureLogin\SSLauncher.exe” /d C:\WINNT\System32\notepad.exe
- /w used to delay SLLauncher
executing until a specific application has executed or environment
is present.
For example, to run the executable notepad.exe with SecureLogin, the syntax is:
“C:\Program Files\Novell\SecureLogin\SSLauncher.exe” C:\WINNT\System32\notepad.exe
However, in order for notepad.exe to execute as required, you must set up an environment variable first. This environment is created when the batch file runtest.bat is run on the server.
Use the /w switch, to specify SLLauncher wait to execute until the batch file runtest.bat has completed running, for example:
“C:\Program Files\Novell\SecureLogin\SSLauncher.exe” /w notepad.exe
C:\runtest.bat
Switch Combinations
You can also use switches in combination, for example:
“C:\Program Files\Novell\SecureLogin\SSLauncher.exe” /d /w notepad.exe C:\runtest.bat
When enabling SecureLogin 16 bit application, you must include /16 switch in the Citrix publishing command. You must identify the 16 bit applications because they execute differently to 32 bit applications. For SecureLogin to single sign-on an application, the 16 bit emulator NTVDM.exe must be active.
The following is an example syntax:
“C:\Program Files\Novell\SecureLogin\SSLauncher.exe” /16 C:\WINNT\System32\notepad.exe
Subsequently, each time a 16 bit application is SecureLogin signed-on, the executable NTVDM.exe continues to run. This may cause memory issues if multiple 16 bit applications are SecureLogin single sign-on enabled.
Add the switch /w NTVDM.exe to the Citrix publishing command to terminate NTVDM.exe when the 16 bit application is closed,
To terminate NTVDM.exe when the 16 bit application is closed, add the switch /w NTVDM.exe to the Citrix publishing command.
The following is an example syntax:
“C:\Program Files\Novell\SecureLogin\SSLauncher.exe” /16 /w NTVDM.exe
C:\WINNT\System32\notepad.exe
NOTE:Executing 16 bit applications requires the switch /16 in the command line.