7.3 Using the Complete Option to Install SecureLogin on a Standalone Workstation
Novell SecureLogin standalone operates on the workstation, independent of a network or corporate directory system.
If you are installing Novell SecureLogin for the first time, follow the instructions given below:
-
Log in to the workstation as an administrator.
-
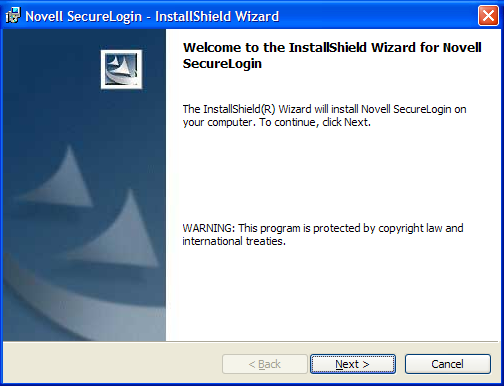
Run the Novell SecureLogin.msi file available in the SecureLogin\Client directory of the installer package. The Welcome page is displayed.
-
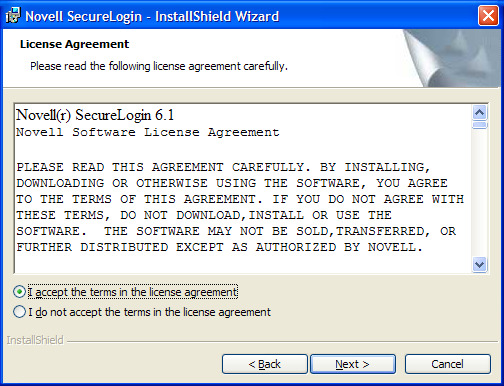
Click . The License agreement page is displayed.
-
Read the license agreement. Select in the license agreement if you want to proceed with the execution of the license agreement. If you do not want to proceed with the execution of the license agreement, click to quit the setup.
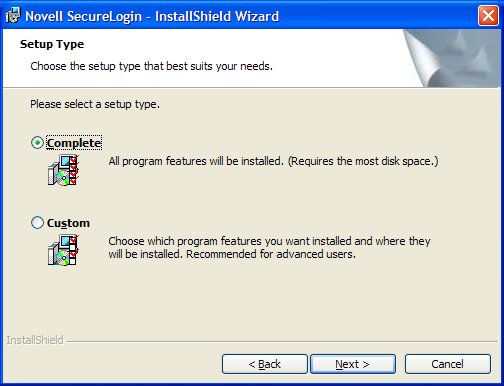
The option uses default values and installs SecureLogin in . For options available through the option, see Section 7.4, Using the Custom Option to Install SecureLogin on a Standalone Workstation.
-
Click > .
-
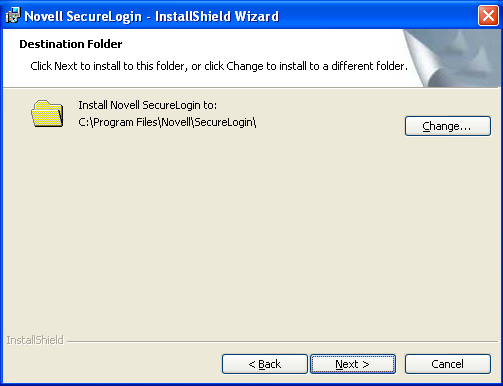
Click . The program location folder is displayed. The default location for Novell SecureLogin is, . If you want to change the location, click Change and select an alternative location for Novell SecureLogin on the drive.
-
Click . The installation environment page is displayed.
-
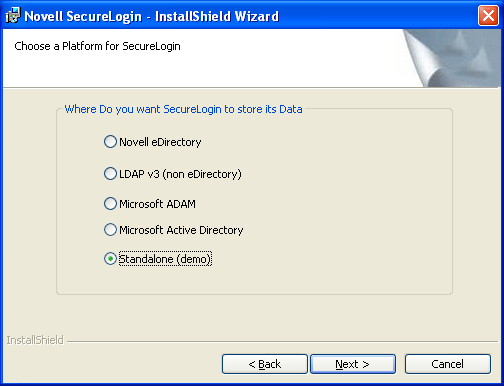
Select .
-
Click . The installation features page is displayed.
-
Select .
-
Click .The cache location folder page is displayed.
IMPORTANT:Consider the following information before changing the cache location:
-
The user's application data folder is the Triple DES or optionally AES encrypted repository for all Novell SecureLogin user data, which includes credentials, preferences, password policies, preconfigured applications, and application definitions.
-
By default, for standalone installations, Novell SecureLogin user data is stored in the offline cache on the local hard drive of the workstation.
-
-
If you want to change the location of the cache folder, select > and locate an alternative folder.
-
(Optional) Select a cryptographic service provider from which SecureLogin requests PKI credentials via the Microsoft Crypto API.
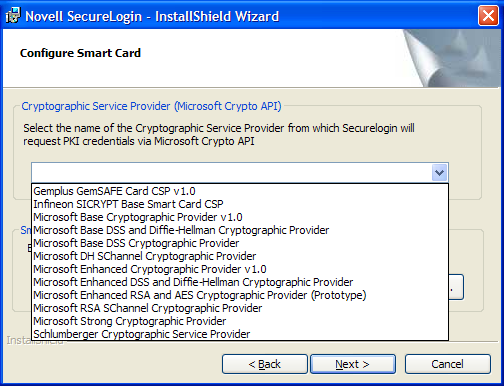
-
Click and select a required for accessing the smart card, then click .
This specifies the location of the Cryptographic Token Interface installed as part of the smartcard vendor’s software. These API files are used by SecureLogin to communicate with the smart card.
Manually configuring the third-party smart card PKCS library assumes a high level of understanding the Cryptographic Service Provider’s product.
-
Click . The Ready to install the program page is displayed.
-
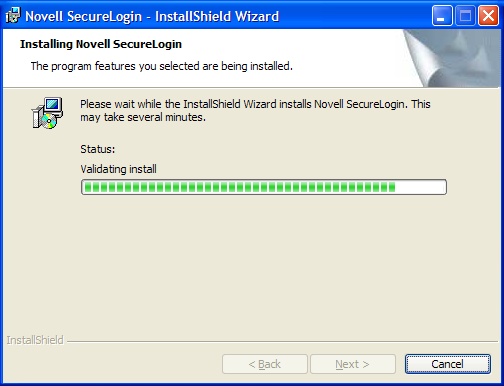
Click . The installation process takes a few minutes. A confirmation message appears after the installation is complete.
-
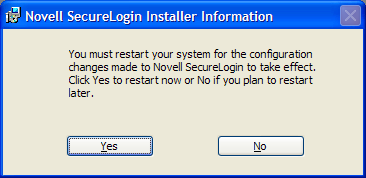
Click . By default, the option is selected.
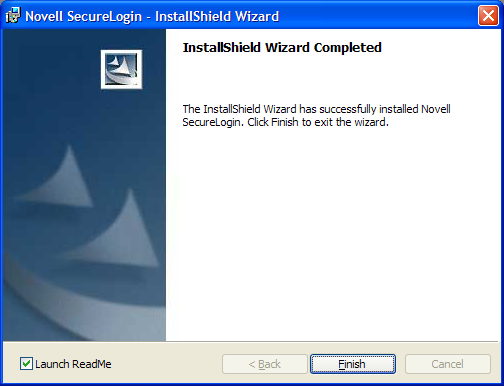
If you are prompted for a restart, click . The computer is automatically restarted.
On login or restart, the Novell SecureLogin launches automatically and the Novell SecureLogin icon  is displayed in the Windows notification area.
If you are upgrading from a previous version of Novell SecureLogin, follow the instructions given in Section 12.3, Upgrading Novell SecureLogin.