6.6 Installing Novell SecureLogin in the ADAM Environment
-
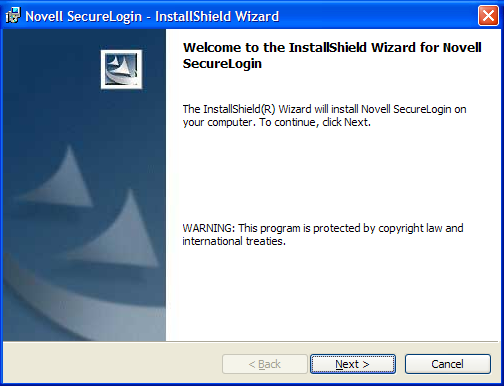
Run Novell SecureLogin.msi, found in the \Securelogin\Client directory of the installer package. The Welcome page is displayed.
-
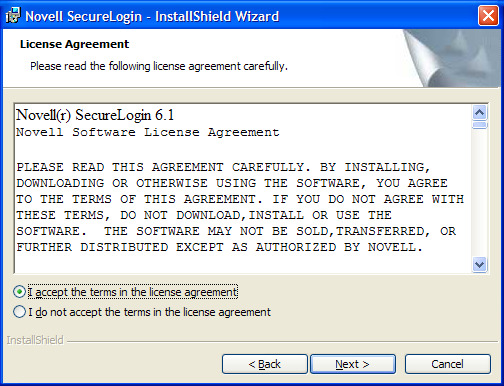
Accept the license agreement, then click .
-
Select setup type, then click .
If you select the setup option, the default values are used.
-
(Conditional) If you select the setup option, the Choose a destination folder dialog box appears.
-
(Conditional) Click , to install Novell SecureLogin to the default folder or click and choose another folder to install.
-
Click > .
-
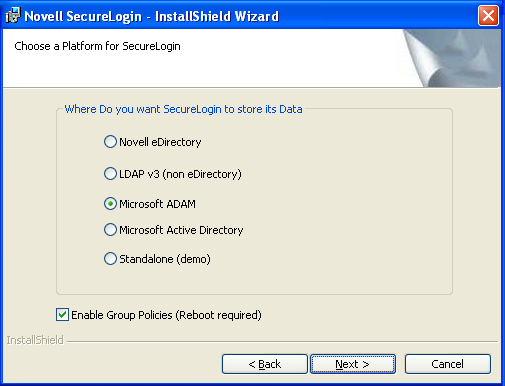
(Optional) Select .
NOTE:The group policies option is used where the ADAM directory is working along with Microsoft Active Directory or if Microsoft Active Directory is utilized for Novell SecureLogin in LDAP mode.
-
In the dialog box, select .
-
(Conditional) If you want to use smart card and if ActiveClient is detected in your system, select , , then continue with Step 10.
-
(Conditional) If you want to use smartcard and if ActiveClient is not detected in your system:
-
Select , Click .

-
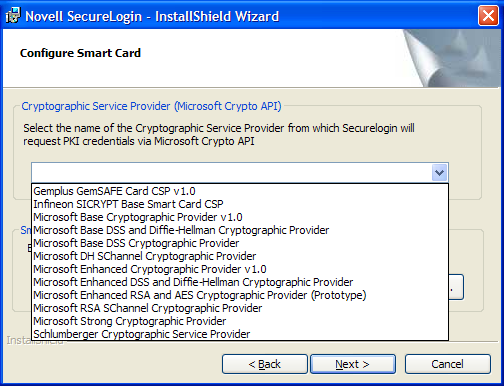
(Conditional) Select a cryptographic service provider from which Novell SecureLogin will request PKI credentials via Microsoft Crypto API.
-
Click and select a PKCS#11 compatible library required for accessing the smartcard, then click .
NOTE:This will specify the location of the Cryptographic Token Interface installed as part of the smartcard vendor’s software. These API files will be used by Novell SecureLogin to communicate with the smartcard.
Manually configuring the third party smartcard PKCS library Assumes a high level of understanding the Cryptographic Service Provider’s product.
For more information and instructions about smartcard settings and cryptographic tokens, see the Novell SecureLogin 6.1 SP1 Administration Guide.
-
-
(Conditional) The Installation options dialog box is displayed if you have selected the setup option.
Specify where you want Novell SecureLogin to store its local cache.
-
(Conditional) Click , after the directory location is defined to continue to the next dialog box.If Citrix or Terminal Services applications are detected, the Citrix/remote client options dialog box is displayed.
-
(Conditional) Select features that you want to install at the Select Features dialog box, then click .
-
By default, the is selected. Deselect the option if you do not want Novell SecureLogin to start at the Windows startup.
-
Select .
The Directory administration tools are provided for corporate environments to manage users centrally at the directory.
-
If applicable, select .
This is highly recommended to enhance the performance of Novell SecureLogin in a Citrix environment.
-
Click . The cache location folder page is displayed.
IMPORTANT:Consider the following information before changing the cache location:
-
The user's application data folder is the Triple DES or optionally AES encrypted repository for all Novell SecureLogin user data, which includes credentials, preferences, password policies, preconfigured applications, and application definitions.
-
By default, Novell SecureLogin data is stored in both your organization's corporate directory and in the Novell SecureLogin offline cache on your workstation's hard drive. The data in the directory and the local cache are synchronized to ensure user data is always current.
-
When the smart card is used to store application credentials, the credentials are stored on the smart card and directory only. The cache and directory contain the application definitions, policies, and settings for single sign-on.
-
If smart cards are not used in the LDAP implementation, you can turn off the cache using an administrative preference so that the users access their single sign-on data from the directory only. This option has an impact on system performance.
-
-
If you want to change the location of the cache folder, select > and locate the an alternative folder.
-
Click . The Ready to install the program page is displayed.
-
Click . The installation process takes a few minutes. A confirmation message appears after the installation is complete.