5.11 SSO
5.11.1 Single Sign On
Single sign-on (SSO) options are provided for organizations that use request header-based, single sign-on technologies such as JOSSO, Shibboleth or Site Minder. These work best with directory server technologies, because they keep the account details synchronized. It should be noted that some of these technologies rely on application server redirects to be implemented, so administrators are advised to check the documentation of their SSO provider for details on how to activate and use request header-based Single Sign On.
When configured, SSO allows Customers and Users who have logged in to their networks using their directory server authentication credentials to automatically access the service management application without re-entering their login details.
To configure SSO:
-
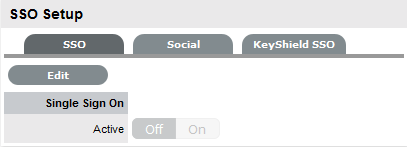
Select Setup > SSO.
-
Click Edit.
-
Toggle to On.
-
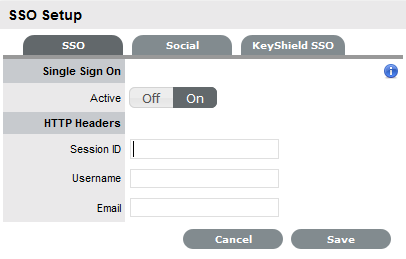
Complete all fields:
Fields
Description
Session ID
Enter the name of the HTTP Header that contains the SSO session id. All the Headers can be viewed by clicking
 .
.
Username
Enter the name of the HTTP Header that will contain the Login of the User attempting to access the support system.
Email
Enter the name of the HTTP Header that will contain the email address of the User attempting to access the support system.
-
To view all Session Headers, click
.
-
Click Save.
5.11.2 Keyshield SSO
The Keyshield SSO feature is now integrated into Micro Focus Service Desk this feature provides a single sign-on mechanism, and works with other Micro Focus products such as Filr, GroupWise, and Vibe.
KeyShield SSO is a single sign-on that enable users to access their applications without authenticate to each one of them. When configured, Keyshield enables customers and users who have logged onto their networks using their directory server authentication credentials, to automatically access the service management application without re-entering their login details.
To configure KeyShield SSO:
-
Select > > .
-
In the SSO page, click .
-
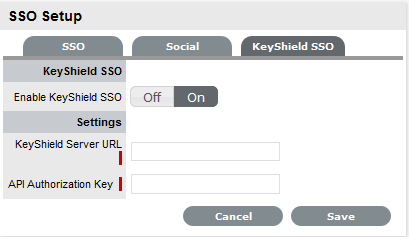
, then specify the following settings:
-
KeyShield Server URL: The KeyShield server’s IP address (https://<ipaddress>:<port>).
-
API Authorization Key: The API key generated in the Keyshield server.
-
-
Click .
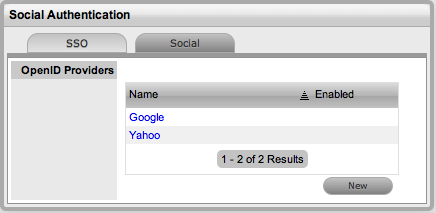
5.11.3 Social
The Social tab is available when the OpenID Consumer option is enabled within the Setup>Privileges>System tab. This functionality delegates the authentication of Customers and Users when accessing the system to OpenID Providers. Users and Customers with accounts with OpenID Providers recorded in the system can invoke the functionality by clicking the appropriate icon displayed on the system Log in page.
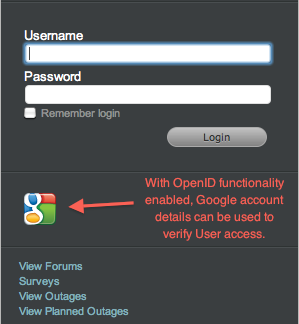
Within the Social tab, the OpenID Providers that are to be used to verify the online identity of Customers and Users accessing the system are configured. By default the system includes the details for Google and Yahoo, which can be enabled by opening the relevant link and selecting Yes.
Enabling Default Providers
To use the default OpenID Provider options of Google or Yahoo to authenticate Customer and User access:
-
Select Setup > SSO > Social tab
-
Click the URL Name of the relevant Provider
-
Select Edit
-
Toggle the Enable option to Yes
-
Click Save.
The Open ID Provider icon will now be visible on the system Login page.
To remove the system default OpenID Provider list options, follow the above steps, but select the Delete button within the Details view of the OpenID Provider.
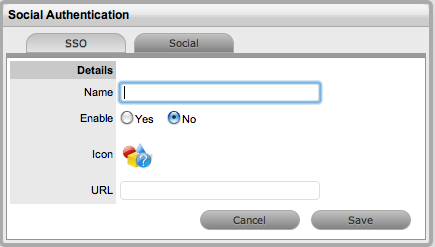
Defining an OpenID Provider
To enter the account details for an OpenID Provider:
-
Select Setup > SSO > Social tab
-
Click New
-
Complete the Name field
-
Select Yes to enable the Provider to authenticate Users and Customers
-
Click
 to upload the OpenID's icon that will be displayed on the system Log in page
-
Click Choose File to search for the image file
The image must be 32x32 pixels.
-
Click
 to upload
-
Define the URL details for the OpenID Provider
-
Click Save.
The icon for the OpenID Provider will now be active on the system Log in page.