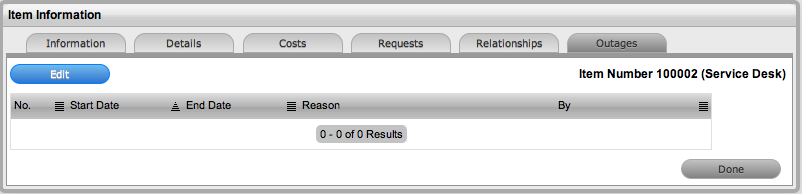
1.44 Outages Tab
Planned outages can be created for an Item under the Outages tab. This is a period of time an Item will not be available for a Customer's use.
If an Item has an SLA with a specified Blackout Period, Outages should be planned to fall within this time. The Blackout Period is an agreement between the Customer and the Service Desk regarding a period of time when the Customer has no service expectations. This can also be the preferred time for Item upgrades and maintenance without affecting service availability.
When an Outage is being created, the Blackout Periods times are displayed to ensure the User creates a new Outage that does not breach the Item's SLA.
1.44.1 Creating an Outage
To create an Outage:
-
Select Configuration > Items
-
Select the Item Number
-
Go to the Outages tab
-
Click Edit
-
Click New
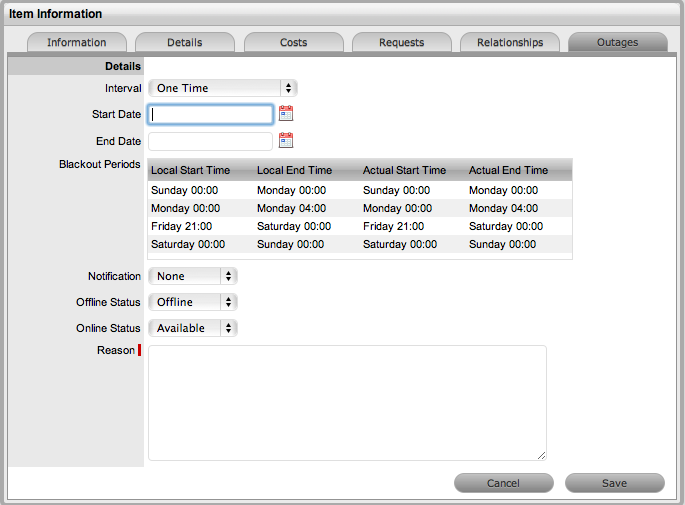
The screen will expand to display the Outage Editor screen including the Blackout Period, if defined for the Item associated SLA.
Planned Outages
Details
Description
Interval
Select One Time if the Outage is a one off, or set regular outages based on a weekly or monthly basis.
Start Date
Select the Start Date within the calendar, and modify the Time accordingly inside the calendar pop-up.
End Date
Select the End Date within the calendar, and modify the Time accordingly inside the calendar pop-up.
Notification
Select Email or SMS Notification about the Outage is to be sent to the Primary Contact of the Org. Unit, or All Customers/Owners associated with the Item.
Reminder
This option is displayed when a Notification is set for the Outage.
If a Reminder notification is to be applied to the Outage, check the box and define the period of time prior to the Planned Outage period that the reminder is to be issued.
Reason
Enter a description that details why a Planned Outage is being scheduled.
Within the table the Start and End Time is displayed as Local Time and Actual Time.
-
Local Time is based on the time zone of the logged in User
-
Actual Time is based on the SLA time zone.
-
-
Define the Interval for the Outage
Select One Time if the Outage is a one off, or set regular outages based on a weekly or monthly basis.
-
Enter the Outage details
Select the Start/End Date within the calendar, and modify the Time accordingly inside the calendar pop-up
-
Set the Notification method and recipients, for when the Outage is saved
-
Set Reminders, if required
Tick the Reminder Email field, if a reminder is to be emailed to defined recipients prior to the Outage time. Define the length of time before the Outage occurs that the reminder is to be sent.

-
Define the Offline Status and Online Status for the Item
These are the States the Item will be automatically assigned in the CMDB when the Planned Outage commences and ends.
-
Complete the Reason for the Outage
-
Click Save.
The Outage notification is sent to the defined recipients upon save.
-
Click Save and Done.
To view the details of the Outage, select the Outage No. link in the Outage List View.
See: Outages for more information on setting up and viewing Item Outages.