Select User>Customers
Select the required
Customer name link
The Customer Information screen opens.
Move to the Contracts tab
Click Edit
In SLA Details, use
the drop-down menu to select the SLA for this Customer
Click Save.
Within the system a Service Level Agreement (SLA) can be assigned to a Customer, Organizational Unit, Item or a request. When a request is created, the system checks if any of these elements have an SLA. The business logic applied to assign an SLA to a request is as follows:
If the Customer has an SLA then assign this to the request
If the Customer does not have an SLA but the Organizational Unit does, assign this to the request
If the Customer or Organizational Unit does not have an SLA but the Item does, then assign this to the request
If none of the above elements have an SLA, the system Default SLA as defined by Admin in Setup>Privileges>Requests tab, is assigned to the request.
When Billing is enabled, the system checks that a maintenance contract is in place during the request creation process and assigns a Status of Pending - No Contract when an SLA contract is non-existent or expired. To assign an SLA in this situation, the Technician creates a Per Item or Per Request SLA Contract within the Contract tab of the request Information screen. (See: Create a Contract.)
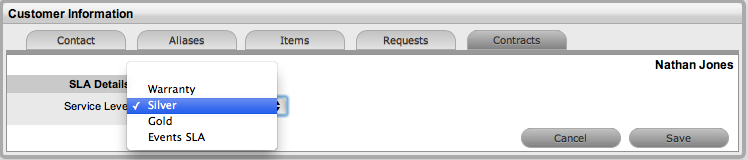
To assign an SLA to a Customer when Contracts are disabled:
Select User>Customers
Select the required
Customer name link
The Customer Information screen opens.
Move to the Contracts tab
Click Edit
In SLA Details, use
the drop-down menu to select the SLA for this Customer
Click Save.
To assign an SLA to an Organizational Unit when Contracts are disabled:
User>Organizational Units
Select the required
Org Unit Name
The Org Unit Information screen will open.
Select the Contracts tab
Click Edit
In SLA Details, using
the drop-down menu, select the SLA for this Customer
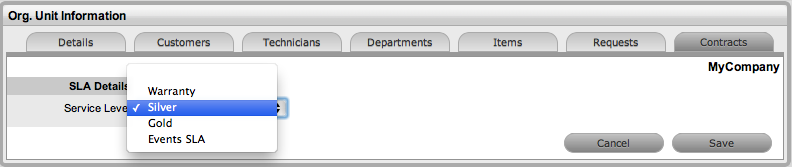
Select Save.
To assign an SLA to an Item when Contracts are disabled:
Select Configuration>Items
Select the required
Item number hyperlink
The Item Information screen will open.
Select the Costs tab
Click Edit
In SLA Details, using
the drop-down menu, select the SLA for this Item
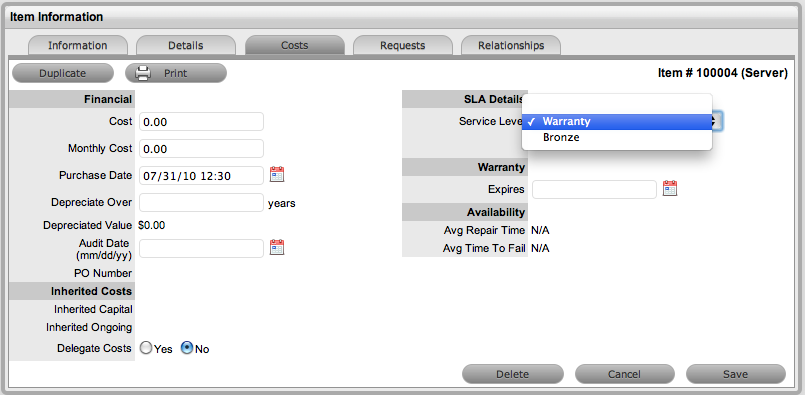
Select Save.
When a request is created without a valid contract, the system assigns the request a Pending - No Contract Status. The request is locked and cannot be edited by a Technician until a valid Contract is in place. See: Create a Contract.