3.4 Installing NSMAdmin 3.1.1
The NSMAdmin 3.1.1 installation package includes the NSM Migration utility, which you need to install on the server where the Novell Storage Manager 3.1.1 NSM Engine will eventually be hosted.
NSMAdmin can be installed on a Windows server or workstation that meets the following minimum requirements:
-
Windows platform (Windows 7, Vista, XP SP3, and Windows Server 2012, 2008 or 2003)
-
.NET 3.5 Framework and .NET 4.0 (Full) Framework installed.
-
.NET security settings are adjusted if you are running the executable from a network drive (optional)
-
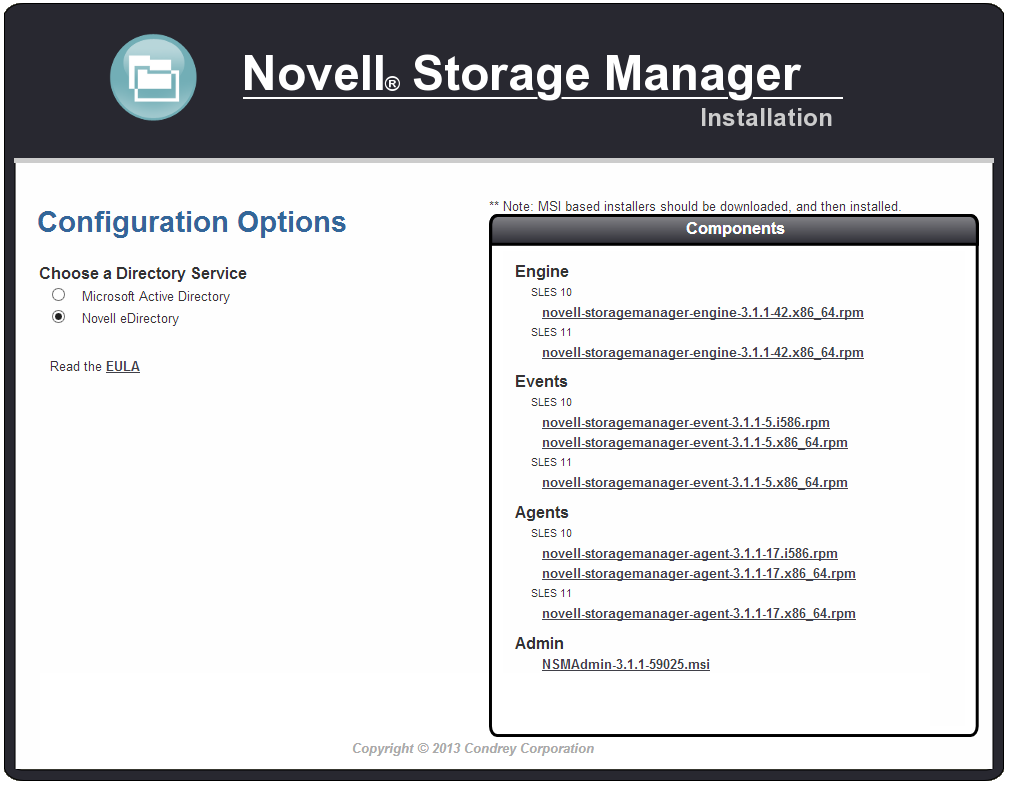
At the root of the NSM_3_1_1.iso image, click the install.html file.
-
Select .
-
Click .
-
When asked if you want to save or run the file, save the file to the hard drive of a computer where you will administer Novell Storage Manager.
-
From the saved location, launch the NSMAdmin installation file.
-
When you are asked if you want to run this file, click .
An Introduction page appears in the NSMAdmin Installation Wizard.
-
Read the text and click .
-
Accept the license terms and click .
-
Accept the installation path or indicate a new path by using the button.
To review possible locations, you can click to see all available volumes with disk size and disk availability data.
-
Click .
-
If you want to create a shortcut for NSMAdmin, leave the check box selected and click .
NSMAdmin is installed.
-
Deselect the check box, which is selected by default, and click .