8.2 Managing Quotas Through Quota Manager
-
Launch a Web browser.
-
Enter the following address: https://ip-address-or-dns-name-of-nms-engine-server:3009/qm
-
(Conditional) If a message appears informing you that the connection is not trusted, proceed by adding the security exception and downloading the certificate.
The following screen appears:
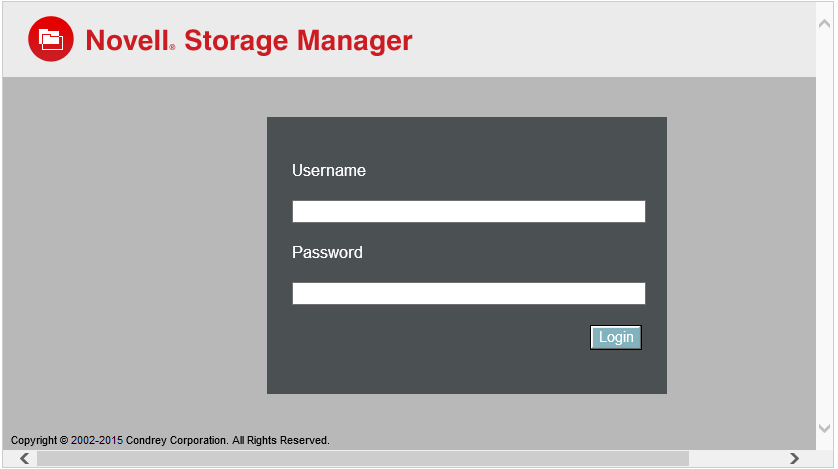
-
Enter a username and password and click .
The username and password must correspond to a user that has been designated as a quota manager either directly or through a group association.
The username must be in SAM account format such as domain\useror user@full.domain.com.
-
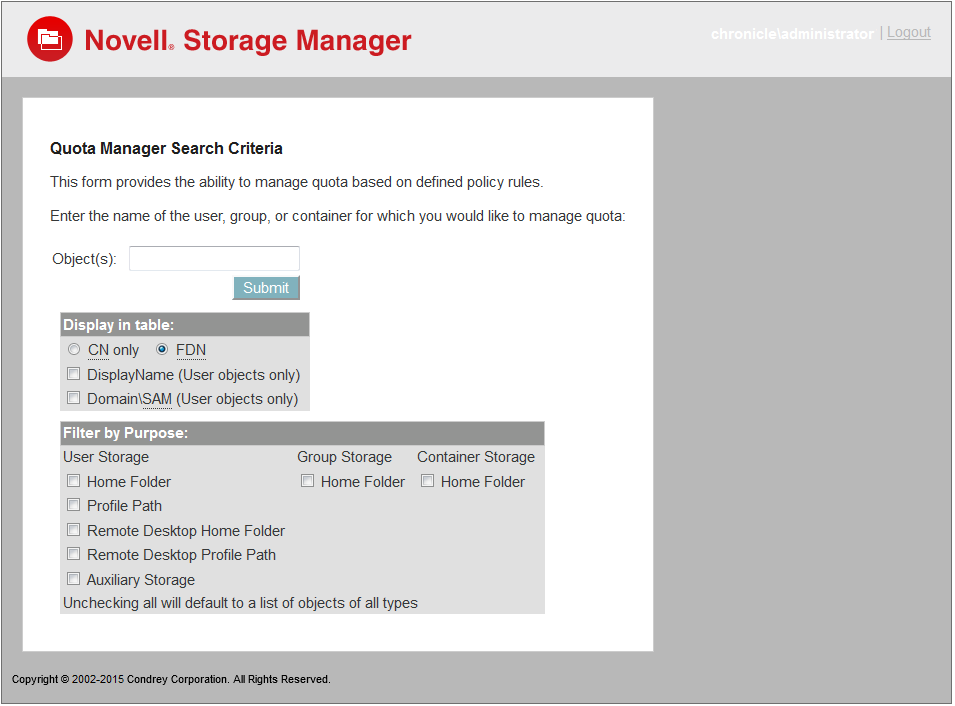
In the field, specify a user, group, or container name, or use an asterisk (*).
In large networks, building a list through the asterisk can be time consuming.
-
Specify your display and filter preferences in the corresponding regions.
-
Click .
-
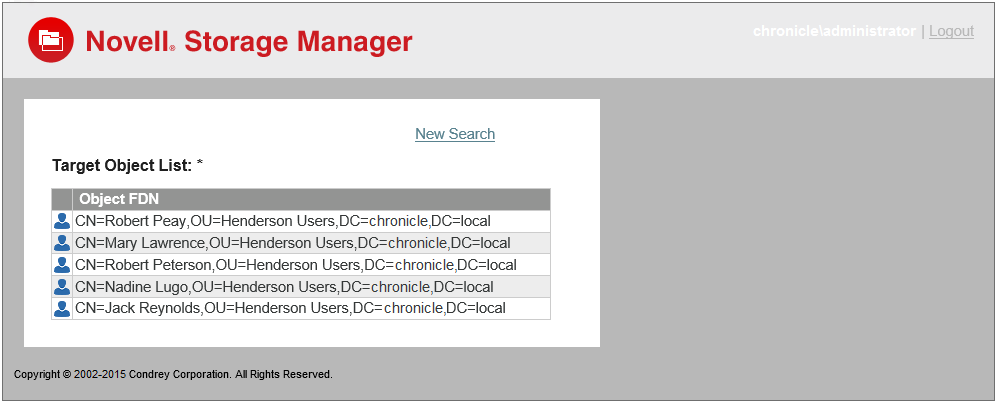
Click the user, group, or container you want to manage.
-
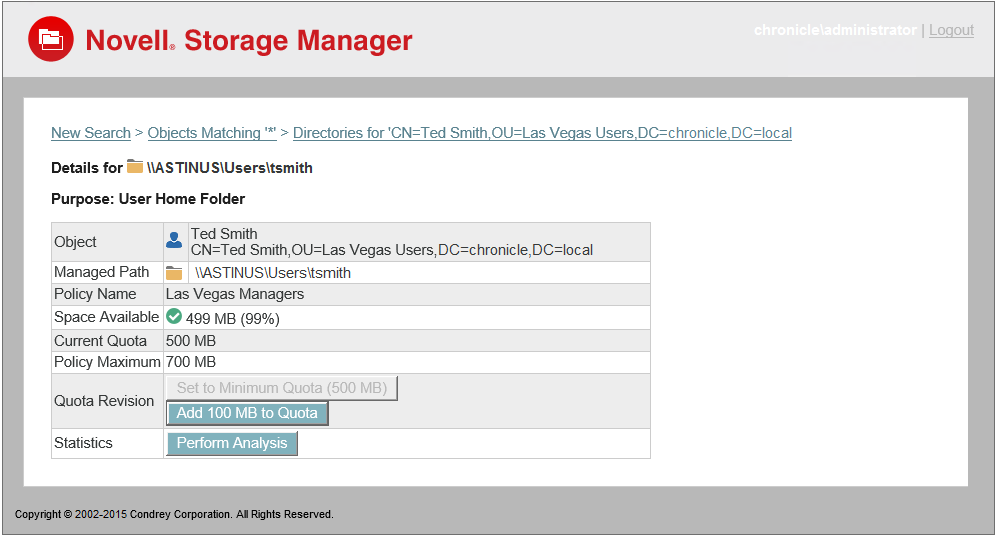
Add or remove a quota or perform a storage analysis by using the buttons provided.