4.2 Creating a New User
After you establish a small number of policies that you want to apply to various groups of people in your organization, you can create user accounts.
To create a user account:
-
From the Manage Contacts and Users window, select the Community Address Book.
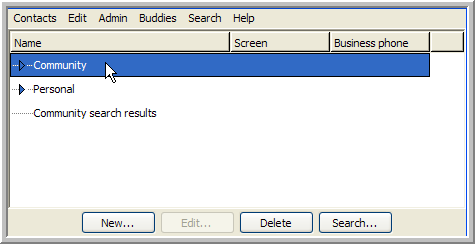
If the Download Community Address Book feature is disabled, you can skip this step, and the remaining steps still create a new user properly. However, this step is very important when creating a contact or a new group.
-
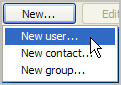
Click in the lower left corner of the window, and select the menu item.
-
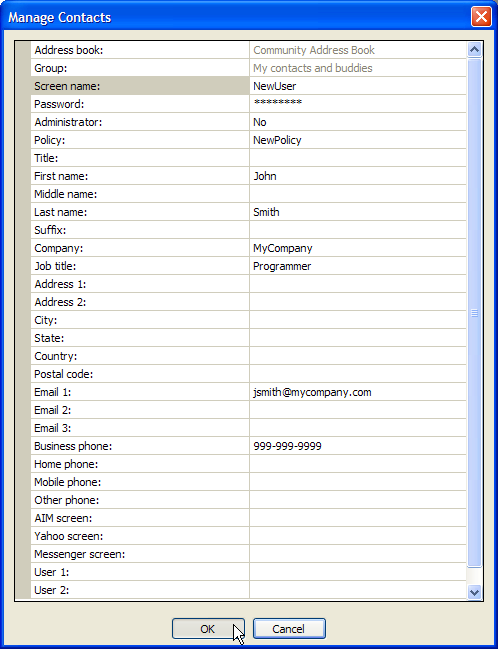
In the window, click items in the right column of the table to provide values for the new user's contact information.
-
Provide values for at least the required contact-list items.
To make the account reasonably usable, we recommend that you also provide first name, last name, and at least one e-mail address (so that the new user can receive the e-mail message). See the Conferencing online Help or Conferencing User Guide for detailed information on these fields.
-
Click .
Conferencing creates the new user and a contact listing for that user.
If you want to create a large number of users by using LDAP synchronization with eDirectory, see Configuring LDAP Synchronization (Optional)
in Installation Procedures
in the Conferencing 1.0 Server Installation Guide.