24.6 Upgrading the Vibe Software
Complete the following steps for each server in your Vibe system that is running the Vibe software:
-
Ensure that you have a current backup of your Vibe 4.x system.
-
Stop Vibe.
Linux:
On the Vibe server, specify the following command:
/etc/init.d/teaming stop
Windows:
-
Ensure that no application (such as a command prompt or Windows Explorer) is running on the Vibe 4.x system.
-
Copy the installer.xml file from the directory where the previous-version Vibe 4 Installation program is located to the directory where you have extracted the Vibe 4.0.5 or later software.
-
Copy the license-key.xml file from the directory where the previous Vibe 4 Installation program is located to the directory where you have extracted the new Vibe installation software.
Alternatively, you can obtain a new license key (*.xml) from the location where you downloaded the new Vibe software, copy it to the directory containing the newly extracted Vibe installation software, and rename it to license-key.xml.
-
Start the Vibe 4.0.5 or later installation program.
If you need assistance with this task, see the detailed installation instructions for the platform where you are upgrading Vibe:
-
Accept the License Agreement, then click .
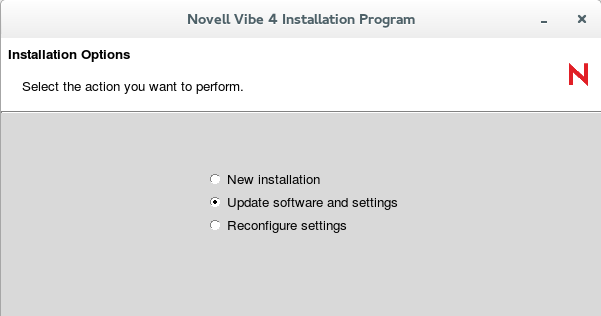
Because you provided your Vibe 4 installer.xml file in the directory with the newly extracted Vibe installation program, the installation option is selected by default.
-
Click to continue.
-
Click to let the Installation program know that you have stopped Vibe.
-
Select the check box to let the installation program know that you have backed up all of your data, then click .
-
Select or , depending on the type of Vibe installation you are upgrading, then click .
For more information about the differences between basic and advanced installations, see What Is a Basic Vibe Installation? and What Is an Advanced Installation?.
-
Continue through the installation process, retaining or changing configuration information depending on the needs of your Vibe 4.0.5 or later system.
-
If you are using self-signed certificates to secure communications between Vibe and other services, when you reach the Java JDK screen, enter the aliases that you used when importing the certificates, in a comma-separated list.
-
Click when you are ready to perform the upgrade.
-
Click when the upgrade is complete.
If the installer reports errors, skip to If the Installer Reports an Error.
-
(Conditional) If memcached is running on the Vibe server, reboot the server to ensure that the cache is cleared.
-
Continue with Upgrading the Vibe Database from 4.x to 4.0.5 or Later.