4.1 Setting Properties During Installation
Use the Novell Client Install Manager to set properties for one or more workstations before an install. This method saves you from setting each workstation individually.
-
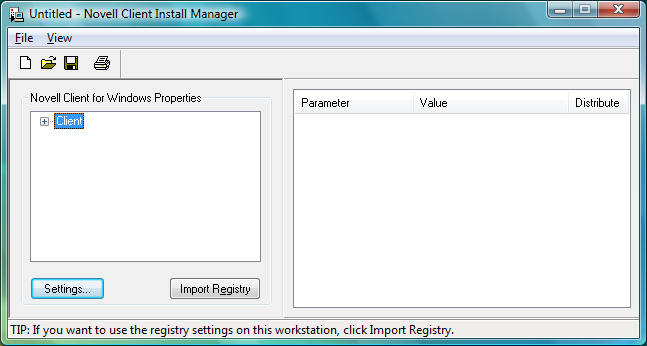
Start the Novell Client Install Manager (nciman.exe) located in the C:\Novell\Novell Client for Windows\Admin folder (created when you unzipped the Novell Client for Windows download file).
-
Click to open the Novell Client for Windows Properties dialog box.

-
Modify the Novell Client parameters you want, then click .
The parameters that you set appear in the list box on the right side of the Novell Client Install Manager.
For more detailed information on these options, see Section 4.2, Setting Properties on a Single Workstation after Installation.
-
Click .
You can save the file with any filename that you want to use. For example, you could save the file with the name novell.txt and then specify it in the NovellClientPropertiesFile= line of the Install.ini file, or use it at the command line by specifying the /NCPF:novell.txt option.
HINT:You can configure one workstation the way you want other workstations to be configured, then use the Novell Client Install Manager to import the settings from that workstation’s registry and save them to the properties file you will use during the install. After you set up the workstation, click to import the settings into the Novell Client Install Manager.