3.0 Preparing GroupWise and GroupWise Notify for Virtualization
The section contains step-by-step information to help you use Novell® ZENworks® Application Virtualization to prepare Novell GroupWise® and GroupWise Notify to run as virtual applications.
-
Install ZENworks Application Virtualization onto a clean machine.
You can prepare a clean machine by uninstalling GroupWise and GroupWise Notify. However, we recommend that you start the process on a machine that has only the desired Windows OS, any applicable OS service packs, and ZENworks Application Virtualization installed. Starting with a machine that includes only these items helps to ensure that your virtual application does not contain settings that might cause conflicts.
-
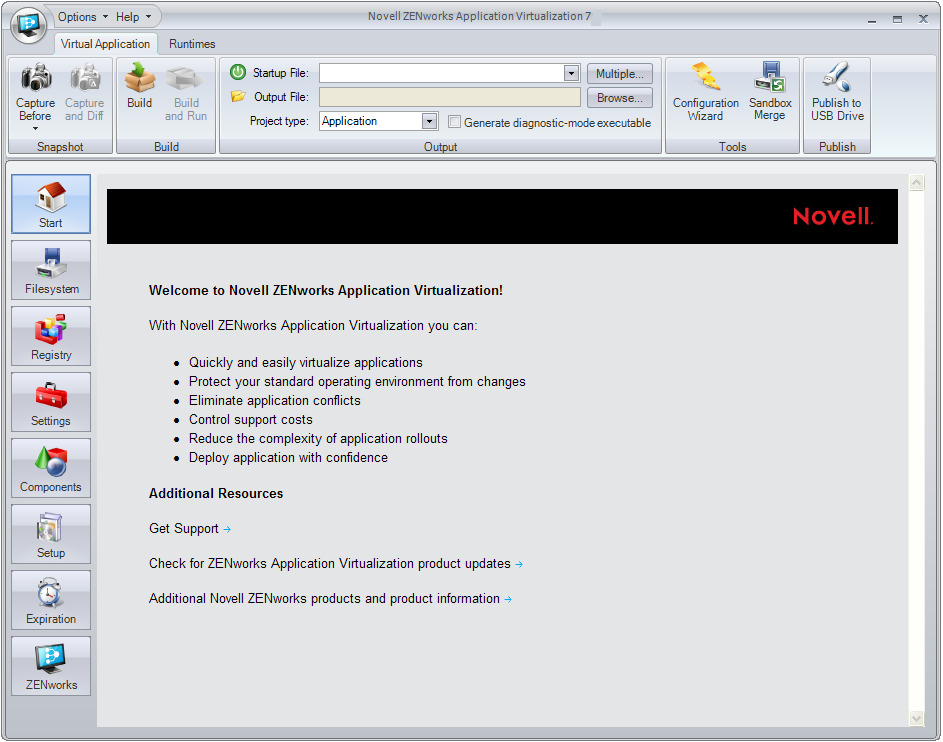
Click > > > to start the application.
-
Click in the section of the ribbon.

This process captures the first snapshot image. Snapshotting iterates through the file system and registry, and might take several minutes to complete.
-
(Optional) Click the down-arrow on the bottom of the button, then click .
Saving the first snapshot lets you skip this step when snapshotting subsequent applications from the same clean machine image.
-
Install GroupWise on the clean machine.
For installation instructions, see the GroupWise Documentation Web site. Depending on the version of GroupWise that you want to deploy in your environment, click the appropriate link, then locate and display the Installation Guide.
-
Click in the section of the ribbon.

-
Browse to and select the destination folder to store the snapshot, then click .
This process captures the second snapshot, computes the delta between the two snapshots, and populates the virtual application with the delta entries. This process might take a few minutes.
-
(Optional) Click the button on the left side of the ZENworks Application Virtualization console to review the file system and registry entries.
You can remove any files or settings that are not required for proper execution of your virtual application. Removing unused entries reduces virtual application size. However, accidental removal of a required resource might cause your virtual application to not function properly.
-
(Conditional) If you plan to use the GroupWise Caching mode or the Archive feature, click the button on the left side of the ZENworks Application Virtualization console, then add the sandbox data area folders you want to embed in the application executable to store cached or archived data. For example, you could created a Cache folder and an Archive folder for users.
Caching mode stores a copy of a user’s network mailbox, including messages and other information, on a local drive. The archive saves mail or phone messages, appointments, reminder notes, or tasks to a designated database on a local drive. For more information, see the GroupWise Documentation Web site.
Ensure that you have enough disk space in your ZENworks Application Virtualization sandbox to store that mailbox. For information, see the topic in online help (click > click > expand the book > click ) or see the Editing the virtual filesystem topic in the online help (expand the book > click ).
-
(Conditional) If you use ZENworks Configuration Management in your environment and you want to control how virtual applications are used or to create and publish ZENworks bundles, click the button on the left side of the ZENworks Application Virtualization console to display the ZENworks options.
For more information, continue with the instructions in Section A.0, Using Virtual Applications with ZENworks Configuration Management.
-
Click the button on the right side of the drop-down list to display the Startup Files dialog box.

ZENworks Application Virtualization lets you launch both GroupWise, GroupWise Notify, and the GroupWise Address Book when users click the virtual application executable file.
-
Click the check box next to the desired files so that they always automatically launched on virtual application startup, then click .
The flag can be specified for multiple startup files to automatically launch multiple applications that are typically used together in a single session (also known as shotgunning).
-
Click in the section of the ribbon to process the application.
-
Specify the location and filename of the virtual application executable file.
-
Test the virtual application executable file on another machine.
The executable file is now ready to distribute to users. You can use any method you want to distribute the file, including USB thumb drives.
You can also use Novell ZENworks or Novell ZENworks Configuration Management to distribute the file. For more information, see the ZENworks Documentation Web site.
Users must authenticate to the GroupWise system after they launch the virtual application. The virtual application executable, as configured above, does not populate the username, password, or post office information. When the user logs in to the virtual GroupWise application the first time, the user can choose to save this information.
Users can use the virtualized GroupWise application on a machine that already has GroupWise installed. However, both instances of GroupWise cannot run at the same time. The authentication and post office information for the installed instance are not used for the virtualized instance of GroupWise.
The virtual executable file can be used to run GroupWise in Online, Remote, or Caching mode. For more information on these modes, see the GroupWise Documentation Web site.