

On your ZENworks for Desktops Windows 2000 Server, extract the ZENworks Workstation Browser download, and start the extracted file ZENWSBrowser30ZfDsetup.exe.
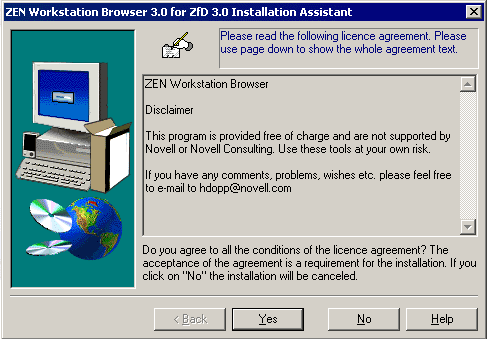
In the license agreement window, click Yes > Next > Finish.
In the ZEN for Desktops 3 Directory field, enter \\DA-01\Sys\ConsoleOne\1.2 > OK.
After the installation is complete, close the readme.txt Notepad window.
Close the Novell Consulting window (opened by the install process).
Click the Start menu > Programs > Novell Consulting > ZEN Workstation Browser 3.0.
Use the browser window to open the .Workstations.IST.Corp.IST container > Double-click the container to show your list of imported workstations.
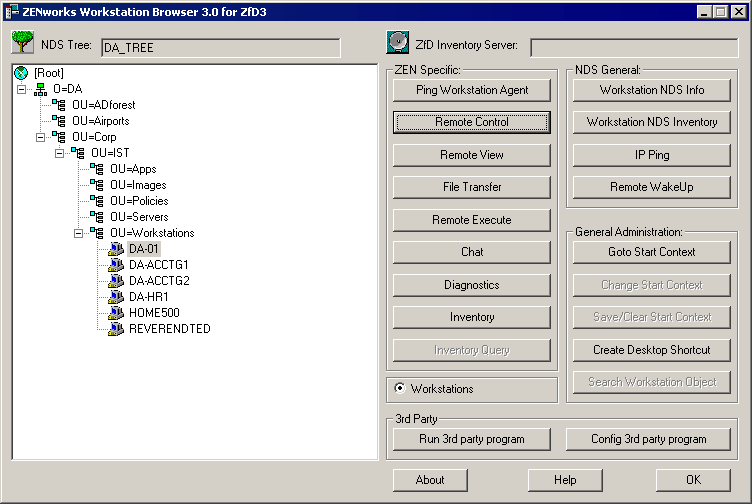
From the list of workstations, select a workstation object for which the physical workstation is powered on and connected to the network > click Remote Control.
After the Remote Control window opens, test it > close it.
At the top of the ZENworks Workstation Browser window, click the ZfD Inventory Server selection button. (The button looks like the front face of a satellite dish.)
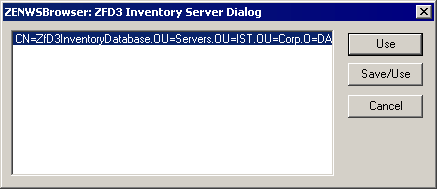
In the ZENWSBrowser: ZfD3 Inventory Server Dialog window, select your inventory server from the list > click Save/Use.
From the list of workstations, select a workstation object for which the physical workstation is powered on and connected to the network > click Inventory.
Inspect the Inventory for the workstation > close the Inventory window.