Creating Custom Field Lists
Lists can be created as a data type option within custom fields across the application. The can be created for Item Category and Item Type custom fields, Classifications for requests and system-wide custom fields activated by an Administrator. Lists allow a User to create a series of entries for a custom field that will appear as a drop-down option list.

Creating a New List Entry
To create a new list entry within the List Contents field:
-
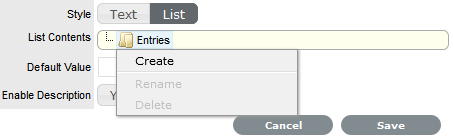
Right click the Entries link
The Create option is displayed
-
Click Create
A New node link displayed

-
Enter the name of the field
-
Click outside the field to save the entry

-
Repeat this process until all list entries have been added
To create a nested list, right click on the relevant list entry and repeat the above process.
-
To move an existing entry to a new position, select the entry, then drag and drop the entry into its new location
-
When all the relevant details have been defined for the custom field, click Save.
Creating Nested List Entries
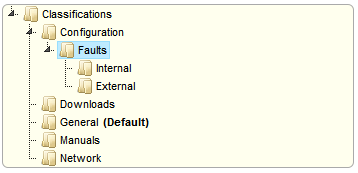
List entries can be expanded to include nested options.
To create a nested list:
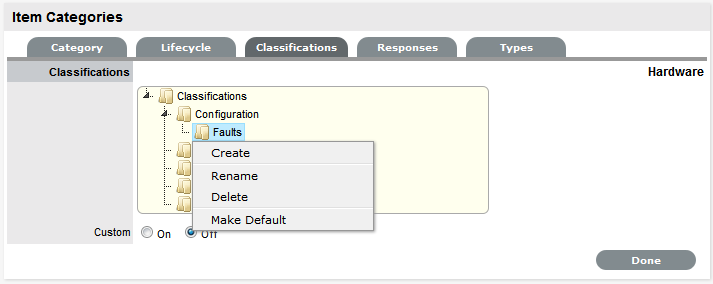
-
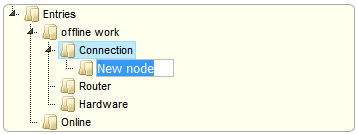
Right-click the relevant list entry header
The Create, Rename, Delete and Make Default options are displayed.
-
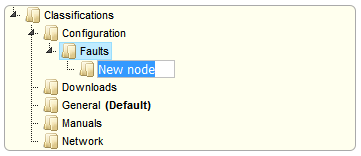
Select Create
A text box will appear under the list entry.
-
Enter the name for the list entry
-
Click away from the text box to commit and save the change
-
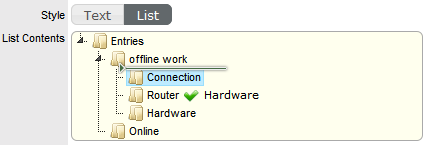
Move an existing list entry to a new position, if required
Select the entry, then drag and drop the entry into its new location
-
The above steps can be repeated until the nested list is complete.
Renaming a List Entry
Any list entry can be renamed.
To rename a list entry:
-
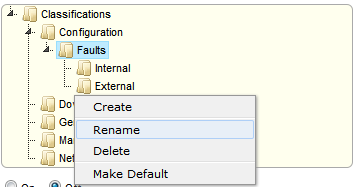
Right-click the list entry link
-
Click Rename
-
Edit the field content
-
Click away from the text field to save the change.
Deleting a List Entry
To delete a list entry:
-
Right-click the relevant list entry
-
Click Delete
-
Click Done when the list is complete.