5.1 Creating a DNA Template
To create the Desktop DNA template using the Template Editor:
-
Open the DNA Template Editor from the menu.
-
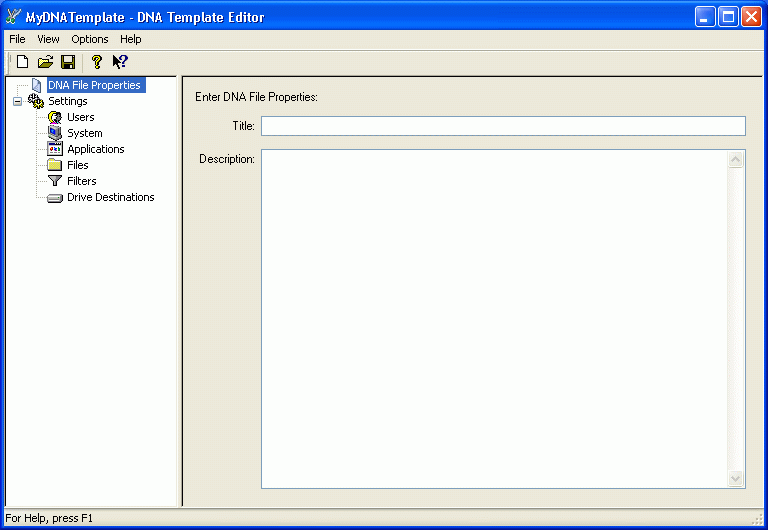
Specify a title and description for your file properties.
You can view the title and description from the Open a DNA File page by right-clicking the DNA file name. They are also visible in the DNA Explorer.
-
Configure the settings for your template.
Users: The Users page lets you add or remove user profiles from your template. Unless you are a system administrator and logged into a system supporting multiple profiles, only the current user’s settings are migrated. Current User is designated as the user who is logged into the computer at the time of the migration.
System: The System page lets you add settings specific to the operating system.
Applications: The Application page lets you select settings specific to the applications and application settings.
Files: The Files page lets you specify the files and folders from the source system.
Filters: The Filters page lets you create filters to implement a search for files, folders, or drives.
Drive Destinations: The Drive Destinations page lets you choose how to redirect drives.
NOTE:For more information about configuring your template, see Section 5.2, Configuring the Template, or see the online Help in the DNA Template Editor.
-
To create the Desktop DNA template, click > .
-
Use the default template name, mydnatemplate.dtf, or give the template a descriptive name and save the file on the server in the \ddna\templates directory that you created in Section 2.1, Creating the Desktop DNA Template Store.
-
Click .
For the purposes of this guide, after you save the template, you are ready to create the Desktop Management Application objects to collect and apply the personality information. See Creating the Application Object to Collect the Personality and Creating the Application Object to Apply the Personality for more information.
-
Click > .